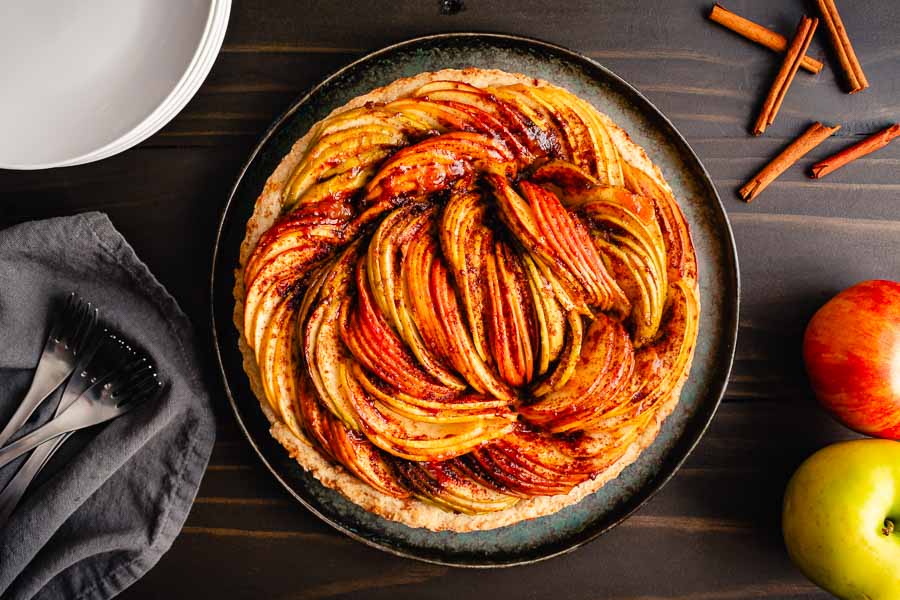
I found this Vegan Apple Tart recipe on Instagram, which sparked a memory. When I was younger, maybe in middle school or a little older, my mom had a Crisco cookbook with an apple tart recipe. The book had an apple tart recipe that I became fixated on. I can’t say I was an avid baker, but I kept trying to make this tart.
I didn’t have any special equipment and had never seen an apple tart before. Each time I ended up with a pile of sliced apples on top of a pastry. It was tasty but far from what an apple tart should look like! I’d say closer to a galette but not even as pretty as that. It was a mess, and I gave up after a few tries. I didn’t see what an apple tart looked like until I was an adult. That brought back my earlier attempts, and here I am. I finally have an apple tart recipe with pictures that just happens to be vegan.
Vegan apple tart with a buttery shortcrust pastry and juicy caramelized cinnamon apples. You only need 6 common pantry ingredients to make this simple dessert!
The Ingredients
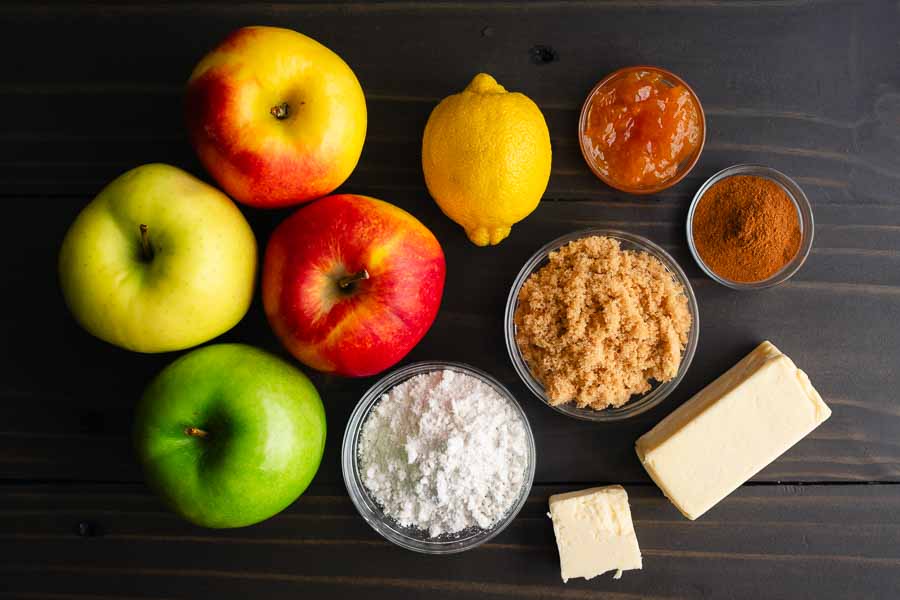
This Vegan Apple Tart only has eight ingredients. One of those ingredients is cold water, so there are only seven ingredients to buy at most.
My pre-shopping check found all-purpose flour, brown sugar, and ground cinnamon. I also had lemons, so I decided to include the optional squeeze of lemon juice. All I ended up shopping for were the apples, vegan butter, and apricot jam.
I had a couple of golden delicious apples on hand, but I needed more for this recipe. As soon as I walked in I was greeted with a display of ambrosia apples. I had never heard of them, so I whipped out my phone and found they were sweet, crisp apples that were great for baking. I grabbed a few along with some granny smith apples.
My regular grocery store stocks vegan butter, so I had a few choices. Unfortunately, none of them were unsalted although the packaging said they were “great for baking”. I grabbed a package despite the sodium listed in the ingredients and crossed my fingers.
The Process
This recipe has a lot of steps, but they are broken down into sections to make things easier to manage. Here’s how I did it:
Making the Crust
This tart was made entirely from scratch, so that meant starting at the bottom with the crust. It mixed up just like any other, and I chose to use my food processor to make it quicker and easier.
The crust seemed a little dry when I emptied the food processor bowl onto my work surface, but it kneaded together easily. Most pie recipes say to form the dough into a disc, wrap it up, and chill it before rolling it out. This recipe skipped that and went straight to rolling out the dough and putting it into the tart pan.
I cut out a circle of parchment paper to line the bottom of the pan, but I completely missed the step of greasing the tart pan! Thankfully all the vegan butter in the crust plus the nonstick coating kept the tart from sticking to the pan. The parchment made it easy to slide the baked and cooled tart off the bottom piece of the pan and onto a plate.
I have a 9.5-inch tart pan, so I rolled out the dough to a diameter a bit larger than that so I would have enough to cover the bottom and sides. For this pan, a diameter of 11 inches would have been enough, with a bit to trim away. Then I had a great idea to strengthen the edges so I had a picture-perfect crust!
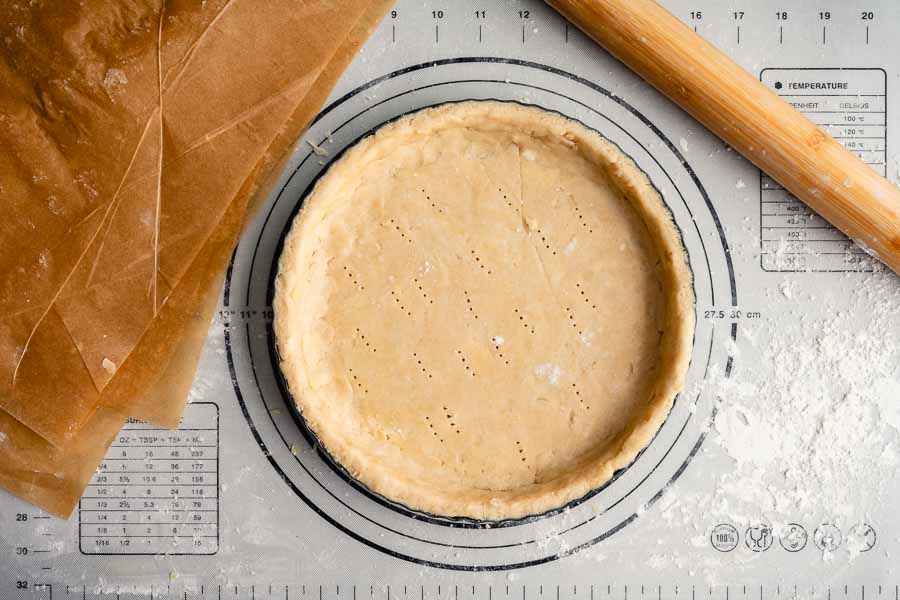
Tip: Reinforce the edges of the crust so they don’t break. Roll out the dough to the diameter of your pan plus about 2 inches. That will give you enough to cover the bottom and sides of the pan plus an extra inch. Instead of trimming away the extra, fold it inward and gently smooth the extra into the dough where the edge meets the bottom of the pan.
As you can see above, the sides of my tart’s crust were a bit thick. That little bit of extra dough reinforced the edges so they didn’t break when I later removed the tart from the pan and sliced it.
The instructions say to chill the crust but not for how long. I chilled mine for 20 minutes while the oven preheated. Then I added a piece of parchment paper plus my pie weights and blind-baked it for 15 minutes.
Preparing the Filling & Assembling my Tart
I prepared the filling while the pie crust baked. Step one was easy and might have taken me two minutes at most. Step two was tricky and took me a couple of tries. I’m really glad I bought extra apples because I needed them!
Slicing the Apples: What Didn’t Work
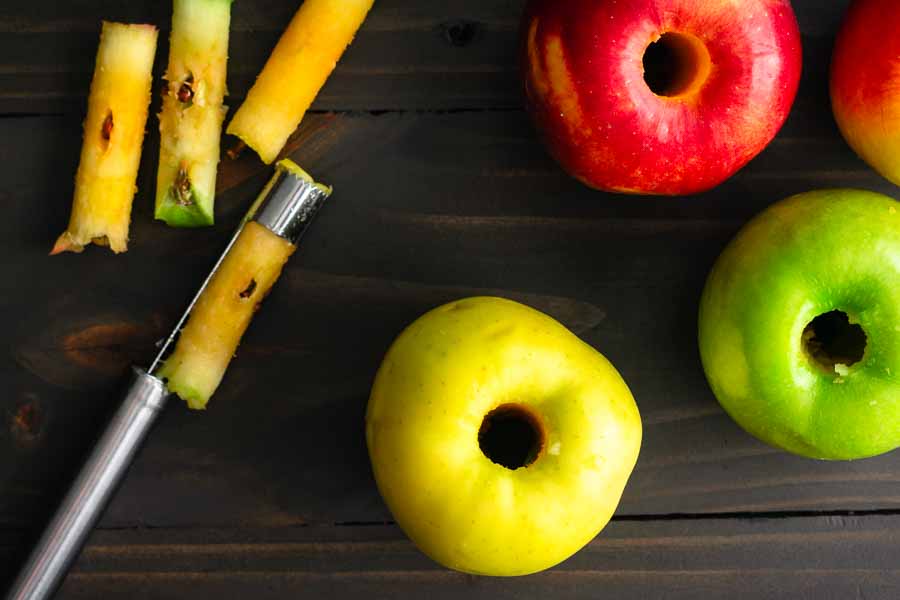
Once I cored the apples, I tried sliding them with my mandoline. That went okay at first, but the mandoline was a little too narrow. The apple quickly got too wide and hit the edges of the mandoline, wearing off the peel that makes this tart so pretty.
No problem, I said to myself. So I tried sliding the apple with my trusty chef's knife. The slices looked very thin, and I thought I was set. I sliced up five apples and just threw those slices into a large mixing bowl.
Once I got to add them to the pan, I realized my mistakes. First, I had to sort through the bowl to stack a few slices of each type of apple. Once I managed that I realized my second mistake. The apple slices were too thick to be flexible. That meant I couldn’t get them to hug the curve of the pan. I tried and tried but I had to admit defeat and start again.
Slicing the Apples: What Worked
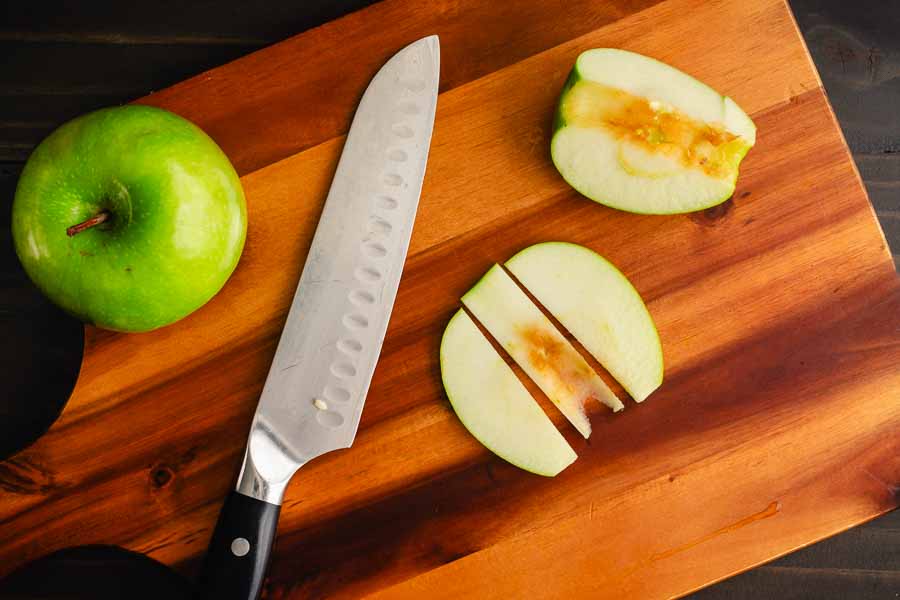
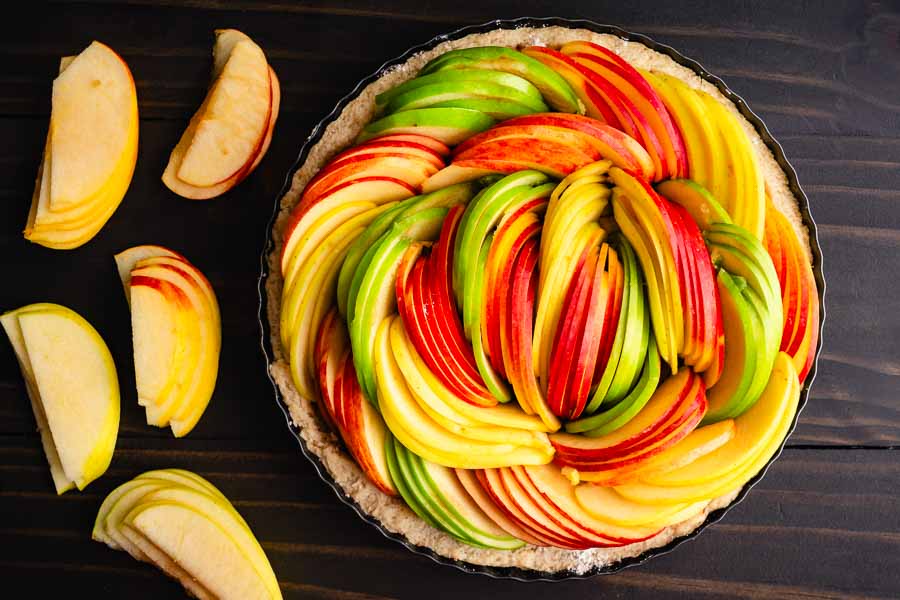
This time I went back to my mandoline. I found that quartering the apples before slicing them was the trick. As I sliced each quarter as thin as possible, I removed and stacked the slices on a cutting board. (That might make more sense if you take a look at the photo of the unbaked tart below.)
I divided each quarter into 2 stacks when I began so the apples could bend and hug the curve of the outside of the pan. Fanning them out also helped. I alternated them between Ambrosia, Golden Delicious, Ambrosia, and Granny Smith.
The apples needed to bend less as I got to the center of the pan. I began adding more apples to make thicker stacks. The recipe said the apples shrink when they cook, so I jammed in as many slices as I could to get a tight fit.
When I was ready to add them to the crust, things went very smoothly. I just had to grab a stack of the color/type I wanted and position it before adding another. I ended up using 2 Ambrosia, 2 Granny Smith, and 1 Golden Delicious apple with a few leftover slices.
Tip: Mandolines are great tools, but they can be dangerous due to the exposed blades. Always use the handpiece to move the food over the blade, never your fingers. A cut-resistant glove is also a great idea.
Finishing Up
Once the apples were in the pan, the hard work was over. I brushed the apples with melted vegan butter, sprinkled the cinnamon mixture on top, and popped the pan into the oven.
Tip: The removable bottom of the tart pan is easy to accidentally pop out when you are handling it with oven mitts. Place your tart pan on a sheet pan to make it safer to move in and out of the oven.
My Vegan Apple Tart was ready after 45 minutes of baking. The last step was brushing on some apricot jam. I let the tart cool before cutting onto it so the slices wouldn’t fall apart. And, I’m happy to say, that the leftovers were easy to reheat in the microwave—just 30 seconds a slice was perfect for me.
Timing
This recipe lists 30 minutes to prep, 1 hour 10 minutes to cook, and 1 hour 40 minutes total. Here’s how my time was spent:
- 16 minutes to prep the crust
- 20 minutes to chill the crust
- 15 minutes to blind bake the crust
- 12 minutes to prepare the filling (while the crust was baking)
- 20 minutes to assemble
- 45 minutes to bake
- 1 minute to brush with apricot jam
- 1 hour 57 minutes total
I went 17 minutes over the total time listed, but that doesn’t surprise me. I took my time with the crust and positioning the sliced apples, so I’m sure the delay was in one or both of those spots. Also, I omitted the times for slicing the apples by hand and trying to position them in the crust since that method didn’t work. This only includes slicing with the mandoline.
