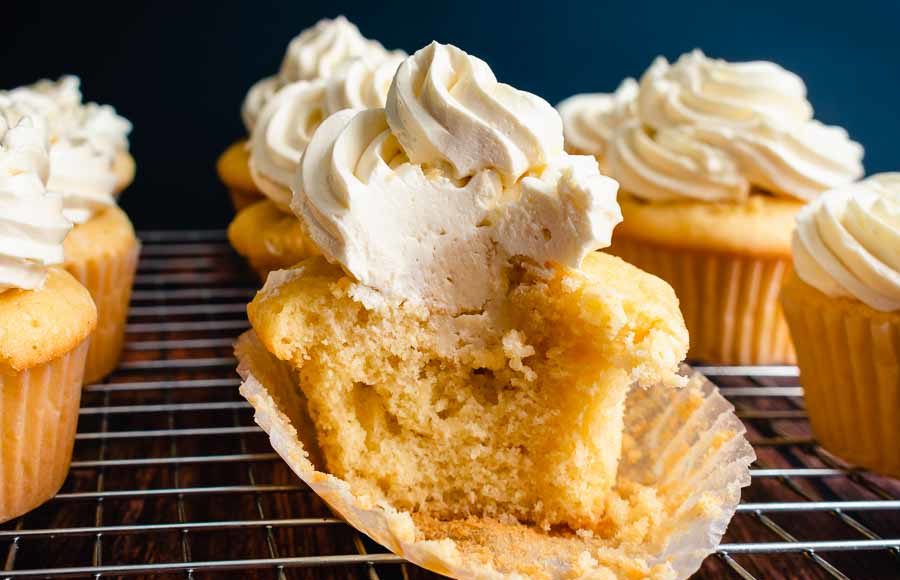
Today is another food holiday that I had no idea existed: National Vanilla Cupcake Day. I have blogged a few recipes with vanilla-ish cupcakes, but they all had some other flavoring in them too. I realized I have never blogged any truly vanilla cupcakes, so I had to rectify that with these Vanilla Maple Whiskey Cupcakes. Plain vanilla is good, but adding maple and whiskey has to be even better, right?! Well, I’m betting it does, so let’s find out.
These Vanilla Maple Whiskey Cupcakes are a boozy delight, with a buttery maple center and a vanilla whiskey buttercream. A perfect grown-up birthday treat!
The Ingredients
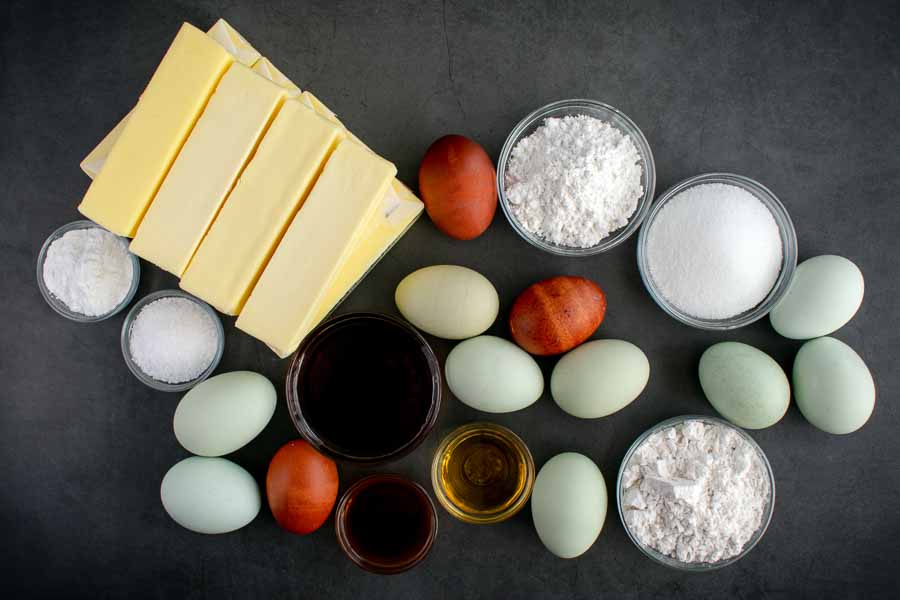
The ingredients for this recipe were typical for cupcakes. I had a few things on hand like baking powder, salt, vanilla extract, maple syrup, and whiskey. I love bourbon, so that’s what I used.
There was some sugar and flour in my pantry, but not quite enough. I also needed butter and eggs. If you’re wondering, this recipe uses 9 sticks of unsalted butter. I know!
I decided to order my groceries from Instacart that week, and that’s what led to the blue and brown eggs. The shopper swapped my order of regular brown eggs for heritage eggs. They were double the cost, but I have to admit they were very pretty.
The Process
This Vanilla Maple Whiskey Cupcakes recipe has four parts: batter, filling, frosting, and assembly. The total time listed was 1 hour and 10 minutes. I’m not the greatest baker so I expected to go over that and I did. My total time was 1 hour and 40 minutes. Here’s how my time was spent:
- 17 minutes to prep the batter
- 20 minutes to bake the cupcakes
- 11 minutes to make the filling (during baking)
- 49 minutes to make the buttercream
- 7 minutes to core and fill the cupcakes
- 7 minutes to pipe the buttercream
- 1 hour 40 minutes total
Making the Cupcakes
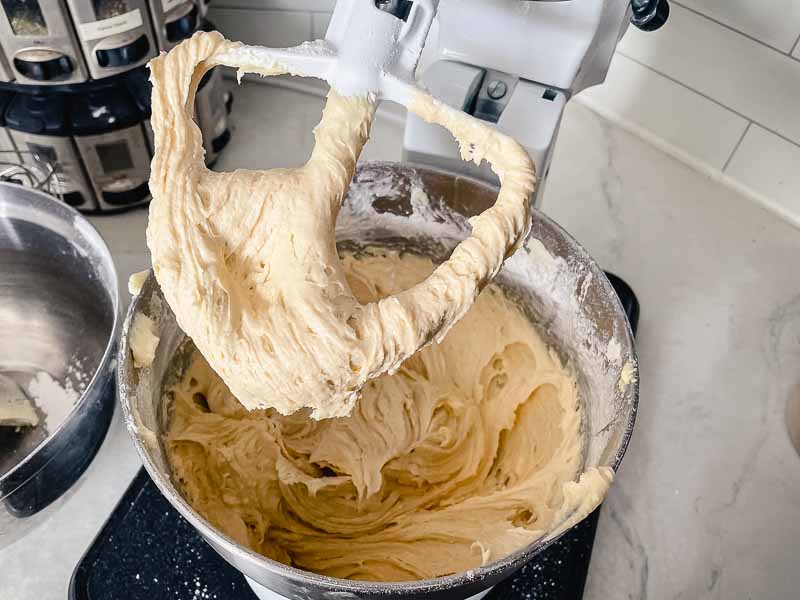
This was the easiest part of the entire recipe. Everything went according to the recipe, and I’m glad I had a powerful stand mixer. I’m not sure if you can tell, but the batter was extremely thick. So thick that it couldn’t be poured into the cupcake pans. It was more of spooning it in, and it was hard to tell if I did that evenly because the batter didn’t settle evenly in the cups.
The baking time was spot on for me, and both pans passed the toothpick test after 20 minutes. When they were done I set them aside on wire racks to cool while I worked on other parts of the recipe.
Making the Filling
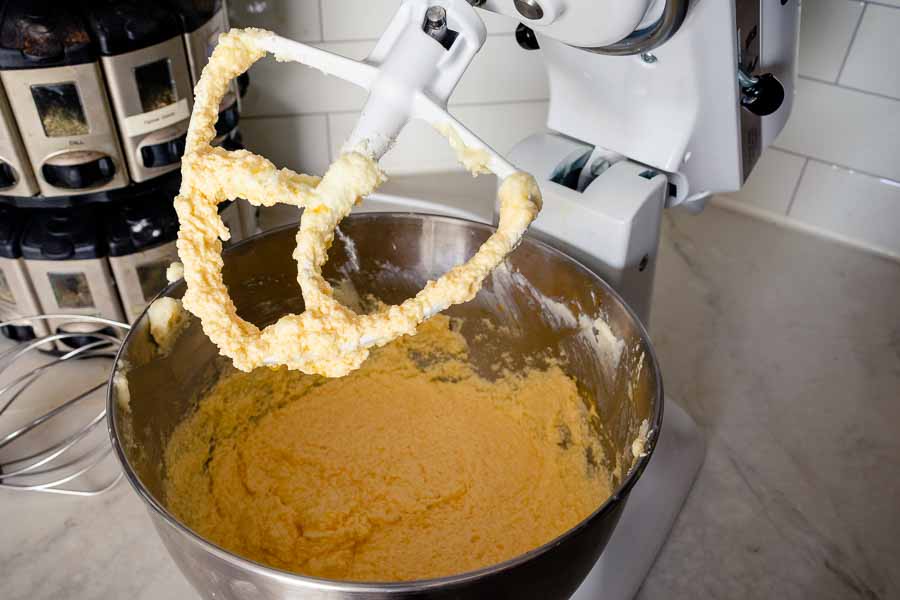
I washed my stand mixer’s bowl and paddle attachment while the cupcakes baked, then I began the maple whiskey filling. It didn’t go as smoothly as the batter. The recipe does warn that the filling will break if the ingredients aren’t at room temperature, but I’m sure mine were.
I had set all my butter and maple syrup out on the counter the night before since the recipe said they had to be at room temperature. The house is kept pretty cool, but the butter warmed up too much. I added the filling ingredients to the stand mixer and mixed and mixed. But no matter how much I mixed it, the filling just wouldn’t come together. You can see it in the photo below.
I grabbed a couple of gel ice packs from the freezer to fix the filling. I held them on the sides of the bowl to cool the filling slightly. The butter thickened enough for the filling to come together, and it ended up with a texture like a buttercream frosting.
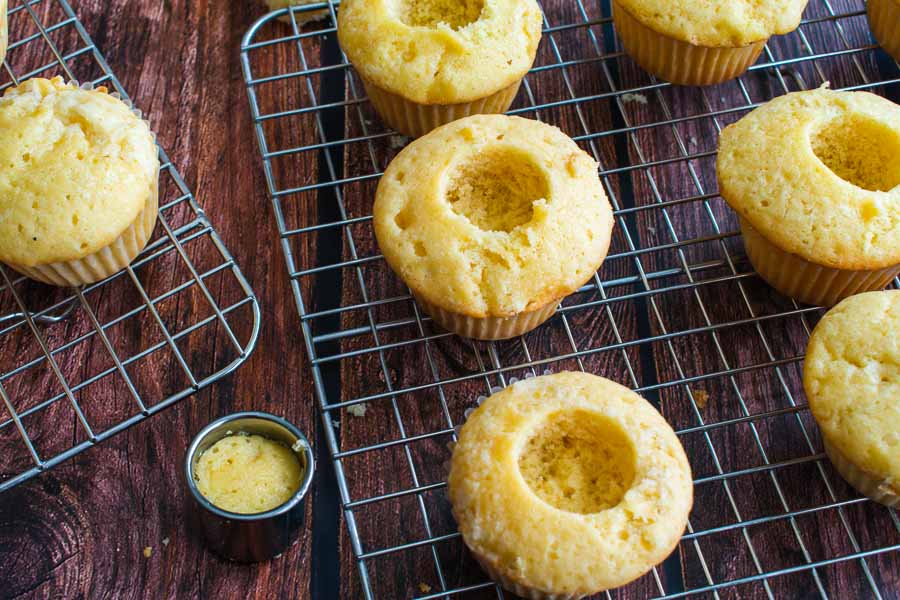
I put the filling into a piping bag and set it aside while I cored the cupcakes. The second smallest size of my biscuit cutters worked perfectly for this job. Most of the cores came out when I pulled out the cutter. A few didn’t, but I was able to dig them out with a small spoon.
Making the Buttercream
I have made plenty of American buttercreams but this was my first time making Italian meringue buttercream. It got off to a rough start. I put the sugar and water on the stove and began separating the eggs.
Since I bought a dozen eggs, I only had just enough left over for the frosting. I had left them out on the counter after making the cupcake batter, and they warmed up to room temperature. Apparently, that’s bad and makes the yolks fragile.
I tried separating two and broke both yolks. Spooning out the broken yolks was hopeless. I had to send my husband to the store for another dozen eggs. I wanted extra in case I broke more yolks, but I’m happy to say I didn’t. The cold egg yolks held up, but I did separate them one at a time to be safe.
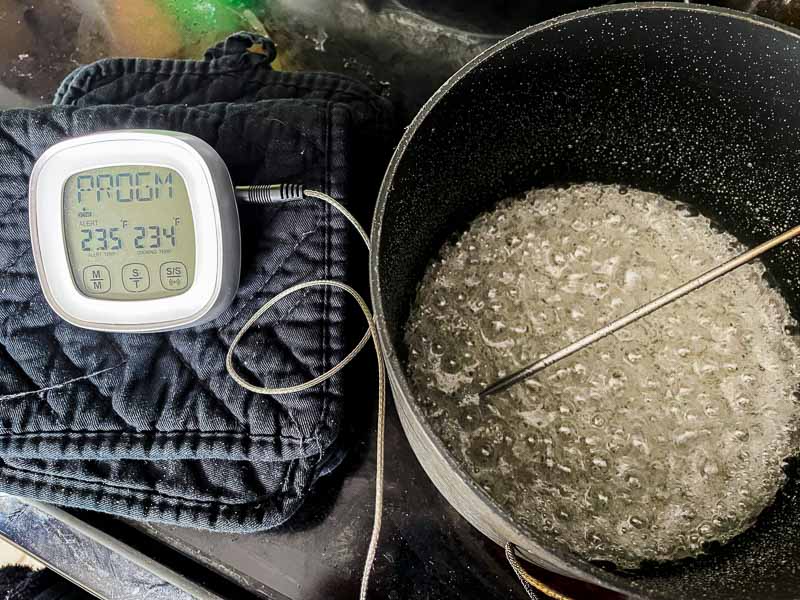
When he got back I started the syrup and then the meringue. I don’t have a candy thermometer, but my meat thermometer worked just fine. I used a custom setting and set it to beep when it reached the temperature. Below is a quick shot of how it looked by the end.
I transferred the syrup to a measuring cup with a handle and a pour spout to make it easier and safer to add to the meringue. Then I slowly poured it down the side of the bowl while the mixer worked. Very, very slowly.
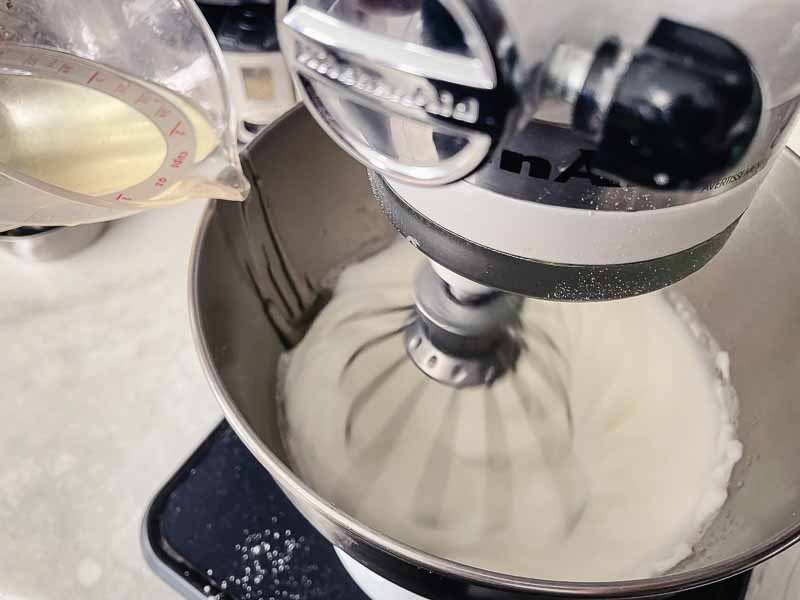
I was afraid I would end up with an egg-white omelet, but things went just as described. After it mixed for 20 minutes I slowly added the butter cubes then whiskey and vanilla. And I ended up with a similar situation as the filling.
The buttercream just wouldn’t quite come together. Close, but not quite. The blog post links to a detailed article about various types of buttercream and troubleshooting tips if they break (I’m assuming I added the butter too fast). I would have tried the method described if I hadn’t successfully fixed the broken filling with ice packs. I tried it again, and it fixed the buttercream too. Whew!
It took me filling another piping bag three times to finish up my Vanilla Maple Whiskey Cupcakes. This is where I have to admit I’m not great at piping frosting and I tend to overdo it. I topped the cupcakes a little too generously and ran out after 22. I had to take some extra frosting from two other cupcakes to completely finish them all. It wasn’t pretty, but they tasted good!
