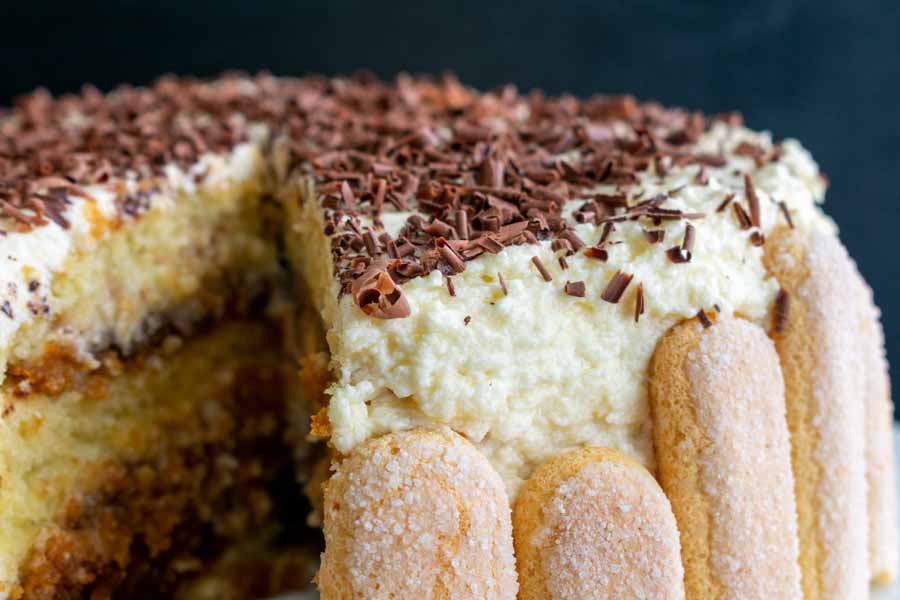
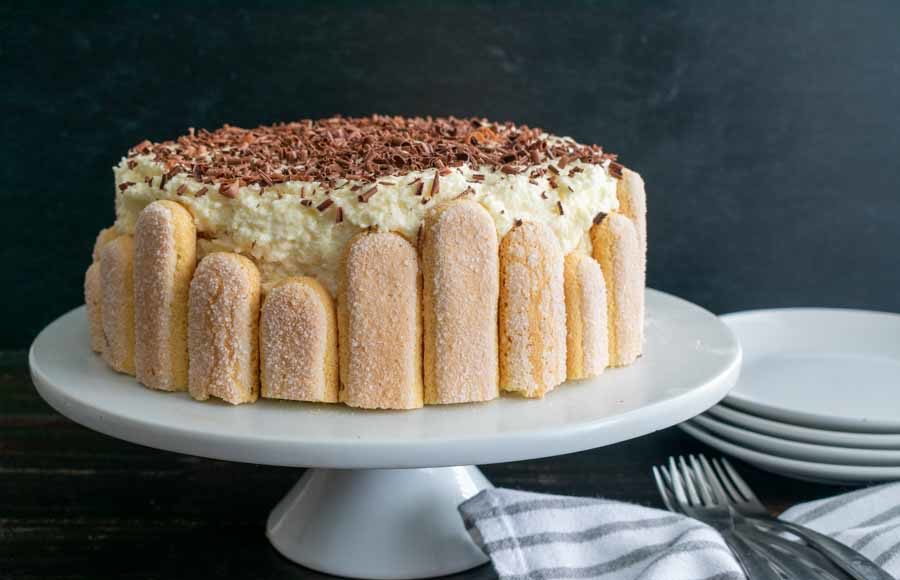
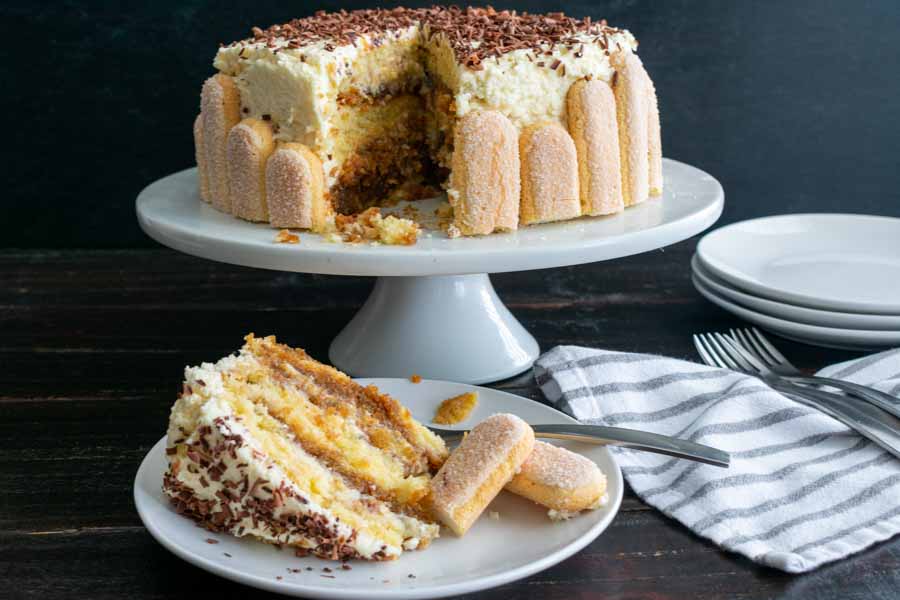
I’ve had my eye on this Tiramisu Cake for a while, but I always thought I wasn’t a good enough baker to make something so lovely. But since I’ve had some practice with cakes and buttercream frosting, I decided to give it a shot. I went into this feeling like my cake disasters were behind me and expected this to be a Pinterest success. And maybe that’s where I went wrong. As you can see from the image, my Tiramisu Cake wasn’t anywhere close to the beautiful pictures with the recipe. Well, I like to look at failures as learning experiences. Read on to find out what I think I did wrong and how I learned from my mistakes.
This Tiramisu Cake turns your favourite Italian dessert into a delicious and decadent layer cake. Coffee soaked layers paired with mascarpone buttercream.
The Ingredients
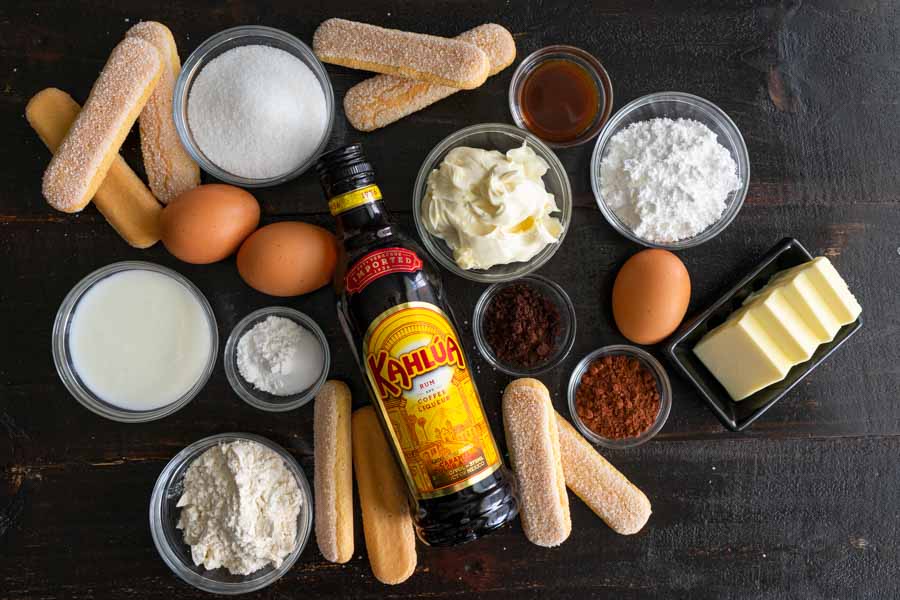
This cake recipe had quite a few ingredients, but nothing was difficult to find. In fact, it was a nice balance of things on hand versus things I needed to buy.
I had a lot of staple items like flour and sugar on hand. That left me to buy the dairy items like buttermilk, mascarpone cheese, and butter. I also had to buy the ladyfingers, but my regular grocery store had it all. No special trips required.
The Process
This recipe is kind of complicated, but it was broken down into manageable steps. The main steps were making the coffee syrup, making the cake, making the frosting, and assembling it all. Here’s how my time broke down:
- 58 minutes to make the cake and frosting
- 40 minutes to cool the cake
- 13 minutes to assemble
- 20 minutes to chill the assembled cake
- 13 minutes to finish frosting and decorate
- 2 hours 24 minutes total
That’s in line with the 2 hours 35 minutes listed on the recipe. Now let’s talk about each step.
The Coffee Syrup
This was the easiest part. I just boiled all but the Kahlua and stirred until the sugar and coffee crystals dissolved. Then I removed the saucepan from the heat, added the Kahlua, and set it all aside to cool. I didn’t time it separately, but it only took a few minutes.
The Cake
Now that I had the coffee syrup out of the way, I moved onto the cake. This part went smoothly, and I really didn’t have any trouble following along. I did almost miss adding the vanilla though, so be on the lookout for it in step 3. You don’t want to end up with flavorless cake!
Again, I didn’t time this part separately, but I had the cake pans in the oven in about 30 minutes. They were ready to go onto the wire cooling racks 35 minutes later.
The Frosting
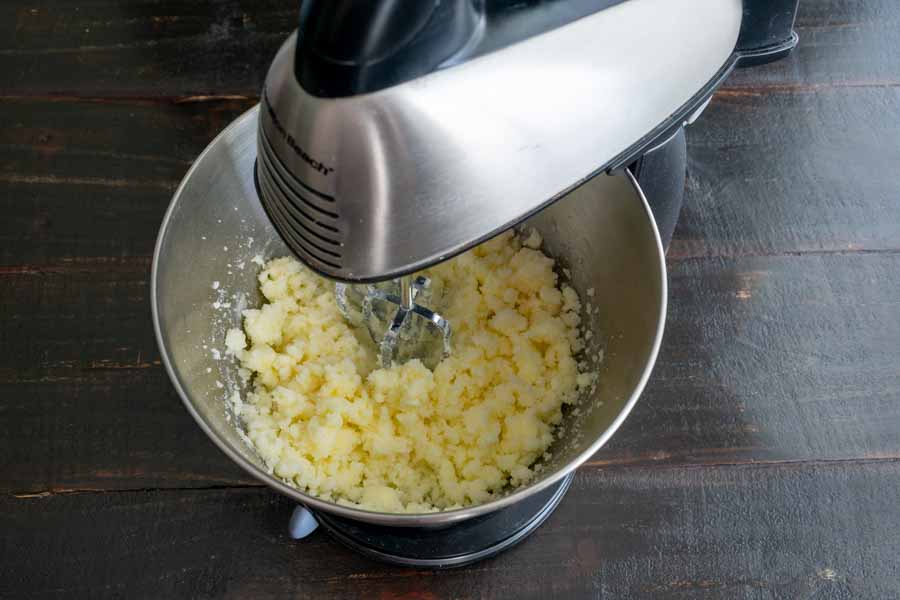
This was the second easiest part of the recipe, next to the coffee syrup. Really, all it is is mixing the ingredients in a stand mixer. I had the frosting mixed up before the cakes were ready to come out of the oven.
Assembly
I ordered a new cake leveler just for this recipe, and I’m happy to say it was as easy to use as I thought it would be. Unfortunately, the rest of this part didn’t go so smoothly.
First up, my cakes were very thin. I was able to slice each one into two layers, for a total of four layers, but just barely. I’m not sure if it was me or the recipe, but I do have some cake disasters in my past.
With the cake layers ready, I started assembling on my cake stand. Add a layer, soak with four tablespoons of coffee syrup, dust with cocoa powder, frost, repeat. Things seemed like they were back on track until I started trying to spread the frosting on the first layer. It was kind of chunky.
I managed to get all the layers assembled, topping them off with a layer of plain cake (no syrup, cocoa powder, or frosting). Then I put it into the refrigerator to chill for 20 minutes before finishing.
A quick Google told me the butter hadn’t warmed up enough before I blended it and gave me a fix. I was so sure I had given it enough time to warm to room temperature, but I must not have. I followed the instructions and got the frosting too thin, but I thickened it up with a little more powdered sugar. More mixing and the texture was better but not perfect.
The closeup view is after I ‘fixed’ it. It seemed like the smooth texture I achieved with the fix just reverted to the chunky texture. I don’t understand what happened!
