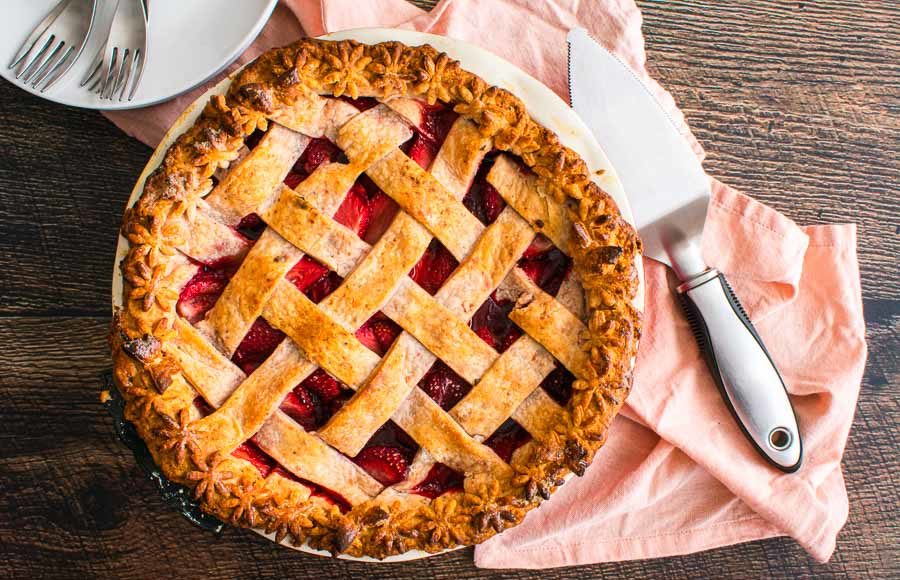
Happy National Strawberry-Rhubarb Pie Day! Personally, I have never tried it, but I have heard good things. In fact, I tried and tried to find fresh rhubarb so I could make a strawberry-rhubarb pie just for today, but no joy. Instacart had it listed, but the shopper couldn’t find it. I ended up with a lot of butter and strawberries that I was determined to put to good use. Well, I’ve never had a plain old strawberry pie, so I thought I’d find a recipe on Pinterest. I ended up with this beautiful pink Strawberry Pie with Strawberry Crust. Pink pie crust! It was so pretty that I had to give this recipe a try, so here we go.
Food coloring was so ten years ago. That’s why this gorgeous strawberry pie with strawberry crust gets its vibrant pink hue from freeze-dried strawberries. Just whirl ’em up in the food processor with your flour and butter, and voilà: You have a pretty-in-pink dessert that’ll blow everyone away.
The Ingredients
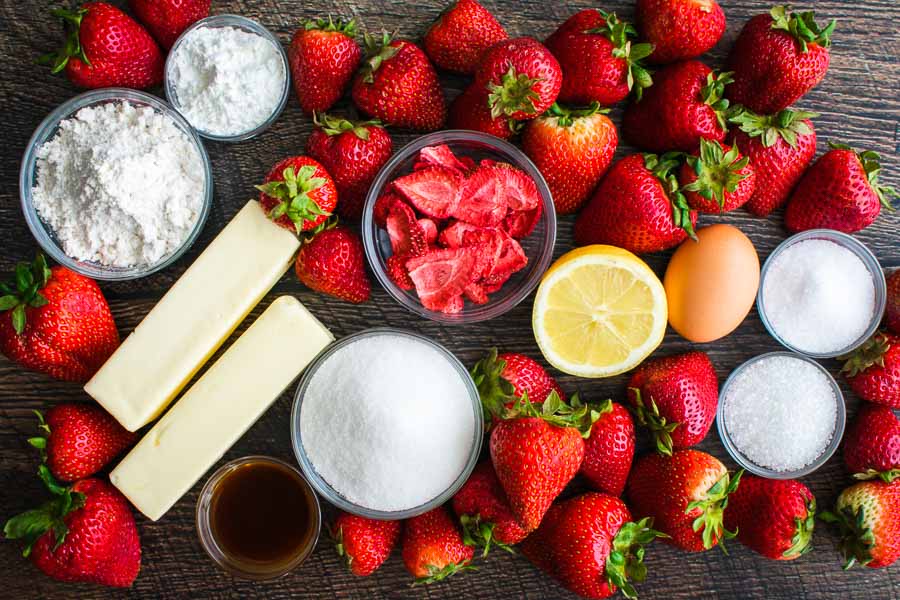
The good thing about baking is it requires a lot of basics that I keep stocked in my pantry. Sugar, flour, sea salt, and vanilla are always around, but I did have to stock up on cornstarch.
While I was at it, I also shopped for the remaining ingredients and had no trouble finding most of them. FYI, I bought two pounds of strawberries and used almost all of them in the filling.
I also bought two 0.8-ounce bags of freeze-dried strawberries. At $4.97 each, I felt they were a little pricey for the quantity. For comparison, a pound of fresh strawberries was less at $4.41.
The only item I couldn’t find was the sanding sugar. I ended up ordering clear sugar sprinkles as they were the closest thing I could find at a reasonable price. Then I completely forgot to sprinkle them on before I baked the pie! Oh well, they’ll keep until I need them.
The Process
Although this recipe is long, it’s broken down into manageable chunks. In fact, the crust can be made the day before since it can be chilled from 30 minutes to overnight. I almost took advantage of that, but I had to keep going once I saw how pretty it was. Here’s how my time was spent:
- 18 minutes to make the crust
- 30 minutes to chill the dough
- 12 minutes to make filling and egg wash (done during chilling)
- 43 minutes to assemble and decorate
- 8 minutes to make and fill the bottom crust
- 14 minutes to make the lattice
- 6 minutes to crimp the edges (it looked awful, so I decorated it)
- 15 minutes to decorate the edges
- 40 minutes to bake
- 2 hours to cool
- 4 hours 11 minutes total (1 hour 31 minutes without cooling)
The total time listed is 2 hours 45 minutes. I’m assuming that included only one hour to cool. That might have been enough, but I gave it two before slicing to be sure the filling was set. The time would have tracked if I hadn’t been overly cautious, so I can’t take away points for that.
Making the Strawberry Pie Crust
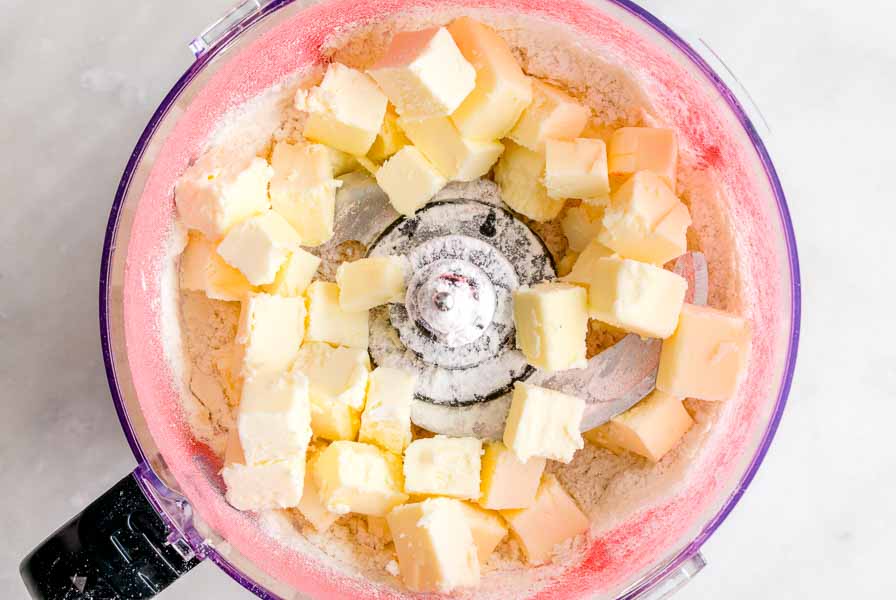
This was the first step to my pink Strawberry Pie with Strawberry Crust, and it got me really excited about this recipe. As I mentioned, I had to finish it once I saw the beautiful pink color!
First up was to grind up the freeze-dried strawberries in my food processor. I bought two bags of them because I didn’t know how much I would need. It turns out that one bag was enough to make the 1/2 cup the recipe called for. Sort of.
The berries I bought were sliced and then freeze-dried, so I measured 1/2 cup of them straight out of the bag. It was enough to turn the pie dough pink, but the color didn’t hold up through baking. Tip: I have a feeling I should have used 1/2 cup of ground freeze-dried strawberries for a more intense pink color. That would have used both bags, BTW. (More on this below.)
Otherwise, everything went according to the instructions except the ice water. I did have to add an extra tablespoon to get the dough to come together. A small adjustment, really, and it was mentioned as a possibility in the instructions.
Making the Strawberry Filling
The “work” in this part was slicing up the strawberries. Otherwise, it was pretty simple and went just as the instructions said. I also took the time to make the egg wash.
Both were done well before the pie crust dough had finished chilling, so I set them aside and washed the dishes while I waited. I had white a mess on my hands, so I appreciated the break to wash up. I’m a messy baker, and I always manage to coat the kitchen in flour!
Assembly and Baking My Strawberry Pie with Strawberry Crust
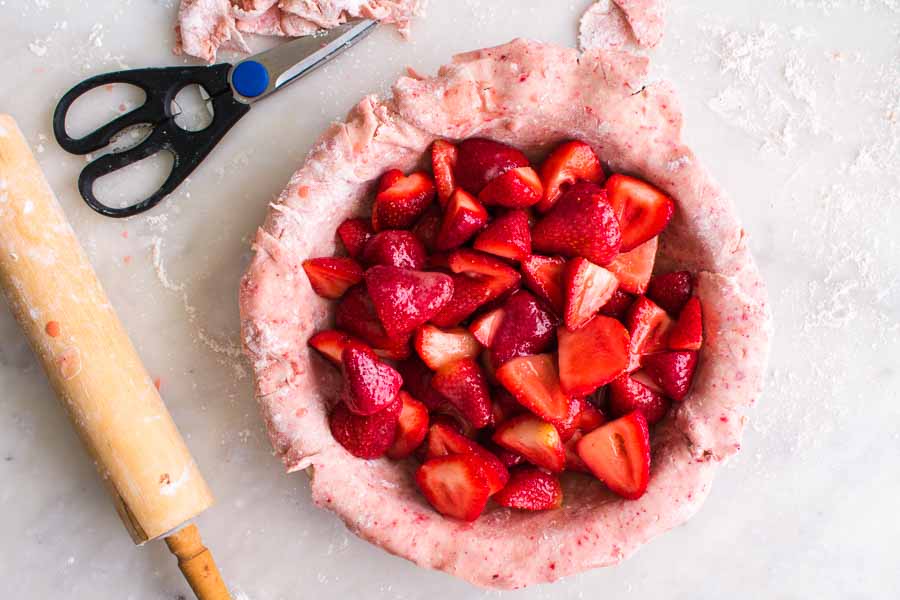
This is where the real “work” happens. I’m not a fast baker by any means, so I just took my time and made sure I did it right. First up was rolling out the bottom crust. Pretty easy, but the edges of it did split the bigger and flatter the dough got.
I had to fix some of the spits before I could get the dough into the pie pan. I kept a small dish of water handy so I could wet my fingertips and moisten the dough where I needed to patch it up. Tip: Wetting the edges of the dough, overlapping them, and rolling them out sealed any large breaks.
Once the dough was safely in the pie pan, I gave the filling a good stir and added it to the newly made crust. Tip: Use a slotted spoon and allow excess liquid to drain away before adding to the crust to prevent your pie from getting soggy.
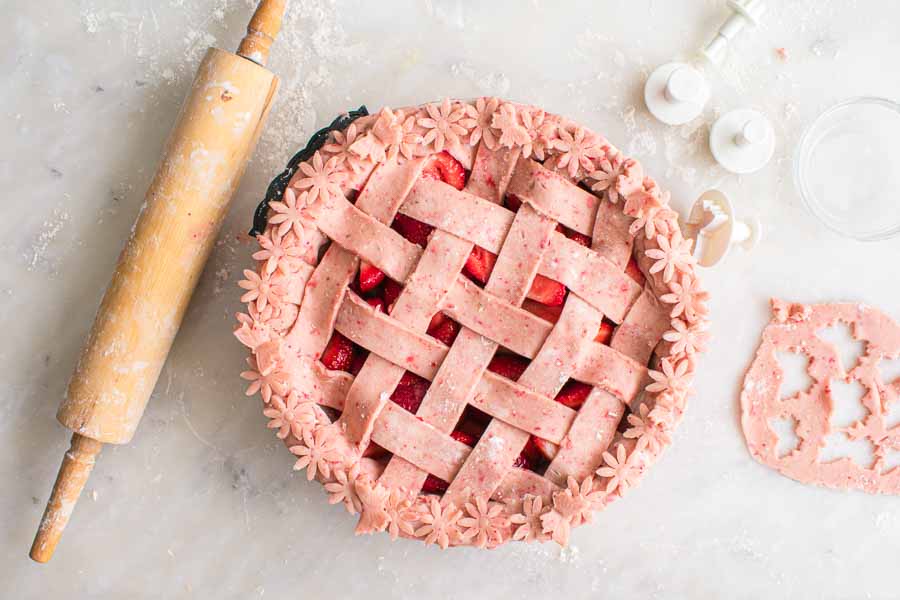
The lattice is optional, but I had to give it a try! I used a (washed) ruler to make it, re-rolling out the dough as needed. Once it was woven, I wet the edges to make sure it stuck to the crust and crimped the edges.
It looked awful! I have no idea how to make a pretty crimp, so I busted out my cookie cutters and covered up the mess. I pressed out a bunch of flowers and butterflies, then wet the edge and stuck them on. Much better 🙂
Then it was into the oven for 40 minutes, only to discover my beautiful pink masterpiece looked like a regular pie. It was pretty if I do say so myself, but I was still super disappointed about the color until I had a slice. I didn’t care too much after that!
Take Two
I was determined to have a pink pie crust, so I had to give this recipe a second try. This time I ground the freeze-dried strawberries before measuring out 1/2 cup. I used two 0.8-ounce bags plus what was leftover from the first pie. It gave me an almost red crust:
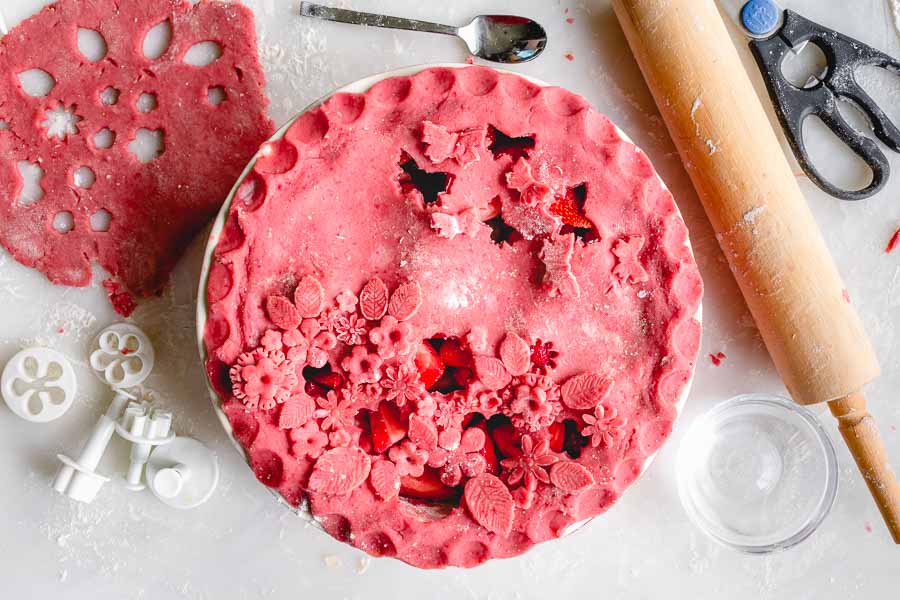
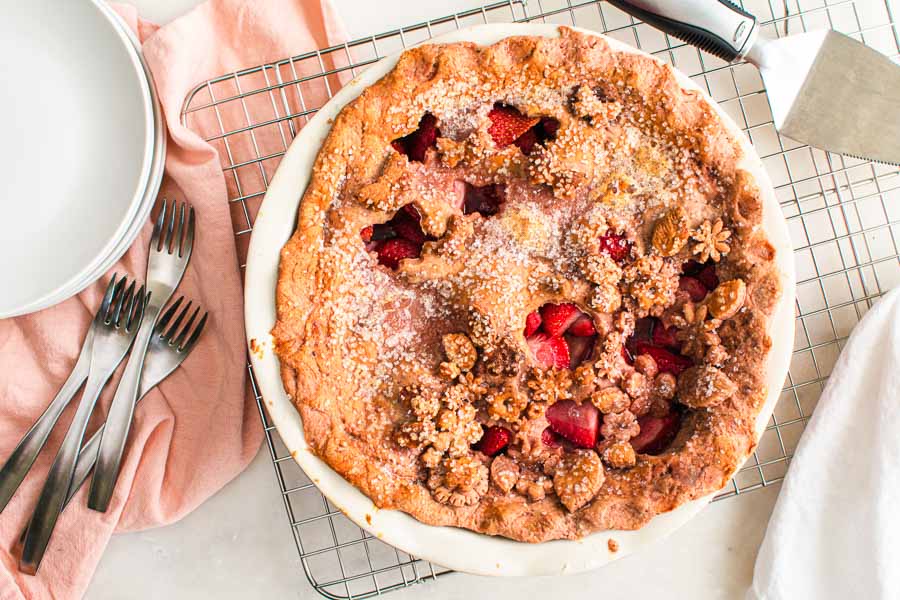
I also baked it for 35 minutes, five minutes less than the minimum time listed. In the end it was all for naught. I still ended up with a golden brown pie crust, and my lovely decorations warped into a mess. Oh well, I tried and it tasted good.
Tip: Finally, make sure to grease your pie pan before adding the bottom layer of dough. I used canola oil spray for my first pie and had a lot of sticking. I made sure that didn’t happen with the second pie! I greased the pie pan like I do my cake pans, with a floured layer of vegetable shortening. It worked a treat.
