After reading the title of this post, you might be thinking what I was the first time I read it. Portuguese Chocolate Mousse with Chocolate Salami—wait, what? Chocolate salami??!! I don’t blame you. These are not two things that go together, but I assure you that there is no actual salami involved in this recipe. The name just describes how a chocolate and biscotti mixture is rolled up into a tube that resembles a salami. But the name is memorable, and it certainly got my attention. I simply have to try it!
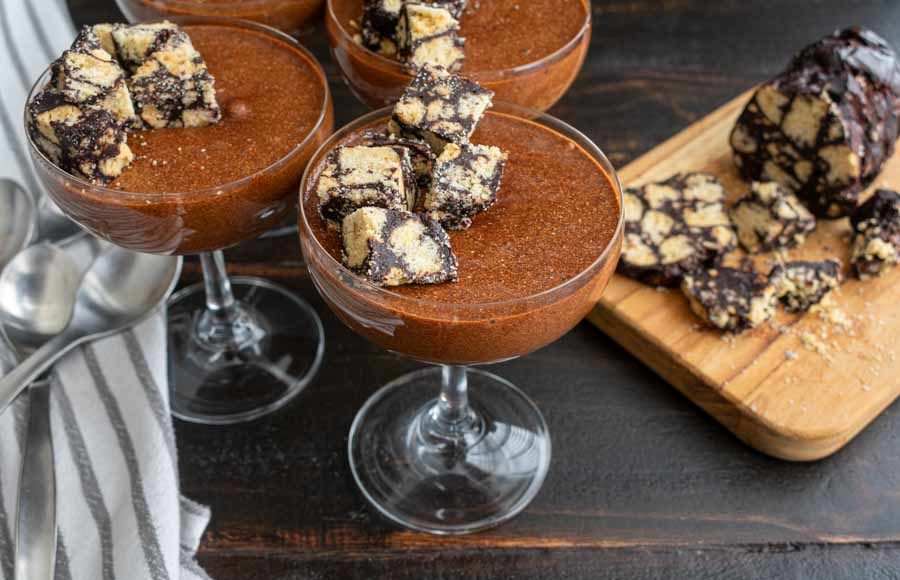
Traditional Portuguese chocolate mousse served with crumbled ‘Chocolate Salami’Portuguese, European, Chocolate, Mousse, Cookie – a sliceable chocolate fridge cookie.
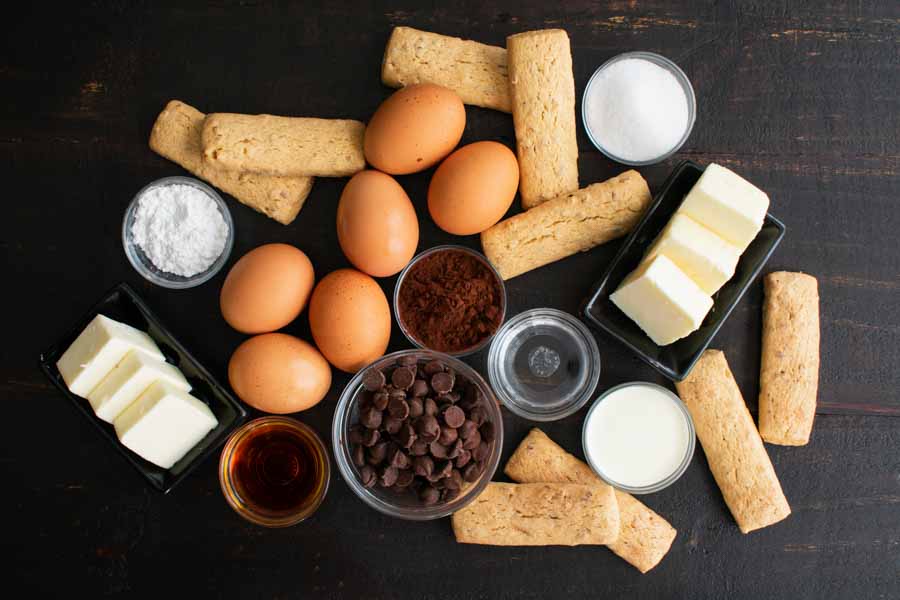
The Ingredients
I’ve never made mousse or chocolate salami, but the list of ingredients really isn’t very long at 12 items. I had the granulated and powdered sugar on hand, as well as the liquors. This recipe gives you options for the liquor. I chose Cointreau orange liqueur for the chocolate salami and spiced rum for the mousse.
I found everything else at my usual grocery store except for the high-quality cocoa powder. That had to be ordered, and I ended choosing between the brand the author suggested, Valhrona, and Droste. I chose Droste since it was recommended a few times in articles and on message boards and it was a few dollars cheaper.

The Process
You might have guessed after reading the name of this recipe that it is made in two parts, and you would be correct. Here’s how my time was spent:
- 13 minutes to prep and cook the chocolate salami
- 15 minutes to cool
- 3 minutes to shape the chocolate salami
- 26 minutes to prep the chocolate mousse
- 2 minutes to garnish with the chocolate salami
- 59 minutes total (not including time to chill overnight)
And I have to tell you that I went into this recipe thinking it would be really difficult, but it really wasn’t. Yes, it’s somewhat complex, but it’s written in a way that makes it easy to follow. Here’s how it went.
Making the Chocolate Salami
I started off with the chocolate salami simply because the recipe lists it first. I kicked things off by making a chocolate mixture in a small saucepan. There was a lot of whisking involved, but it really wasn’t too bad.
From there I think I deviated a little from the recipe because I used my stand mixer with a whisk attachment instead of continuing to whisk by hand with a balloon whisk. I used it to beat the egg yolks and then mix them with the cooled chocolate mixture, and things turned out nicely with a little less work on my part. Yay!

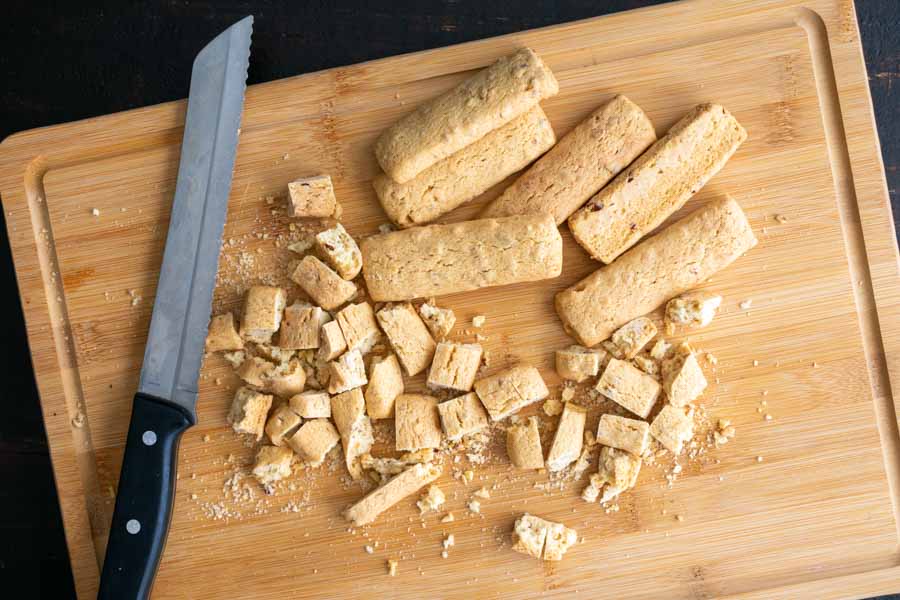
Then it was time to chop up the biscotti with a serrated knife (I used a bread knife) and add them to the chocolate-egg yolk mixture. Most of them ended up in the mixture, but I couldn’t help nicking a few pieces!
I rinsed out the stand mixer and go ready to make the chocolate mousse while the cookie mixture cooled. Soon enough, it was time to shape and refrigerate it. I couldn’t find wax paper, so I used parchment paper. They are both designed not to stick to things, and it worked almost as well. I did have a few tiny pieces stick to it when I finally unwrapped it, but they came off easily enough.
Making the Chocolate Mousse
My mousse making experience involves a packet of mix and some warm milk, so this was a totally new experience for me, and I was a little nervous. I’m happy to say that nervousness was completely unfounded. This part went just as smoothly as the chocolate salami.
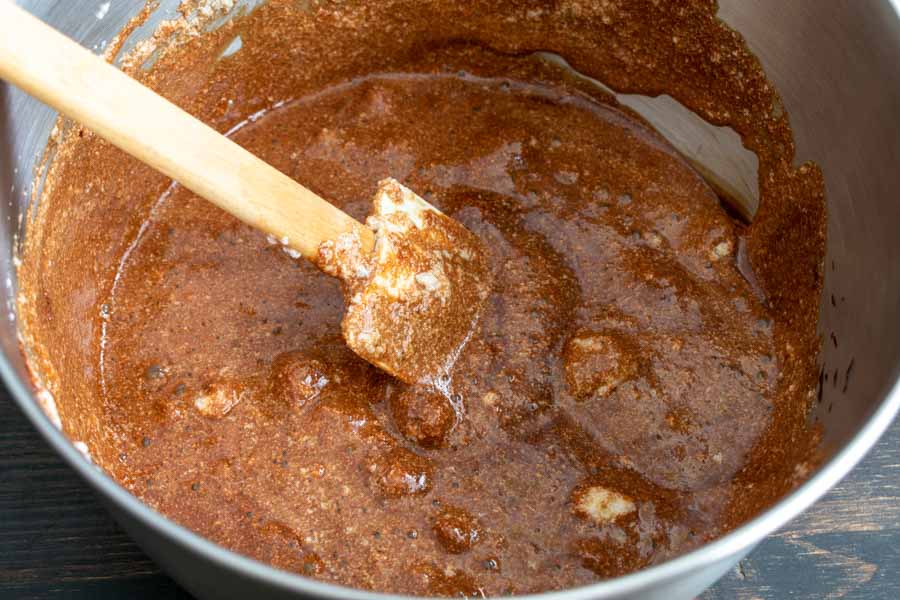
The first step was to put most of the ingredients into a double boiler and melt them while stirring constantly with a rubber spatula. Much like making the chocolate salami, the next step was to beat the egg yolks and then mix them with the chocolate mixture. Tip: If you don’t have a double boiler, you can DIY one with a mixing bowl and saucepan. Just make sure the mixing bowl is heat-proof (metal) and it fits snugly over the pan.
I used my stand mixer with the whisk attachment, but you could do this by hand with a balloon whisk pretty easily. Actually, using a balloon whisk might have been a better idea because I had to clean the whisk attachment before I was able to move on to the next step, beating the egg whites.

It took me about 15 minutes to beat the egg whites until they were thick enough to form the soft shiny peaks this recipe requires. I did have to tilt the bowl and scrape down the sides, so it wasn’t a turn the machine on and leave it kind of process. Maybe if I had a very nice stand mixer, but mine is a budget mixer (one day Kitchenaid, one day).
Then it was time to mix the fluffy egg whites with the aforementioned chocolate concoction. Honestly, I’m not sure I did this part right. The goal is to fold in the egg whites without deflating them. My egg whites seemed to form lumps, and I felt like I overmixed in order to get rid of them. I don’t know a lot about mousse, but I know it shouldn’t be lumpy.

Once the mousse was smooth, I poured it into four coupe glasses and carefully placed them into the refrigerator to chill. The recipe says for at least two hours, but I opted to chill everything overnight to be safe.
Putting it All Together
The next day I was so excited to see how things turned out! I carefully unwrapped the chocolate salami, then I sliced it and cut the slices into chunks. I’d say I put about two slices worth onto each mousse and still had about 1/3 leftover.
I sliced the leftover chocolate salami into rounds and ate it like cookies, but there was room to add more to the mousse. It would have covered it completely, but that’s not a bad thing! I just didn’t do it for photos.
One thing I did notice was the powdered sugar was never mentioned (it’s listed in the ingredients for the chocolate salami). After re-reading the blog post, I see the chocolate salami was rolled in it. I skipped it.
