After the cucumber-peanut salad and the peanut butter curry I made earlier this week, there was only one more way I needed to use peanuts: in a dessert recipe. Peanut Butter Cheesecake Truffles sounded like a decadent way to do that. Dark chocolate drizzled over a peanut butter cheesecake filling that also has chunks of chocolate throughout. Yes, please!
Peanut Butter Cheesecake Truffles are delicious bites of smooth peanut butter cheesecake loaded with chocolate chips, covered with crunchy chocolate shell.
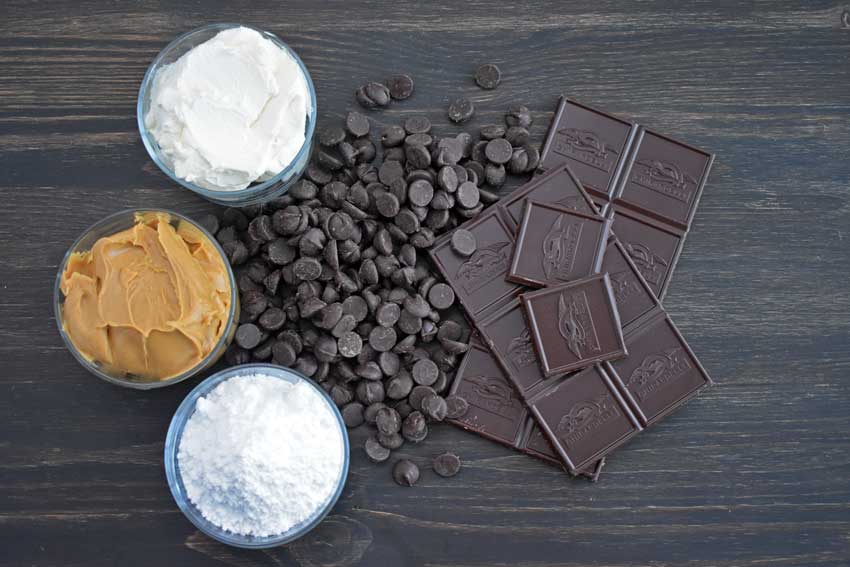
The Ingredients
I’ve never made truffles before, so I had no idea what to expect. One thing I can tell you I did not imagine was a list of ingredients only five items long. Yes, you read that correctly. And as you can see from the picture below, two of the five ingredients were chocolate.

The Process
This recipe wasn’t super difficult, but it probably does take more practice than I have to make beautiful truffles. I think mine turned out okay for a first try.
There weren’t a ton of steps in this recipe, but a few of them took several minutes or more. Here’s how the times broke down for me:
- Step 1: 8 minutes
- Step 2: 2 hours
- Steps 3-4: 36 minutes
- Step 5: 10 minutes
- Step 6: 7 minutes
- Step 7: 65 minutes (includes 1 hour for chocolate to harden)
- Total Time: 4 hours 6 minutes
Steps 1-4
Chopping the chocolate chips evenly was a little bit of a pain. No matter how careful I was, I had chunks of chocolate flying around. Next time I will use mini chocolate chips so I don’t have to chop them and make a mess.
Making the cheesecake balls was pretty simple. I didn’t have a small ice cream scoop, so I used a tablespoon (the measuring kind, not flatware). Each ball was a generous tablespoonful. A spray of canola oil between scoops kept the filling from sticking to the spoon.
Step 5
Melting the chocolate was almost a disaster. I put it into a glass bowl and microwaved it in 30-second bursts. I’m not sure why, but it ended up with grainy bits in it when I gave it a stir. I thought I was going to have to dump it and make another trip to the grocery store for more until I googled for a solution.
The graininess is called seized chocolate, and there was an easy solution to the problem. This article described how to add boiling water to the seized chocolate to bring it back to a smooth texture. It worked perfectly and didn’t have to waste chocolate. I’m thinking a double boiler might work out better for next time.
Step 6
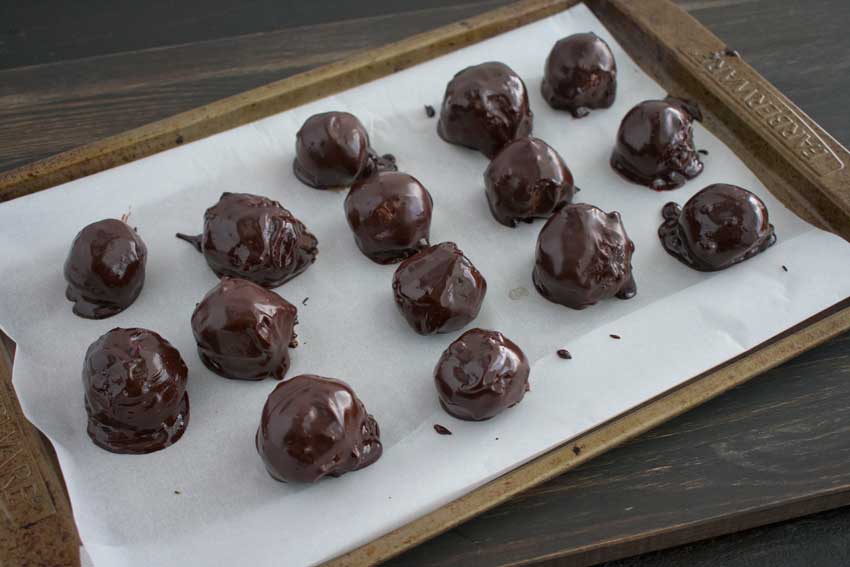
Dipping the truffles wasn’t exactly difficult, but I did have some problems getting a smooth finish. I used a fork to dip them into the chocolate, but they kind of rolled off the fork when I tried to add them to the cookie sheet. I had to dribble extra chocolate to cover the dents and dings, so the coating was far from perfect. A second fork to gently ease the truffles onto the cookie sheet really helped with that.
Step 7
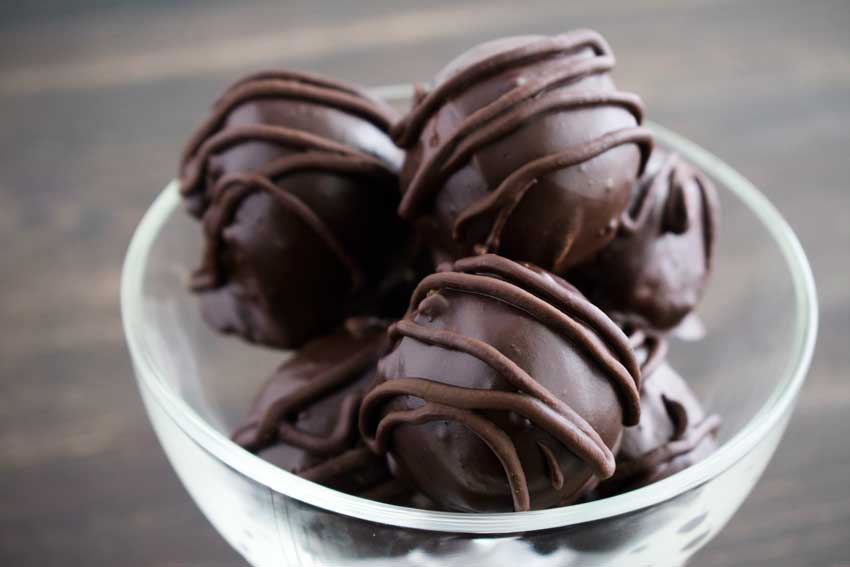
Finally, I added the leftover chocolate to a ziplock bag with a few extra chocolate chips. then I put the bag into a bowl of boiling water for a few minutes to remelt the chocolate, snipped off a tiny corner of the bag, and used that to decorate my truffles. It didn’t take much chocolate to do this, but I definitely did it too quickly and got sloppy.

