Home Blog Page 49

Creme Brulee Cheesecake Bars

My love of cheesecake is well-documented, but I’ll always have a soft spot for creme brulee. When my husband and I were dating, we frequented a beautiful Japanese restaurant whose signature dessert was green tea creme brulee. We ended up having our wedding reception in that restaurant’s banquet room and their green tea creme brulee was served for dessert. This recipe for Creme Brulee Cheesecake Bars made me think back to that night, and my sentimental self just had to give it a try.

These Creme Brulee Cheesecake Bars turn the classic French dessert into something even easier and tastier!

Recipe Author: Tessa Arias at Handle the Heat
Get the recipe

The Ingredients

The list was f ingredients for this Creme Brulee Cheesecake Bar recipe was nice and short. It was also made up of kitchen basics like eggs, sugar, and cream cheese, so nothing was difficult to find.

It did call for a vanilla bean, and that was on the pricey side at almost $9 for one (BTW, Amazon has better deals on vanilla beans). Thank goodness they pack a lot of flavor! But if you don’t want to go there, you can substitute vanilla extract according to a few articles I found online. Three teaspoons seem to be the equivalent of one vanilla bean.
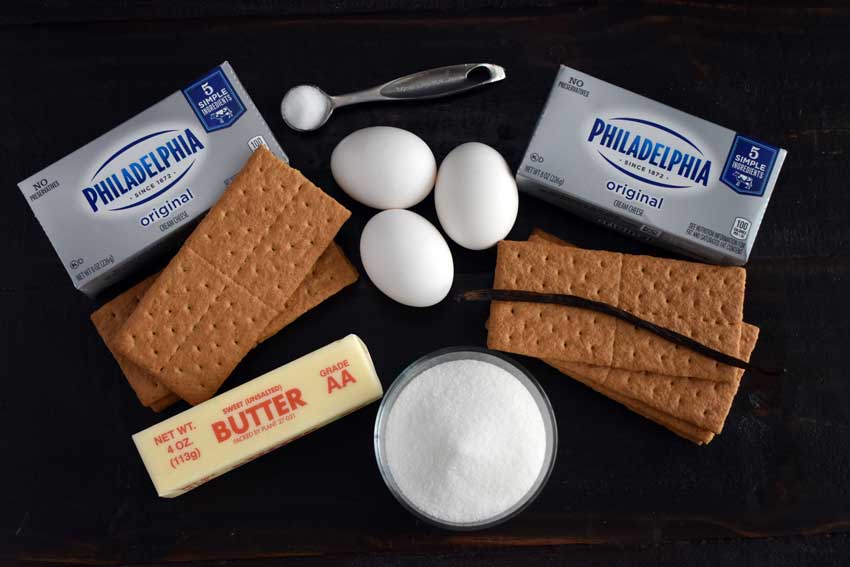
Creme Brulee Cheesecake Bars Ingredients
Cream cheese, sea salt, eggs, graham crackers, vanilla bean, sugar, and butter

The Process

These Creme Brulee Cheesecake Bars are another dessert that I made days. Here’s how my time was spent:

On the first day, I made the graham creamer crust and filling. My food processor got a workout because it was needed for both steps. A quick rinse while the crust was baking had it ready to blend the cheesecake filling. Once that was baked and cooled, I covered the pan and let it set overnight in the refrigerator.

Day two was cutting up the dessert bars and bruleeing the sugar topping. They were somewhat soft when I cut them, and they melted a bit under the broiler. Also, the sugar melted unevenly as you can see in the main image. I’m thinking a kitchen torch would have given better and more consistent results.

Finally, here’s how the times broke down:

  • 23 minutes to make the crust, bake it, and blend the filling
  • 2 minutes to add the filling and smooth it down
  • 45 minutes to bake
  • 4 minutes to cut and sprinkle with sugar
  • 2 minutes to broil
  • 1 hour 16 minutes (not including time to cool, approximately 4 hours)
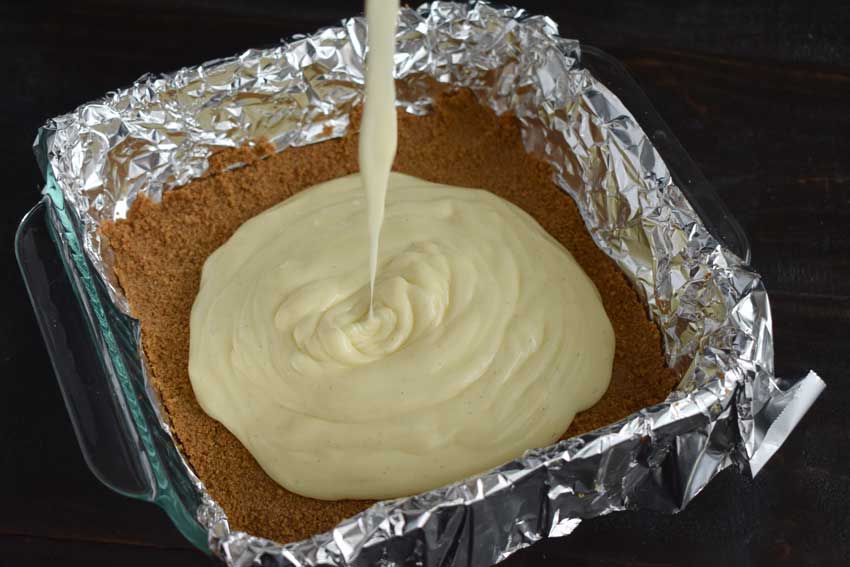
Pouring the filling onto the baked graham cracker crust

Eggplant and Goat-Cheese Sandwiches with Tomato Tarragon Sauce

I’m always on the lookout for new vegetable recipes, and this recipe for Eggplant and Goat-Cheese Sandwiches with Tomato Tarragon Sauce was too good to pass up. Eggplant, two types of cheese, and fresh herbs with tomato sauce sounded ridiculously good. Plus it fits right in with my goal of eating less meat. It’s time to find out if these eggplant sandwiches are as good as I think they’ll be!

Recipe Author: Alyssa D. at Key Ingredient
Get the recipe

The Ingredients

The list of ingredients for this eggplant sandwich recipe isn’t too long, and nothing was difficult to find. In fact, I had fresh tarragon and shredded Parmesan cheese leftover from other recipes. The most expensive item I had to buy was the goat cheese at $5.99 for half a pound. I’m so okay with that since I didn’t have to buy meat, which would have cost as much or more than the cheese.

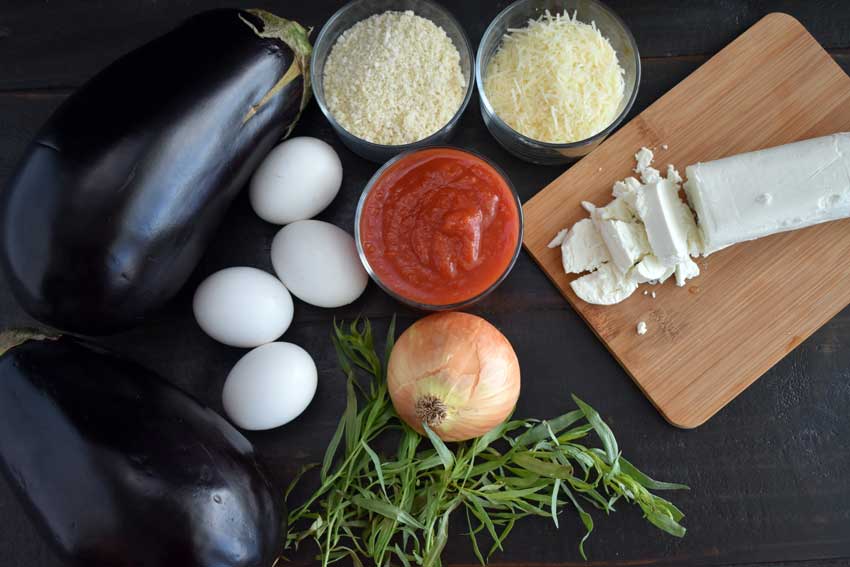
Eggplant and Goat-Cheese Sandwiches with Tomato Tarragon Sauce Ingredients
Eggplant, panko bread crumbs, shredded parmesan cheese, goat cheese, pureed tomatoes, eggs, onion, and tarragon

The Process

This recipe has 2 main parts, the first is cooking on the stovetop, and the second is baking the eggplant sandwiches in the oven. Total time for everything was 50 minutes.

The stovetop portion involves making the sauce and the eggplant ‘bread’ for your sandwiches. This was the longest part of the process at 40 minutes. Fortunately, the sauce simmered while I breaded and fried the eggplant slices in 4 batches.

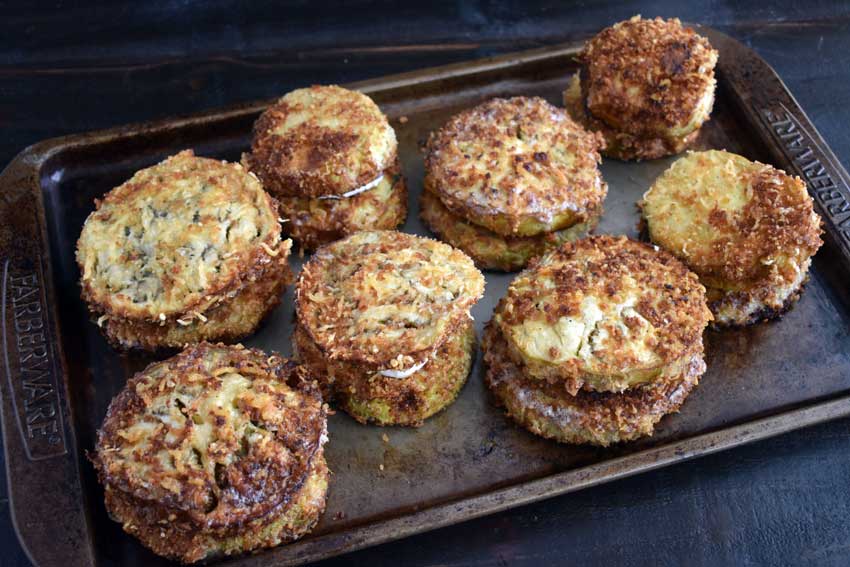
Next was adding the goat cheese to the eggplant and baking it to melt the cheese a bit. The cheese crumbled a lot, but this isn’t a beauty contest. I got the feeling that the cheese being crumbled helped it melt better.

Finally, just spoon some of the tomato tarragon sauce into a deep plate or shallow bowl, top with a sandwich or 2, and serve. I suppose the sauce could also go over the sandwiches–it’s just a matter of preference.

I absolutely loved these eggplant sandwiches, but my husband didn’t care for the goat cheese. He loved the eggplant and sauce, though. Next time I’m going to make half with goat cheese and half with fresh mozzarella slices for him. I’ll be happy either way!

Getting ready to bake the eggplant sandwiches

Raspberry Key Lime Italian Soda

Summer is in full swing here in South Florida, and it’s HOT! Like in the mid to high 90s every day hot. That means two things: 1) regular visits to the pool and 2) lots of cold drinks. This recipe for Raspberry Key Lime Italian Soda sounds like it was made for these hot summer days. Now for the hard part, making this Italian soda recipe and sipping it by the pool to see if it is as refreshing as it sounds. Poor me!

Summer’s perfect refreshment is an ice-cold, delicious drink. This refreshing Raspberry Key Lime Italian Soda is homemade and very easy. Made with fresh raspberry-lime syrup and soda water, this is the favorite drink to serve with summer fun outside.

Recipe Author: Lyuba at Will Cook for Smile
Get the recipe

The Ingredients

Raspberries and Key limes are in season in the summer, so there was no problem finding the main ingredients for this recipe. They were even reasonably priced at $5 for a pound of raspberries and $3 for a pound of Key limes. Now I just have to find a way to use the leftover Key limes so they don’t go to waste.

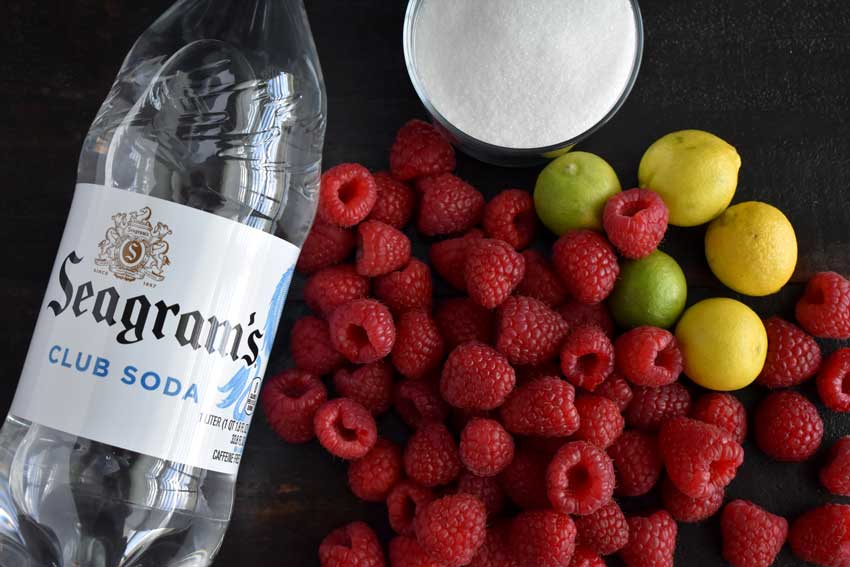
Raspberry Key Lime Italian Soda Ingredients
Club soda, raspberries, Key limes, and sugar

The Process

The instructions for this recipe were clear and easy to follow, and there were two main parts. The first was making the raspberry Key lime syrup, which was the bulk of the work.

Zesting the little Key limes was the hardest part. It took some patience to hold onto the tiny fruit, and I had to really watch my fingers. Once that was done, I used my electric juicer to juice the limes. I know they’re small, but using a citrus reamer to juice 5 limes by hand would have taken forever, and zesting has already tested my patience for the day.

From there it was just a matter of simmering the mixture in a small saucepan, smashing the raspberries with a wooden spoon, and straining out the seeds and solids. The entire process took 18 minutes from start to finish, then it was into the refrigerator to chill.

I made my Italian sodas the next day, and it couldn’t have been easier. In fact, making the garnishes took longer than making to sodas!

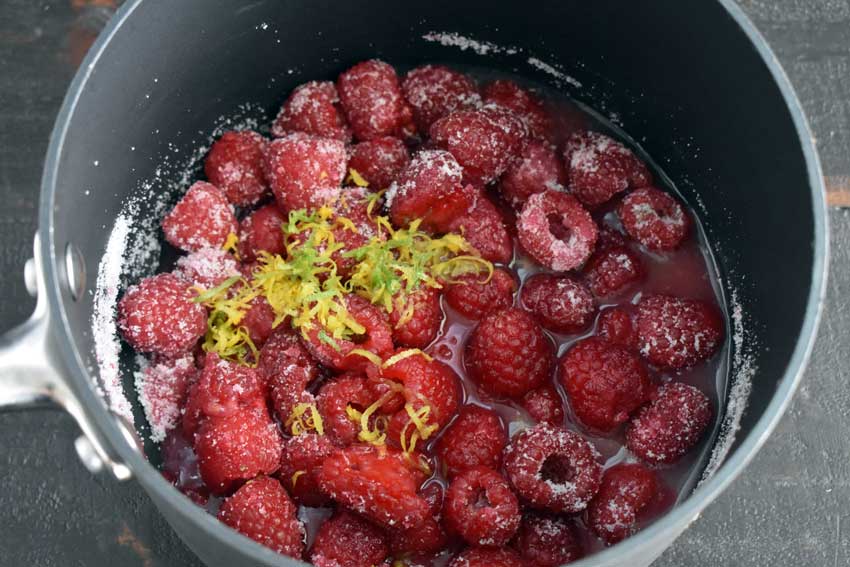
Simmering the raspberries, sugar, Key lime zest, and Key lime juice
Simmering the raspberries, sugar, Key lime zest, and Key lime juice to make the syrup

Easy Keto Lasagna Stuffed Portobello Mushrooms

I’ve noticed this pin for Easy Keto Lasagna Stuffed Portobello Mushrooms has been one of my most popular pins for weeks. Portobello lasagna? I know mushrooms and sausage aren’t standard lasagna ingredients, so I tried not to get too hung up on that. Instead, I told myself the mushrooms replaced the noodles, and the sausage was seasoned whereas ground beef isn’t. This recipe would cut down the time and work that goes into a lasagna. What’s not to like about that?

By the way, I’m not on the keto diet, I’m just reviewing this recipe because it sounds delicious. But if keto is for you, you might want to check out The 9 Best Keto Meal Delivery Services of 2020 at The Spruce. Get the skinny (pun intended ?) on keto meal delivery services that will help you be healthier and make your life a little easier.

Easy Keto Lasagna Stuffed Portobello Mushrooms will be a new family favorite! All the flavors of your favorite classic comfort food in a low carb and fun to eat package!

Recipe Author: Mellissa Sevigny at I Breathe I’m Hungry
Get the recipe

The Ingredients

There were only a few ingredients for this portobello lasagna recipe, and none were overly expensive or hard to find. My husband and I are not on the keto diet, so I did lighten things up a bit. I used low-fat cheese and mild turkey sausage to cut down on the fat.

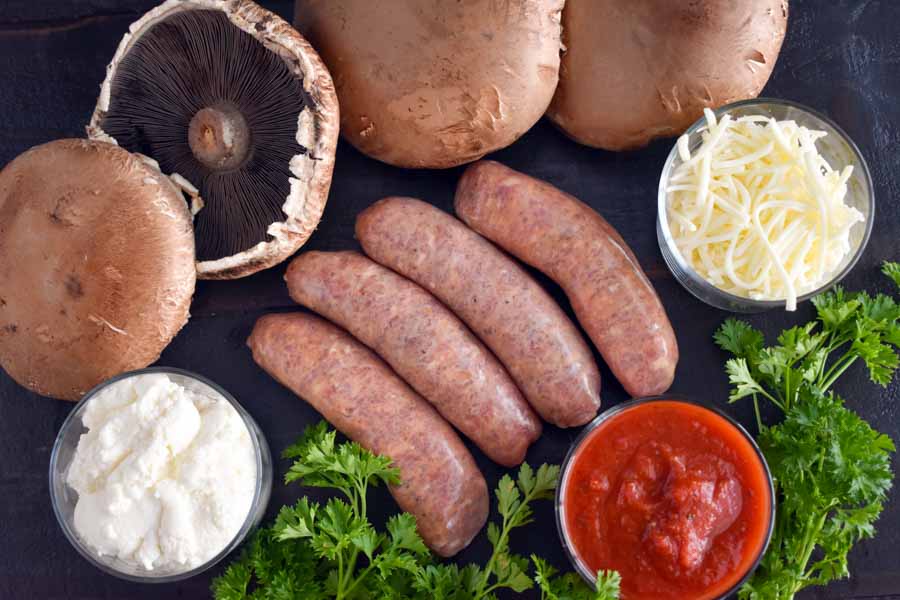
Easy Keto Lasagna Stuffed Portobello Mushrooms Ingredients
Portobello mushrooms, mozzarella cheese, parsley, marinara sauce, Italian sausage, and ricotta cheese

The Process

What’s better than having clear instructions for a recipe? Step by step photos and an accompanying video to show you how to make it. They made making this recipe so easy and anxiety-free.

It took me 15 minutes to get my portobello lasagna (or should that be lasagnas?) ready to go into the oven. They baked for 40 minutes, and the smell about drove me crazy. I couldn’t wait for them to be done!

I did find one of the smaller mushroom caps overflowed during baking. Make sure to buy the largest portobello mushrooms you can find. Alternatively, the amount of cheese and marinara could be reduced slightly.

Another thing I noticed was there was a lot of liquid in the baking sheet when I took it out of the oven. It didn’t seem to have any adverse effect on the mushrooms, but they did drip a lot. I think I’ll try putting them on wire baking racks next time to allow the liquid to drain away.

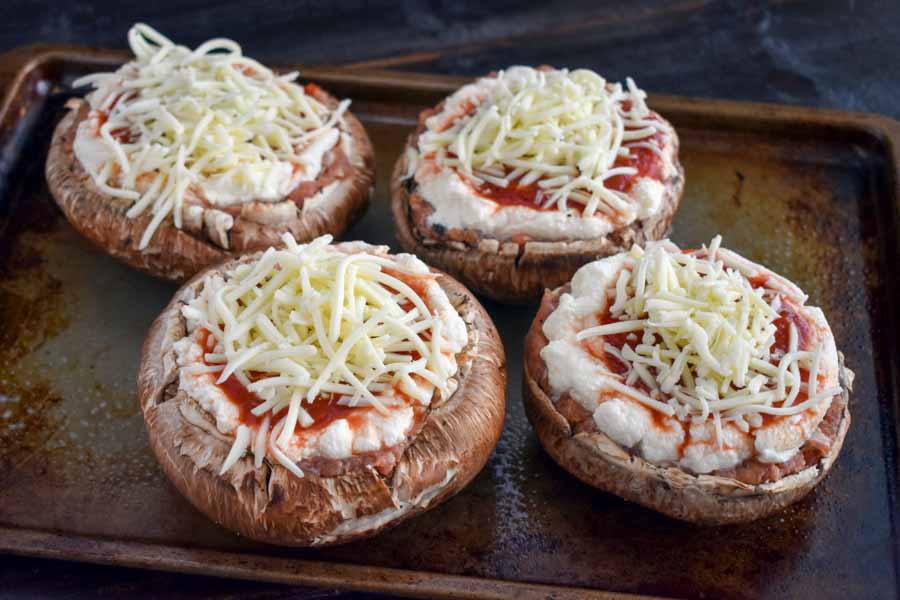
Stuffed mushrooms on a sheet pan
Getting ready to bake the stuffed mushrooms

Crock Pot Chicken Thighs with Artichokes and Sun-Dried Tomatoes

My love for easy crockpot recipes is continuing with Crock Pot Chicken Thighs with Artichokes and Sun-Dried Tomatoes. Chicken, artichokes, and sun-dried tomatoes are all up there on my favorite foods list. And since my crockpot is one of my favorite ways to cook, this recipe is a must-try for me.

Melt-in-your-mouth chicken thighs prepared in the crock pot with artichoke hearts and sun-dried tomatoes.

Recipe Author:  Katerina Petrovska at Diethood
Get the recipe

The Ingredients

I wasn’t able to find the recommended brand of grilled artichoke hearts for this recipe, so I just bought plain ones. I was disappointed because grilled artichoke is delicious. Other than that, everything else was easy to find and nothing was unusually expensive.

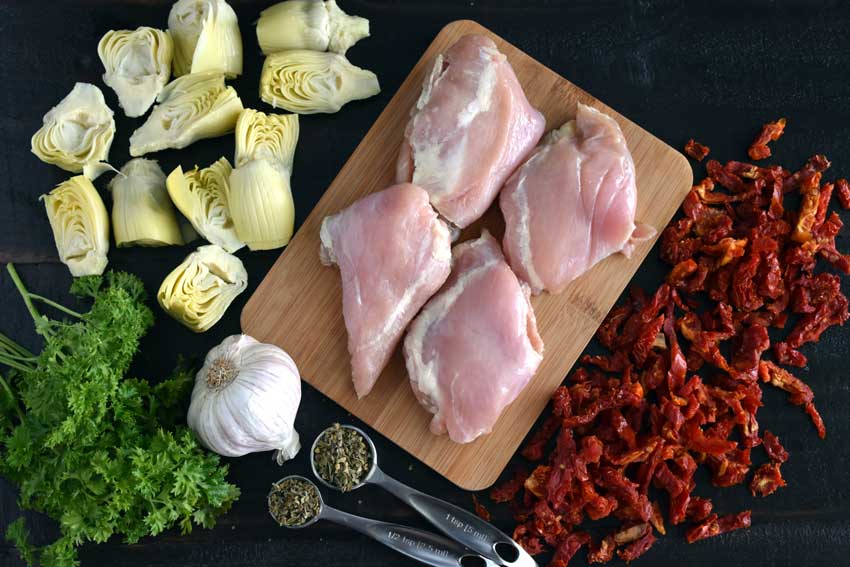
Crock Pot Chicken Thighs with Artichokes and Sun-Dried Tomatoes Ingredients
Boneless, skinless chicken thighs, artichoke hearts, sun-dried tomatoes, dried oregano, garlic, and parsley

The Process

Saying this recipe was easy feels like an understatement. All I had to do was sprinkle salt, pepper, and oregano on the chicken then put everything into my crockpot. It took me a whole 6 minutes to do all that, and I had a delicious-smelling dinner 4 hours later.

To Serve

I decided at the last minute to make a small batch of plain spaghetti to go with my chicken. It seemed like a great addition to this Italian-inspired recipe. It’s not part of the original recipe, so feel free to leave it out if you want.

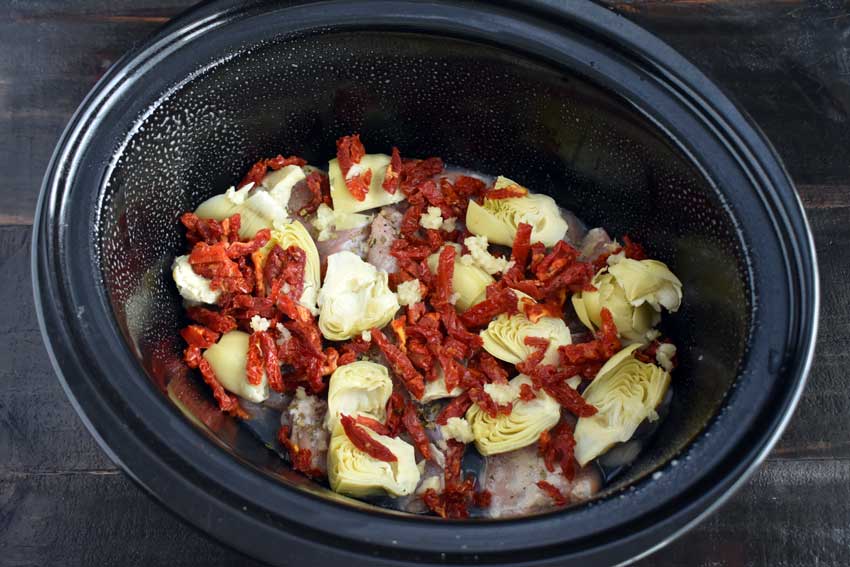
Everything has been added to the crockpot

Caramel Banana and Bourbon Pie

Bananas are a favorite fruit around my house–my pet rabbits love them as treats! And, I have to admit, my husband and I do too. I’m slowly learning to bake with them, and this Caramel Banana and Bourbon Pie recipe sounded soooo good. Combining my favorite fruit with a graham cracker crust, caramel filling, and a whipped cream topping sounded ridiculously good. But wait, there’s more! Add bourbon to that caramel filling and top that whipped cream with toffee bits and shaved chocolate. Awwwwww yeah!!

If you’re a regular reader this will come as no big surprise […] I did what I often do and it was good. I added bourbon. Yep, I have a reputation to keep and really if adding bourbon to any dessert works, well, adding it to one with bananas, caramel and whipping cream seems a given doesn’t it?

Recipe Author: Barb at Creative Culinary
Get the recipe

The Ingredients

If you happen to have a bottle of bourbon on hand, then the rest of the ingredients for this caramel banana and bourbon pie will be inexpensive and easy to find at a typical grocery store. If you don’t have a bottle of bourbon, then you could get away with a couple of minis for this recipe. Lucky me, I just happened to have a bottle of bourbon on hand.

In case your local grocery store doesn’t stock toffee bits, a crushed Heath bar will give you more than enough toffee bits to top the pie. Crushed hard toffee candies would also work.

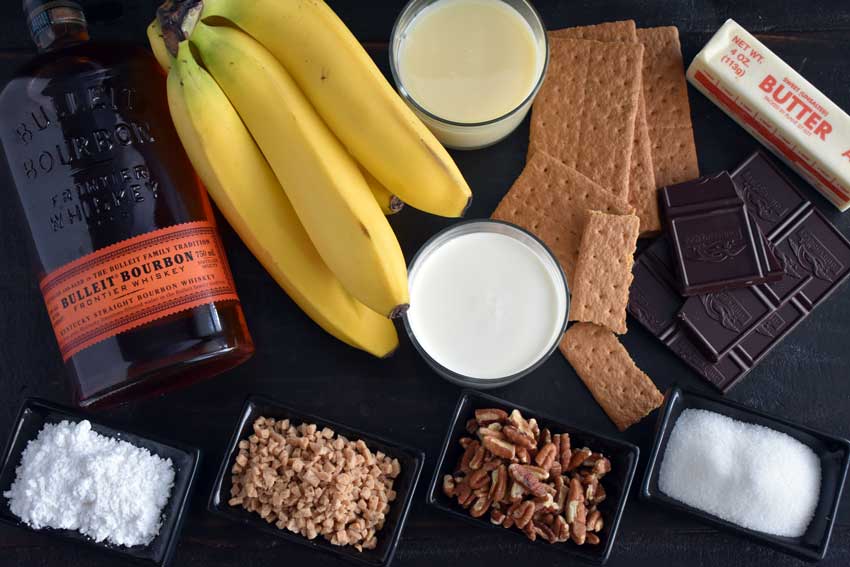
Caramel Banana and Bourbon Pie Ingredients
Bourbon, bananas, whipping cream, sweetened condensed milk, graham crackers, butter, chocolate, sugar, chopped pecans, toffee bits, and powdered sugar

The Process

I made my caramel banana and bourbon pie over 2 days in 3 major steps: the crust, the caramel filling, and the topping. The main reason for taking 2 days was the time needed to chill the pie after filling it with banana and caramel, then chilling it after topping it with the whipped cream, toffee bits, and shaved chocolate. Here is how the times broke down:

Day 1: Crust and Filling

  • 18 minutes to prep and bake the graham cracker crust
  • 1 hour 20 minutes to bake the caramel filling
  • 4 minutes to fill the pie with bananas and caramel

Day 2: Decoration

  • 9 minutes to make the whipped cream, pipe it onto the pie, and add other toppings
  • 1 hour 47 minutes total (time to chill not included)

Day 1: Crust and Filling

I used the graham cracker crust the author linked to in the caramel banana and bourbon pie recipe. I ended up making 1.5 times the amount in the crust recipe so I could completely fill my pie pan. It turns out I didn’t need to make that much since the pie filling and topping didn’t quite fill the pan. I’d say halfway up the sides of a deep pie pan would be enough unless you use very thick banana slices.

The crust was the only part of this pie that left me with a question, and that was how many graham crackers make 1 cup of crumbs? The answer is 5. And a food processor will make making the pie crust fast and easy.

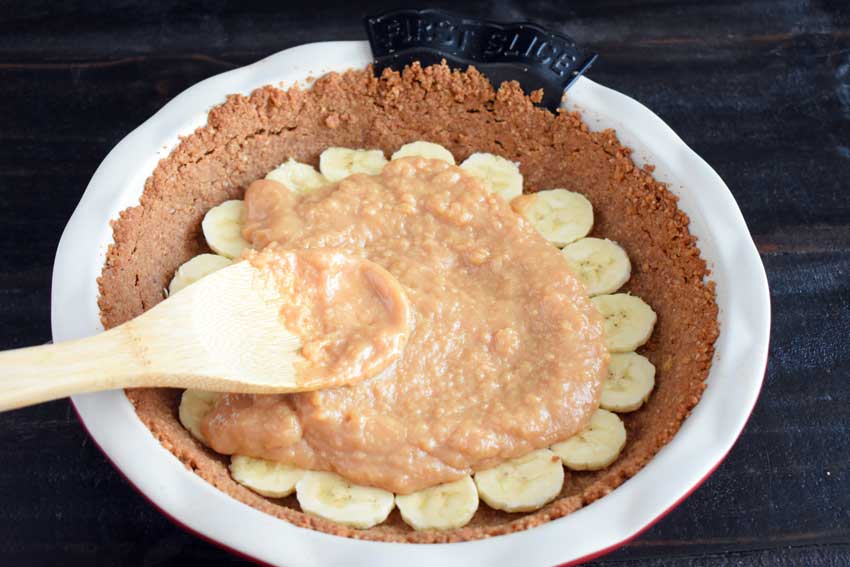
Next came the caramel filling. That was just a matter of mixing the condensed milk with the bourbon and baking it in a water-filled pan for 1 hour 20 minutes. It created a steam bath, similar to how you bake a cheesecake. I sliced the bananas while the caramel was cooking and filled the pie with them in just 4 minutes, then it was into the refrigerator overnight to cool.

Day 2: Decoration

Day 2 was making the whipped cream and decorating the pie. I used my food processor to speed things along. If you’ve never tried making whipped cream this way, just turn on your food processor and slowly pour in the whipping cream. It will be stiff in a minute or so, then add the powdered sugar the same way.

I used one of my cupcake piping tips to get big dollops of whipped cream added to my pie. Then all I had to do was sprinkle on the toffee bits and shave a bit of chocolate. My vegetable peeler and a bar of baking chocolate made that final step quick and easy. Then it was back into the refrigerator for at least 3 more hours to chill before serving.

Adding the caramel filling over the sliced bananas

Parchment Baked Lemon Salmon and Potatoes with Dill Yogurt

I just adore recipes that include the main and the side all in one. They really do make my life easier. This recipe or Parchment Baked Lemon Salmon and Potatoes with Dill Yogurt is one of the best I’ve found in my Pinterest wanderings. And it’s healthy! The name pretty much says it all, and—spoiler—it’s as good as it sounds. Maybe better!

If you’re looking for an easy, delicious and healthy dinner, this parchment baked salmon is the perfect recipe. Everything is cooked together in a parchment paper pouch creating an almost mess free dinner that’s not only easy, but yummy and good for you too! Best part? It’s ready in just about thirty minutes.

Recipe Author: Tieghan at Half Baked Harvest
Get the recipe

The Ingredients

Depending on the type of salmon you buy and how many you’re cooking for, this meal can be very budget-friendly. My local grocery store had a couple of farmed and wild varieties. I have a farmed salmon kind of budget and got 2 6-ounce fillets for just under $7.

The rest of the items weren’t too expensive, but you might want to do some strategic planning to make sure you use up the leftover arugula and dill. The basil is totally optional here because it’s strictly a garnish and doesn’t add any flavor. Skipping it will save you a couple of dollars, and you won’t miss it.

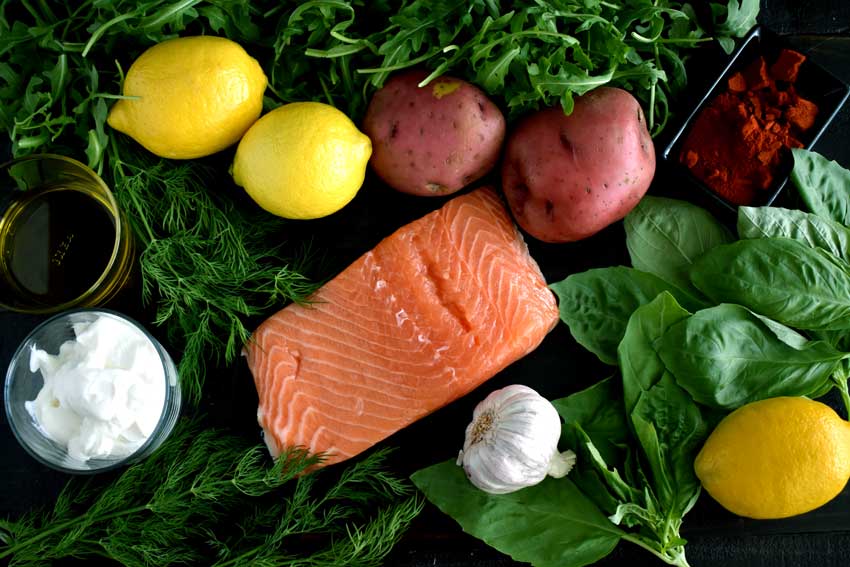
Parchment Baked Lemon Salmon and Potatoes with Dill Yogurt Ingredients
Salmon, dill, Greek yogurt, extra virgin olive oil, lemon, arugula, potatoes, smoked paprika, basil, and garlic

The Process

This recipe was quick to make and took a total of 36 minutes. That was 16 minutes of prep work and 20 minutes to cook. The prep work includes everything needed to get the salmon packets into the oven. I made the dill yogurt while the fish was cooking.

The prep work did include a couple of extra minutes to skin the salmon fillets. I completely forgot to ask for it to be done at the seafood counter. Have no fear if you do the same since the skin pretty much peels right off with a little help from a sharp knife to get things started.

Next tip is to make sure you have a mandoline to slice the potatoes and one of the lemons. It will speed up the prep work and ensure you get uniform slices. That’s not so important for the lemons, but it will help the potatoes to cook evenly.

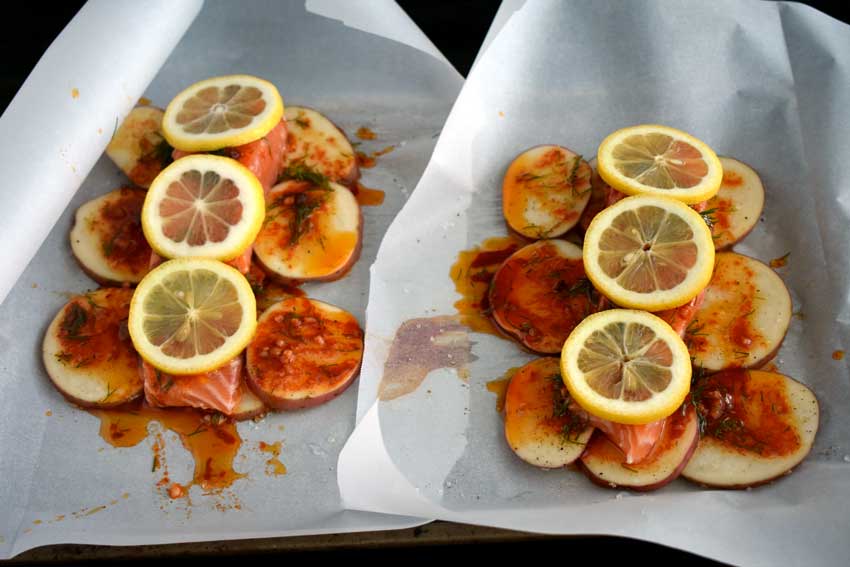
Speaking of potatoes, I found I had to overlap them slightly to get them to fit onto the folded parchment. I used 9 slices per packet and found I didn’t have enough room to fold over the edges without overlapping the potatoes just a little.

Lastly, make sure to fold the edges of your parchment packets in a half-moon shape. I completely missed that part and had trouble getting the packets to stay closed. Sealing the packets helps to trap the steam inside and keep the contents moist. This guide shows a few ways to form a parchment packet (Option 2: Pleated is the same as the half-moon/crescent shape needed for this recipe).

Getting ready to close the parchment packets

Tangerine & Honey Thyme Martini

I couldn’t decide if I was going to make a dessert or a drink for my final post this week. They both sounded like good ideas to me. But as you can see, the drink recipe won out. Why? There’s just something about a dinner of steak and potatoes that screams “martini” to me. And today I’m hearing “tangerine martini”.

This recipe for a Tangerine & Honey Thyme Martini looked and sounded so fresh, and my husband loves tangerines and martinis. How perfect would a tangerine martini for his birthday dinner?! Now let’s hope I can find some tangerines at the grocery store. This is Florida, after all. How hard could it be to find citrus fruit…

Tangerine & Thyme Martini cocktail – a refreshing vodka martini with fresh tangerine juice and sweetened with a honey thyme simple syrup.

Recipe Author: Natalie at Tastes Lovely
Get the recipe

The Ingredients

It turns out that citrus fruit was not hard to find but tangerines were. They are in season from October through April, and it’s June. All was not lost though! A quick google told me mandarin oranges and tangerines are cousins, and the grocery store had mandarins. Specifically, Gold Nugget mandarin oranges, which, like tangerines, are seedless. My tangerine martini was saved!

I had my husband try one as a snack to make sure they had a tangerine-like taste and he approved. The only difference I noticed is they seem smaller than tangerines and not quite as juicy. I used 2 per martini to get a 1/4 cup of juice for each. That ended up being just the right amount. FYI: The recipe says 1 tangerine should give about a 1/2 cup of juice.

The rest of the ingredients were things I had on hand. I even had the fresh thyme leftover from the steak recipe. Sometimes the stars just align 🙂

Tangerine & Honey Thyme Martini Ingredients
Tangerines (I used Gold Nugget mandarins), vodka, honey, and thyme

[adinserter name=”Post Ads”]

The Process

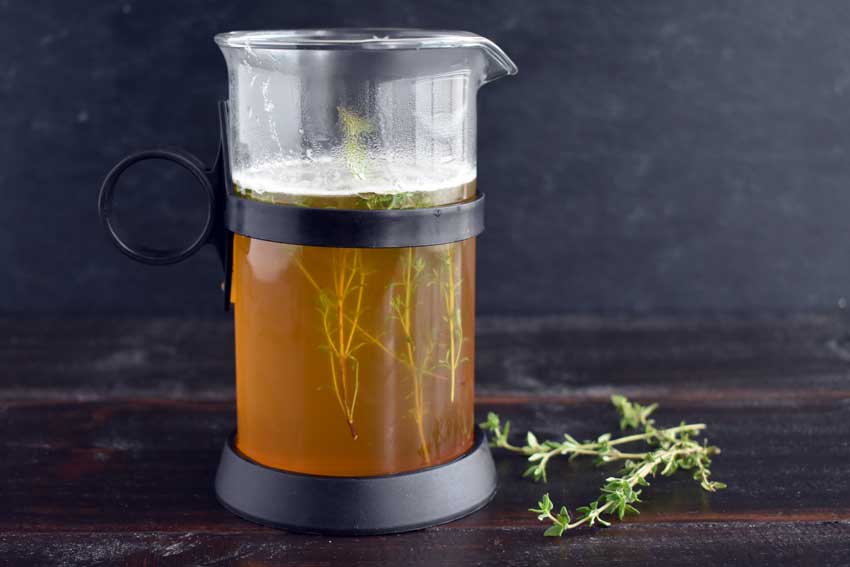
This tangerine martini recipe is split into 2 parts: making the honey thyme simple syrup and making the martini itself. First, of course, was making the simple syrup. That took only 4 minutes and was pretty straightforward. The only question I had was how long to let the thyme steep. I left it in the simple syrup while it cooled for a few hours in the refrigerator and removed it when I made my martinis.

The martinis were even easier to make and only took me 3 minutes. The only thing I might change is straining the juice before adding it to the cocktail shaker. Maybe even the syrup too because my martinis were cloudy. I think a fine mesh cocktail strainer would take care of that if it bothers you.

Making the honey thyme simple syrup

[adinserter name=”Post Ads”]

Crispy Garlic Baked Potato Wedges

I decided to make my husband a steak and potatoes dinner for his birthday this week. I already shared the steak recipe with you, so now it’s time for the potatoes. He loves steak fries, so I knew these Crispy Garlic Baked Potato Wedges would be a hit. Not that I wasn’t looking forward to them—reading the author’s description practically made me fall in love with them!

Crispy Garlic Baked Potato Wedges are soft pillows on the inside, and crunchy on the outside with a good kick of garlic and parmesan cheese!

Recipe Author: Karina at Cafe Delites
Get the recipe

The Ingredients

After a fairly pricey steak, the ingredients for this recipe were downright cheap. I halved the number of potatoes since it was just the two of us. The rest I kept as listed, and I still got 4 servings out of this dish. In fact, I had everything else in my pantry/refrigerator either as leftovers from other recipes or just staple items I always keep around. I love it when that happens!

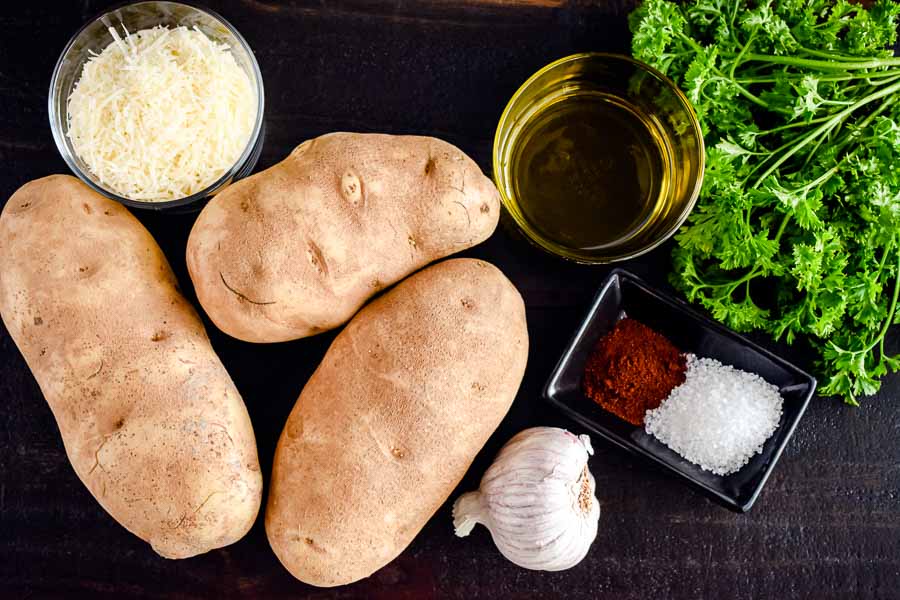
Crispy Garlic Baked Potato Wedges Ingredients
Russet potatoes, parmesan cheese, olive oil, parsley, sea salt, paprika, and garlic

[adinserter name=”Post Ads”]

The Process

I love potato recipes that don’t require any peeling. They save so much time! This recipe for potato wedges is one of those recipes, so all you need to do is give your potatoes a quick scrub and let them dry thoroughly. Then it’s 15 minutes of prep work that mostly involves carefully cutting up the potatoes and making sure they are well coated in the oil mixture. It’s not that easy to get a perfect wedge, but it’s best to try and get them all similar sizes so they cook evenly.

Even with half the number of potatoes, I still used 2 baking sheets to bake my potato wedges. I think it was because they need to be placed skin-side down for the first half of baking. That meant arranging them a lot more neatly than, say, frozen french fries that I would just toss onto the baking sheet. Halfway through baking I just pushed all the potato wedges over onto their sides.

Another 17 minutes of baking (total time was 50 minutes) gave me the beautifully browned potato wedges you see at the top of the page. I noticed either the cheese or the garlic (maybe both) were burnt in places, but it didn’t seem to affect the taste, thank goodness! Adding the cheese halfway through baking instead of at the beginning should prevent any burning if it’s a concern. I’m not sure how to keep the garlic from burning, though.

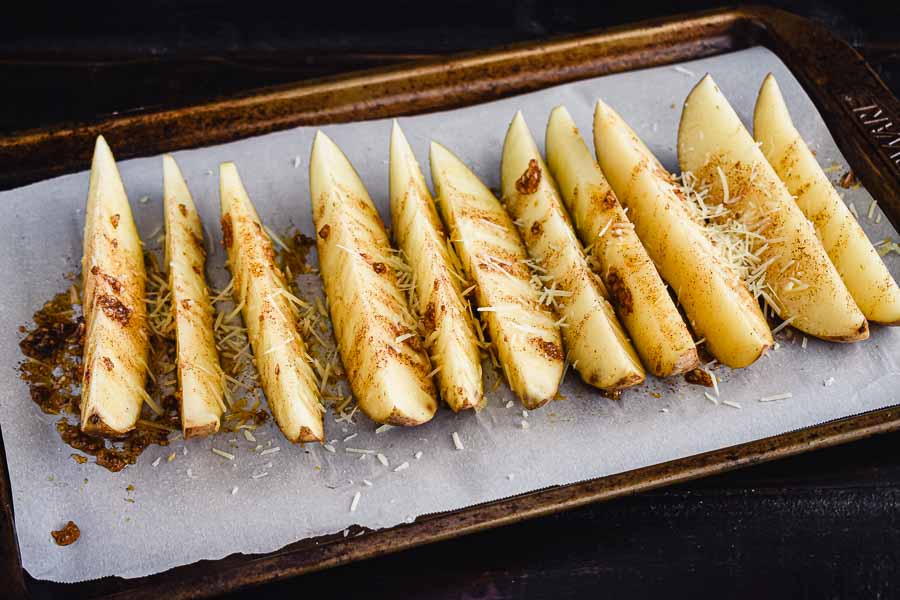
Ready to bake
Ready to bake

[adinserter name=”Post Ads”]

Seared Flank Steak with Shallot-Mustard Sauce

My husband’s birthday is this week, and I wanted to make him something special. We have really cut down on red meat, so steak and potatoes sounded like the perfect treat. He loved the matambre (Argentinean stuffed flank steak) I made last year, so this recipe for Seared Flank Steak with Shallot-Mustard Sauce grabbed my attention. I don’t make flank steak often, but it’s a wonderful cut of meat. Lean, tender, and full of flavor. So let’s get started on this birthday dinner!

Tuck into this juicy steak with its savory red-wine-and-shallot pan sauce, and you’ll feel like you’re dining in a Parisian bistro.

Recipe Author: Arlene Jacobs at Fine Cooking
Get the recipe

The Ingredients

The list of ingredients for this recipe was long-ish but not too bad. Depending on your tastes, the steak or the wine will be the priciest items on your grocery list. For me, it was the flank steak at just over $23 for about 2 1/4 pounds.

That was much larger than the recipe called for, but it was the smallest flank steak in the meat case. I thought about cutting it in half but decided to make the whole thing. I like having leftovers for weekday lunches.

The rest of the ingredients were a mix of things I had on hand and a few I had to buy. The fresh herbs were the next most expensive items at just over $2 each, but they’re so worth it for the flavor. I know, dried are more economical, but I surely didn’t want to skimp for my beloved’s birthday.

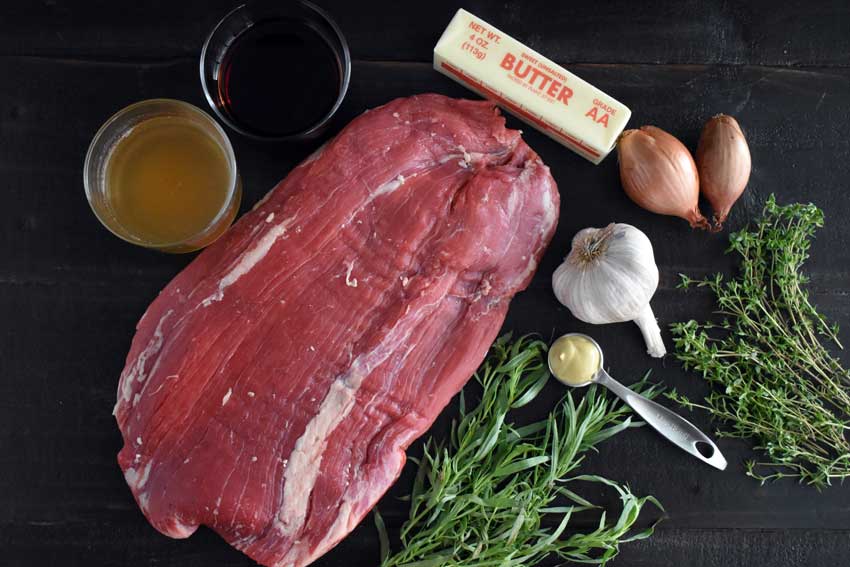
Seared Flank Steak with Shallot-Mustard Sauce Ingredients
Flank steak, beef broth, red wine, butter, shallots, garlic, thyme, tarragon, and Dijon mustard

[adinserter name=”Post Ads”]

The Process

The directions for this recipe were a little daunting but only because of their format. They were mainly 2 long paragraphs, and that can make it easy to get lost. I made sure I read through them a couple of times to keep things straight.

I also lined up the prepped ingredients in the order needed to make sure I didn’t skip anything. In the end, the whole process went very smoothly. Everything was prepped in 15 minutes and cooked in 26 minutes for a total time of 41 minutes.

Bacon Wrapped Green Bean Bundles

I needed a side to serve with the pork Marsala I made earlier this week. It had to be something that wouldn’t clash with the Marsala wine sauce and preferably a green vegetable. This recipe for green beans wrapped in bacon sounded like it would do the job nicely. Plus bacon! I have yet to find a dish with bacon that I don’t like.

Pretty little bundles of bacon wrapped French “green beans” known as Haricot verts which are longer and thinner than the typical American green bean. Of course, American green beans will work just fine here too.

Recipe Author: Gina Homolka at Skinny Taste
Get the recipe

The Ingredients

With only 5 ingredients, this recipe was so easy to shop for. I had the seasonings, so all I needed to buy was the bacon and green beans. I chose regular green beans for this recipe since the haricots verts were more than double for the same quantity. Splurging on haricots verts would be an option if I was having guests, but this was a regular weeknight meal for me, and the recipe said either type of bean would work.

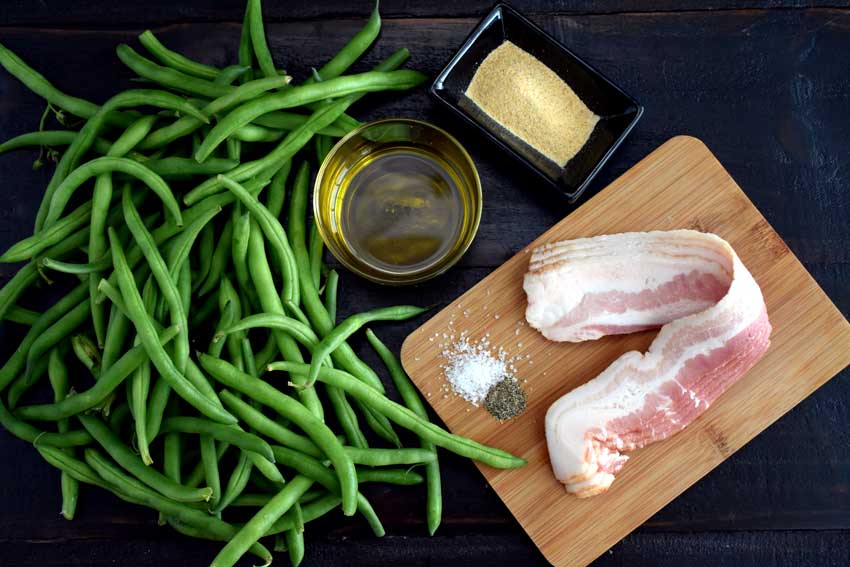
Bacon Wrapped Green Bean Bundles Ingredients
Green beans, olive oil, garlic powder, bacon, salt, and pepper

The Process

This recipe took a total of 38 minutes from start to finish. Most of that was waiting for the water to boil so I could blanch the green beans. I had more than enough time to trim the beans and slice the bacon in half while I waited. After 3 minutes in the boiling water, I plunged the beans into a large bowl of ice water then drained and dried them.

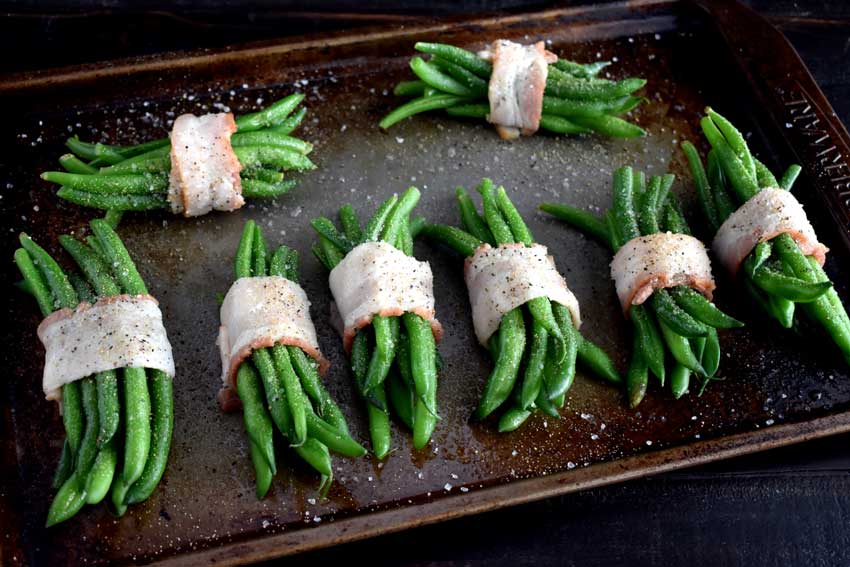
The next step was making the bundles of green beans. There are about 80 beans in a pound (yes, I counted), so I made 8 bundles of 10 beans. The recipe says to season the beans then spray them with olive oil, but I noticed the salt wasn’t sticking at all. I decided to give my beans a spray with olive oil first, then I added the salt, pepper, and garlic powder. That kept the seasonings from falling off, and all I had to do was pop everything into the oven for 16 minutes.

Getting ready to bake

Pork Marsala with Mushrooms and Shallots

Pork Marsala is one of those classic dishes I’ve made a million times over the years. This recipe caught my eye because of the addition of Dijon mustard. I like Marsala wine and Dijon mustard, but I really wasn’t sure the two would work together. Well, there was only one way to find out, and that means I need to make the recipe. How else will I solve this mystery?

Pork Marsala with Mushrooms and Shallots- a crazy simple yet scrumptiously great dinner, served in 30 minutes or less!

Recipe Author: Chrissi at First Home Love Life
Get the recipe

The Ingredients

The list of ingredients for this pork Marsala recipe is a little long, but there’s nothing hard to find on it. I had several items on hand like the butter, flour, and garlic powder. I even had a bottle of Marsala cooking wine in my pantry and some leftover shallots from another recipe. All I needed to buy were the garlic, thyme, mushrooms, and pork chops. I was fortunate to find a package of thinly slices boneless pork chops that were made for this recipe, and they were just a touch over $5 and exactly 1 pound.

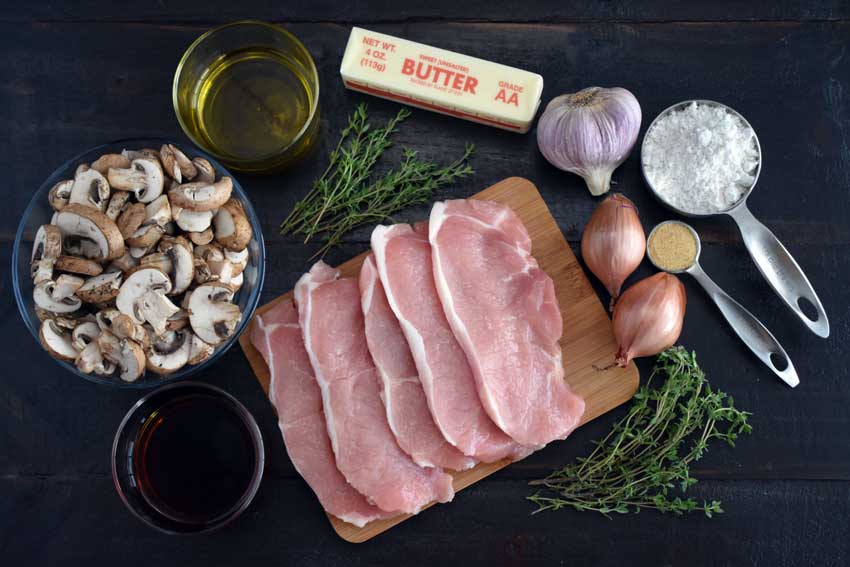
Pork Marsala with Mushrooms and Shallots Ingredients
Pork chops, Marsala wine, baby bella mushrooms, olive oil, thyme, butter, garlic, flour, garlic powder, and shallots

The Process

I spent 31 minutes on this recipe, making it excellent for a weeknight dinner. That broke down to 11 minutes of prep work and 21 minutes to cook. Speaking of cooking, I did take a couple of liberties with the instructions to make sure the super-thin pork chops weren’t overcooked.

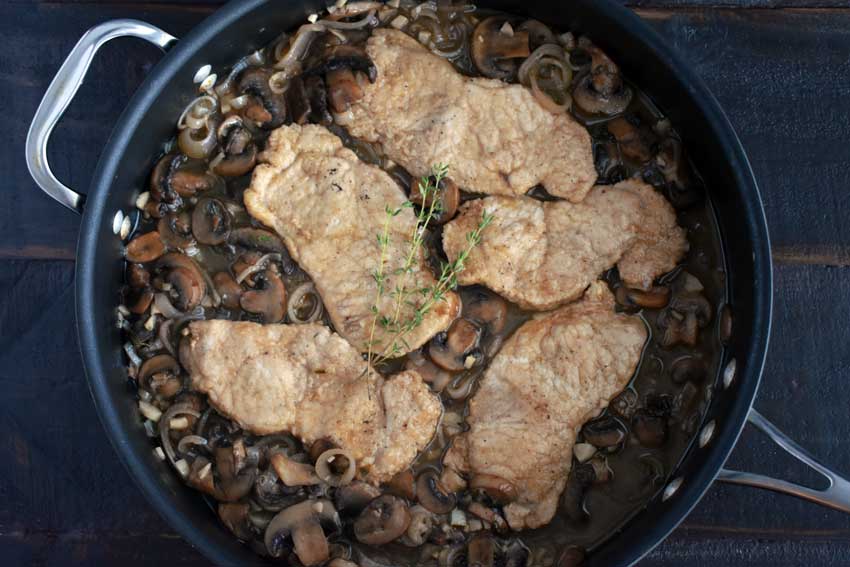
First, I removed the pork chops from the pan after I browned them and before adding the mushrooms, shallots, and garlic in Step 4. I think that made mixing in the Marsala wine and chicken broth easier too. Then I added the pork chops back into the pan and let them cook for 7 minutes. Then I removed the pork chops from the pan again and kept them on a foil-covered plate to keep warm. That made it easy to thoroughly mix in the Dijon mustard and let it thicken without worrying my pork chops would be overdone (and they weren’t).

Pork Marsala with Mushrooms and Shallots