Home Blog Page 42

Grilled Salmon with Creamy Cucumber-Dill Salad

I keep seeing reports of snowstorms, but down here in Fort Lauderdale it’s been in the 80s. It’s already hot, and it’s only March! And I think this warm weather has put me in the mood for something a bit lighter. This Grilled Salmon with Creamy Cucumber-Dill Salad sounds like it will fulfill that craving. Grilled salmon paired with a cucumber salad sounds light and summery and healthy. And it’s a full meal with the main course and a side dish, so no need to worry about what to pair it with. Well, maybe the wine pairing…

Summer cooking is all about keeping it simple. No fussy sauces or heating up the kitchen, just good food made from fresh ingredients. This salmon, simply grilled with a tangy and refreshing cucumber salad over top, is just that.

Recipe Author: Jennifer Segal at Once Upon a Chef
Get the recipe

The Ingredients

The list of ingredients for this recipe wasn’t too long, and it was mainly ingredients for the cucumber salad’s dressing. I had most of the basics like olive oil, mayonnaise, etc., but I did have to shop for a few things.

A salmon fillet for just over $15 gave me two large portions of fish (closer to 8 ounces each than the suggested 6 ounces). Then I had to pick up a few other fresh items like the vegetables and sour cream.

The English cucumber was pricey at $3.49, but it does have some advantages over regular cucumber since the skin is thinner, and there are far fewer seeds. If you can’t find an English cucumber or the price puts you off, I think a regular cucumber would also work if you peel it.
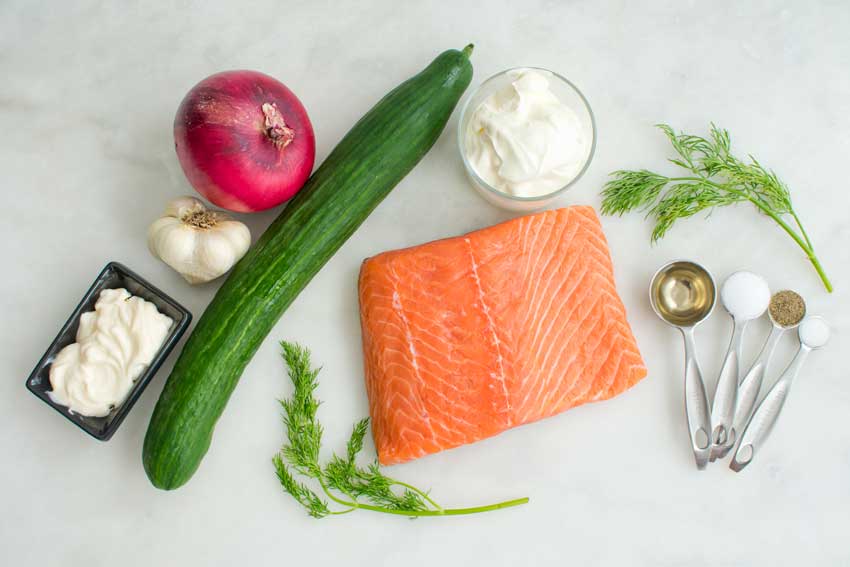
Grilled Salmon with Creamy Cucumber-Dill Salad Ingredients
Salmon fillet, dill, English cucumber, mayonnaise, garlic, red onion, sour cream, white wine vinegar, salt, black pepper, and sugar

The Process

I was hoping the salad and salmon could be made at the same time, but that didn’t work out. The reason for that was the cucumber and onion had to be salted and sit for 30 minutes to draw out the water.

I used my mandoline to thinly slice the cucumber and onion for the salad, then I salted it while it sat in a large colander. While the vegetables sat, I was able to mix up the dressing. However,  I didn’t want to start the salmon too early and have it get cold. Cold salad is good, but cold fish–not so much.  I opted to wait until the salad was done before starting the fish so it would be piping hot.

It’s not outdoors weather everywhere right now, and I wanted to see if this dish could be prepared indoors. I decided to make the salmon on the stove using a grill pan.  Spoiler: it totally can! I used the times given in the recipe and got nicely seared salmon fillets. They were on the rare side, though, so you might want to add a few minutes if you prefer more well-done fish.

Here is how my time broke down:

  • 10 minutes to prep
  • 30 minutes for the cucumber and onions to rest
  • 8 minutes to grill the salmon
  • 48 minutes total
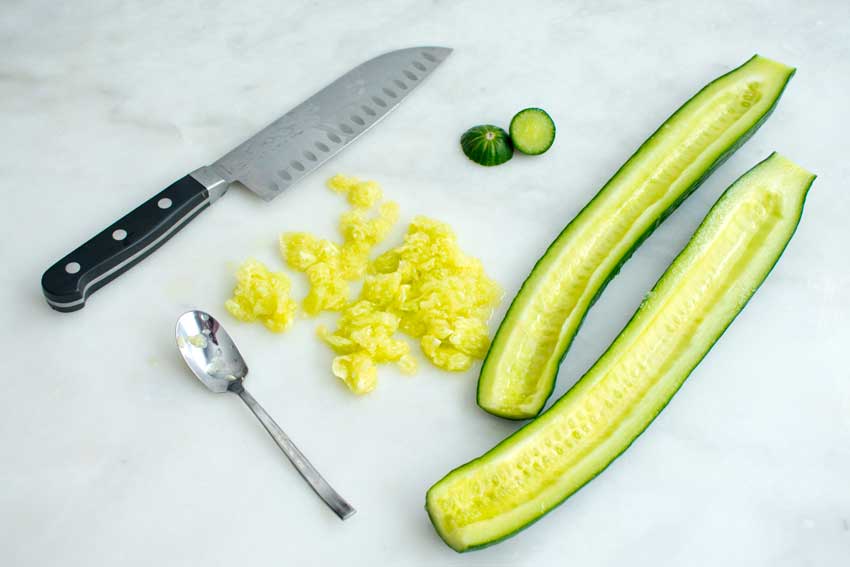
Seeding the cucumber

Boozy Irish Coffee Milkshake with Bailey’s Caramel Drizzle

St. Patrick’s Day is almost here, and I have one final sort of Irish recipe to share. Sort of because it has a couple of Irish ingredients. Did you read the title? Of course you did, but it’s worth repeating. Say it with me, “Boozy Irish Coffee Milkshake with Bailey’s Caramel Drizzle.” Coffee with Irish whiskey made into a milkshake and topped with Irish cream infused salted caramel. Swoon! I’d be happy with any one of those ingredients, but all together? It sounded so good that I could not pass it up!

This Boozy Irish Coffee Milkshake with Bailey’s Caramel Drizzle is a milkshake based off an Irish Coffee. Vanilla ice cream, espresso, and Jameson Irish Whiskey creates that Irish Coffee taste while Bailey’s caramel sauce and whipped cream enhance the flavor and increase the wow factor.

Recipe Author: Megan Wells at Meg is Well
Get the recipe

The Ingredients

The list of ingredients for this milkshake is almost shorter than the name. I a few things on hand like the sugar, Bailey’s, butter, sea salt, and espresso powder. Actually, that was more than half the ingredients. Yes!

That left me with a few things to buy, but not many. So it was off to the grocery and liquor stores to pick up the Jameson Irish Whiskey, whipping cream, and vanilla ice cream.

Speaking of ice cream, the blog post with this recipe gave me a tip on how to make a thicker milkshake. Very simply, avoid ice cream made with corn syrup. That turned out to be more difficult than I thought it would be as even reputable name brands have it. I ended up with Publix’s organic vanilla ice cream. It was a bit pricey, but this milkshake was a splurge after all.

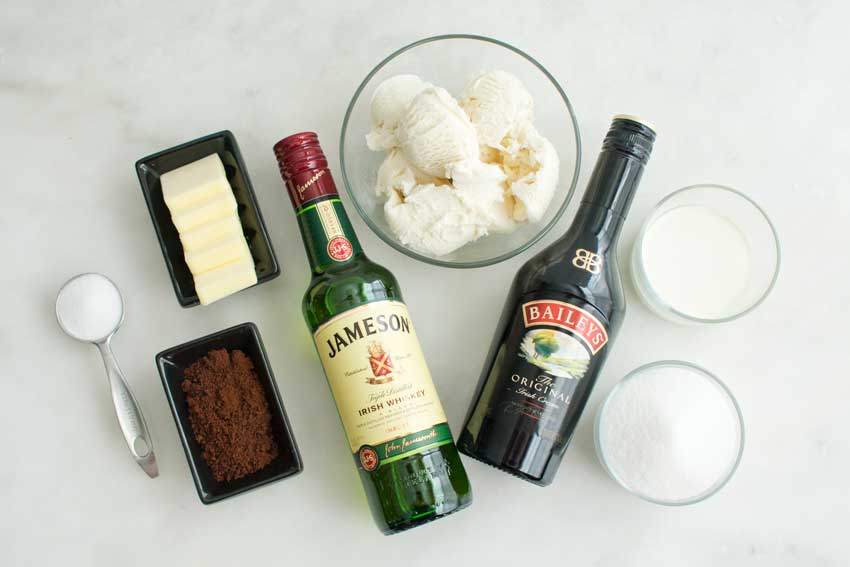
Boozy Irish Coffee Milkshake with Bailey's Caramel Drizzle Ingredients
Bailey’s Irish Cream, Jameson Irish Whiskey, instant espresso powder, sea salt, butter, vanilla ice cream, heavy cream, and sugar

The Process

The Boozy Irish Coffee Milkshake with Bailey’s Caramel Drizzle recipe is divided into three sections: the caramel sauce, the whipped cream, and the actual milkshake, in that order. I changed it up and made the whipped cream first because it sounded like it would be easier that way. Looking back, though, I’m not sure it mattered. Anyway, here’s how each step went.

Bailey’s Irish Cream Whipped Cream

Since this recipe is for one milkshake, you don’t need much whipping cream at all. Just a quarter cup. That sounded like too little for my mixer, so I made it in my mini-prep. First, I mixed the Bailey’s with the whipping cream in a measuring cup. Then I poured it into the lid of my mini-prep (there are small holes in the lid just for this) as I ran it on high. That let the mixture slowly drain onto the spinning blades and whipped it up pretty quickly.

The mixture wasn’t as stiff as whipped cream I’ve made in the past, and I’m not sure why that was. It may have been the small amount of whipping cream, the addition of the Bailey’s, or that I made it in my mini-prep. I’ve had good results with the mini-prep in the past, though.

Bailey’s Caramel Sauce

This was the part of the recipe I was nervous about. I kept picturing a pan full of melted, burnt sugar that had to be chipped out with a hammer and chisel. I’m happy to say the results were the complete opposite.

It took a while for the sugar to start melting, but it went pretty fast once it got started. The sugar first started to clump, and I could see some moisture burning in the bottom of the pan. It dissolved and turned to an amber color within minutes, then I was ready to start adding the rest of the ingredients.

The remaining steps go quickly, so be sure to have your ingredients measured out and ready to go. Also, the caramel will bubble up a lot when you add the other ingredients. This was especially true for the Irish cream, so don’t use a really shallow pan.

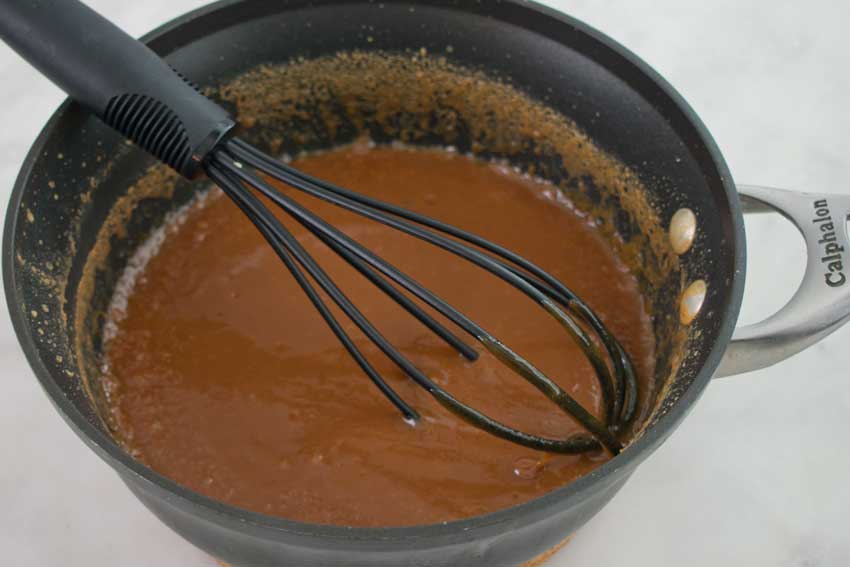
My 2.5-quart saucepan worked nicely for the caramel sauce. It’s nonstick, so the sauce poured out with very little left in the pan. It was deep enough to prevent any spills when the sauce bubbled up as I added the ingredients. And it was wide enough to allow the mixture to be thoroughly and easily mixed.

Making the Bailey's Caramel Sauce
Making the Bailey’s Caramel Sauce

Boozy Irish Coffee Milkshake with Bailey’s Caramel Drizzle

Making and assembling the milkshake was easy. First up was using my blender to make the milkshake. I ended up using all three cups of the vanilla ice cream to get it nice and thick. I’m not a fan of thin milkshakes.

Then I used a bar spoon to smooth the caramel sauce over the inside of a stemless wine glass.  It worked well because the handle was long enough to get to the bottom of the glass, and the small spoon fit better than a larger tablespoon.

My stemless wine glasses hold a lot when they are filled to the top, and I was able to get nearly all of the milkshake into it. (It was really too much for one person, but I gave it my best try!) From there, all I had to do was spoon in the whipped cream and drizzle the caramel sauce over it. It was a lot more work than I normally put into a milkshake, but I think it turned out beautifully in just 22 minutes!

Irish Soda Muffins

A couple of years ago I made Guinness Irish Soda Bread with Slow Cooker Corned Beef and Cabbage for St. Patrick’s Day. I couldn’t help but think of that when I was making Irish Cast Iron Skillet Corned Beef Colcannon Casserole this year even though it was full of potatoes. I love carbs! Plus I rarely eat bread, so I really felt the need to make soda bread to go with the casserole. But how could I do that and not be repeating the same menu? Irish Soda Muffins were the answer. I really liked the idea of turning soda bread into smaller portions to accompany an already carb-rich meal. And they’re kinda cute LOL.

A new twist on a classic Irish bread recipe.

Recipe Author: Shelby at The Gingham Apron
Get the recipe

The Ingredients

One of the nice things about soda bread is that it’s full of inexpensive pantry staples. I did have to stock up on flour and buy more eggs, but I had most of the other ingredients.

One thing I did sort of change was the buttermilk. My regular grocery store doesn’t stock small containers of it, and I hate the stuff. Buying a large container of buttermilk and throwing out the majority of it makes me feel wasteful.

Instead, I use lemon juice to curdle regular milk which I always keep in my refrigerator. Here’s how:

  • Add 1 tablespoon of lemon juice to a measuring cup
  • Pour in enough milk to measure one cup
  • Let it sit for five minutes
  • Use the mixture as you would use buttermilk

I can’t tell you if it tastes the same since I’ve never tried my substitute (yuck!), but I have never noticed a difference in the taste of the recipes I use it in. And there’s no waste of money or food so win-win in my book.

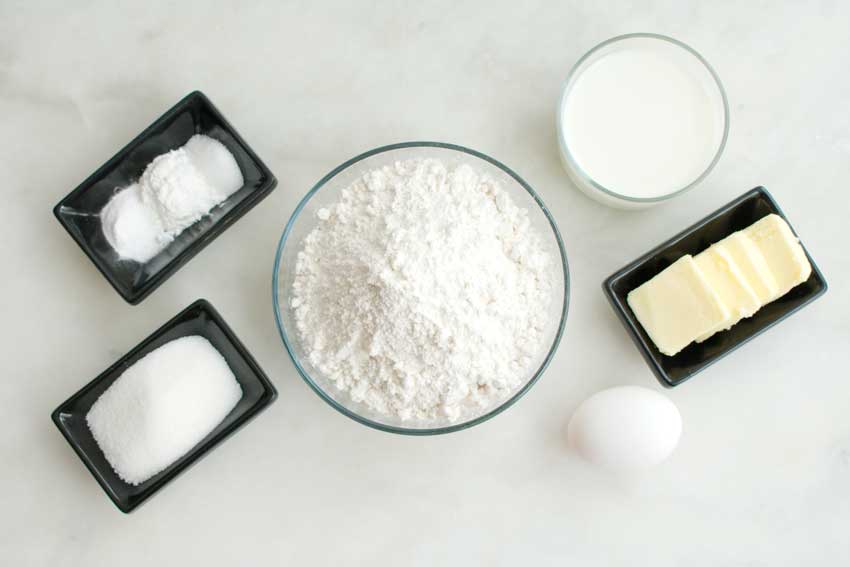
Irish Soda Muffins Ingredients
All-purpose flour, sugar, baking powder, baking soda, salt, milk, butter, and egg

The Process

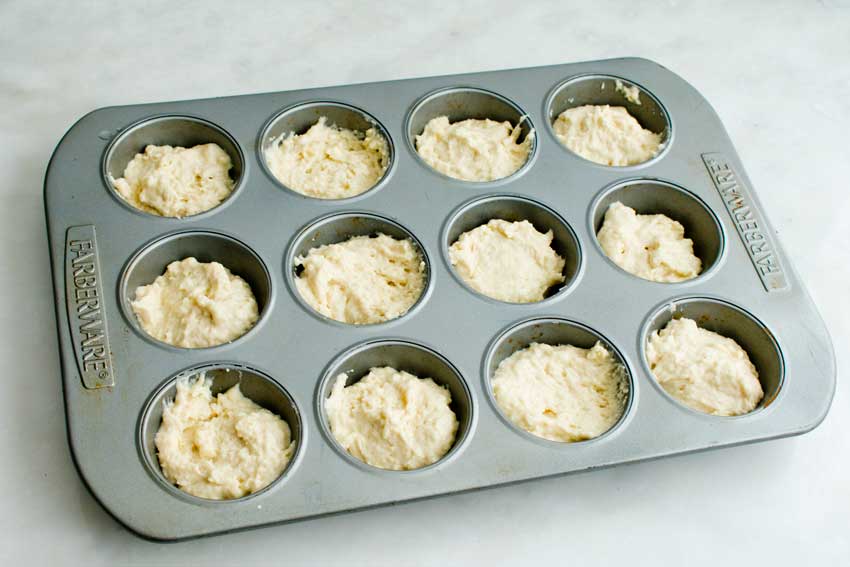
The instructions for this recipe were clear and easy to follow. The whole process went very smoothly until I had to add the batter to the muffin tin. I ended up with 10 cups filled, so I had to take a little from each until I had all 12 filled. But that’s on me and not the recipe’s fault at all.

Batter-filled muffin tin

As far as time goes, I came pretty close to the 25 minutes listed. I baked my Irish soda muffins for 22 minutes, so the whole process took me 27 minutes. That’s in line with the times given, though, so I was quite pleased.

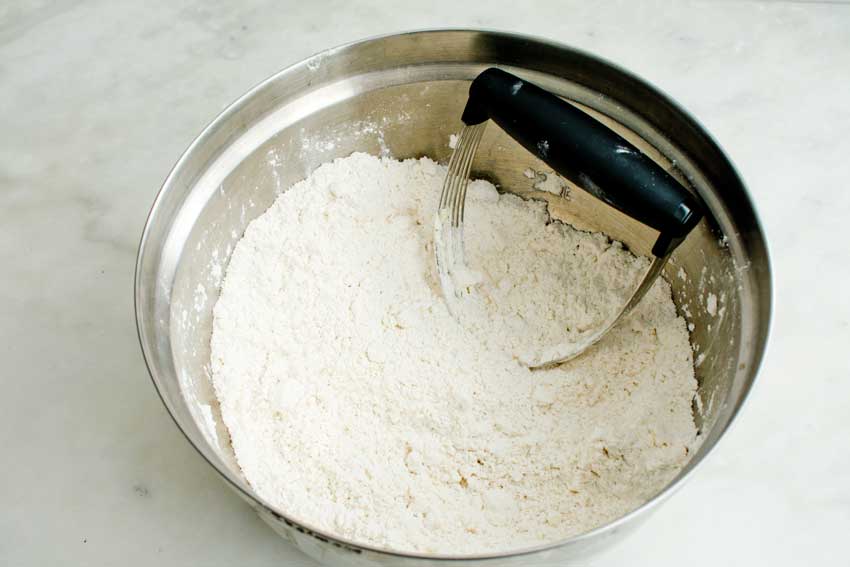
One thing to note is the butter needs to be blended into the dry ingredients with a pastry blender. Don’t worry if you don’t have one, though, because you can use a fork instead. I find it a little awkward compared to my pastry blender, but it works almost as well.

After blending the butter and flour with a pastry blender

Irish Cast Iron Skillet Corned Beef Colcannon Casserole

St. Patrick’s Day is coming up, and it also happens to be our 12th wedding anniversary. I wanted to do something special for the occasion this year, and I let my husband pick the recipe he thought sounded best. He chose this Irish Cast Iron Skillet Corned Beef Colcannon Casserole, and it sounds like all the best parts of an Irish-American St. Patrick’s Day meal and then some. I cannot wait to get started on this!

I so hope that you enjoy it as much as we do! And keep this in mind for St. Paddy’s Day for a main dish or side dish, too! (You can make this into a side dish or vegetarian by eliminating the corned beef)! Either way, everyone’s eyes will be smiling!

Recipe Author: Kelly at Wildflour’s Cottage Kitchen
Get the recipe

The Ingredients

This recipe calls for a pound of leftover corned beef, so I started by making a corned beef dinner a day or two before I planned to serve this casserole. The three pound cut of corned beef I used cooked up to about two pounds, so I put half of it aside for this casserole and we ate the rest. The recipe does give a couple of substitutions that can be used, but I wanted the real thing.

Next up were the potatoes. I decided to use yellow potatoes since they are ideal for another dish that uses thinly sliced potatoes–scalloped potatoes. I also opted for bags of shredded Swiss cheese since they were BOGO. The sale made them the same price as a block of Swiss, and no shredding required on my part. Otherwise, I kept to the list of ingredients without any other changes.

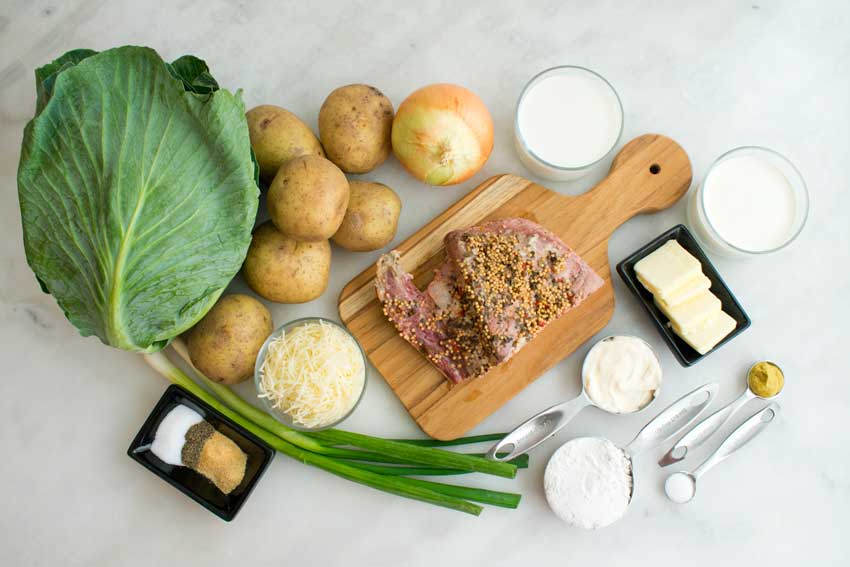
Irish Cast Iron Skillet Corned Beef Colcannon Casserole Ingredients
Corned beef, potatoes, cabbage, onion, heavy cream, milk, butter, spicy brown mustard, sugar, flour, mayonnaise, green onions, Swiss cheese, garlic powder, pepper, and salt

The Process

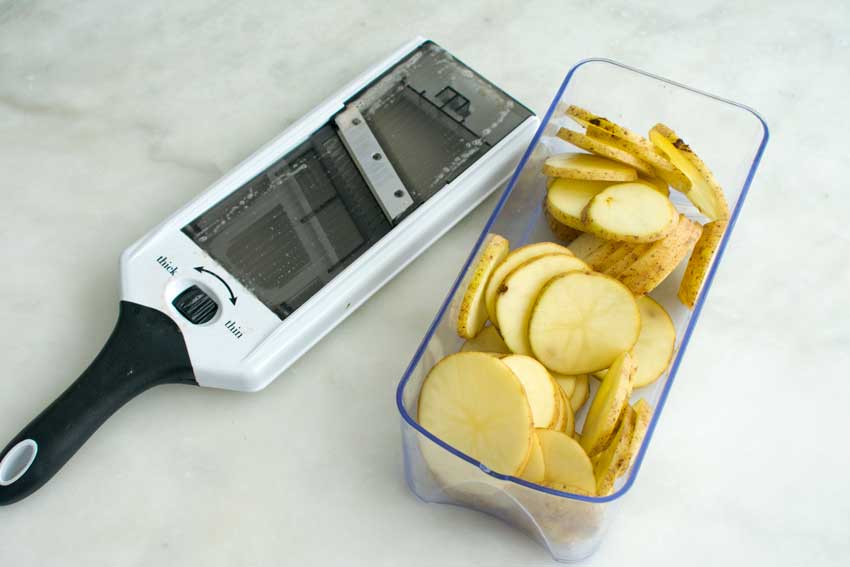
I didn’t prep everything before I got started because the cabbage and onion had to cook a bit before the casserole could be assembled. I got them started and then began slicing the potatoes and making the cream mixture. Both were done well before the cabbage and onions finished.

Slicing the potatoes with a mandoline

A short time later I was ready to assemble the casserole. It wasn’t difficult at all. At first, I wished I had used more cabbage because there didn’t seem to be enough for each layer. but my 12-inch cast-iron skillet was quite full by the time all three layers were in, so I’m glad I followed the recipe. The blog post that accompanied this recipe mentioned using a 10-inch skillet, but I don’t see how it could hold everything.

When it was time to remove the lid after cooking for an hour, my skillet looked ready to overflow. I slid a baking pan onto the rack below it to catch any drips, but fortunately, there weren’t any. Disaster averted, and I ended up with a nicely browned corned beef colcannon casserole.

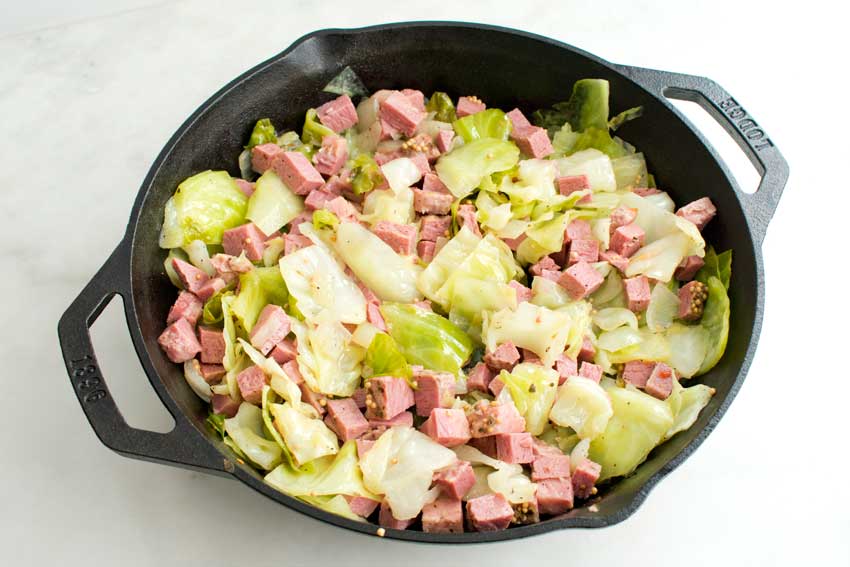
Cooking the cabbage, onion, and corned beef

I let it sit for about half an hour before I sliced into it, and my first slices fell apart. It must have been the cream sauce and melted cheese (darn it all!). The photo with this post is after the casserole had cooled a lot more. Just something to be aware of if having perfect slices is important. However, once you try this casserole, I doubt you’ll care what the slices look like!

As far as time goes, this recipe did take a while:

  • 42 minutes to prep*
  • 1 hour 45 minutes to cook
  • 20 minutes to cool
  • 2 hours 47 minutes total

*I counted prep work as everything I did up until the skillet went into the oven. That included cooking the cabbage and onion for 20 minutes.

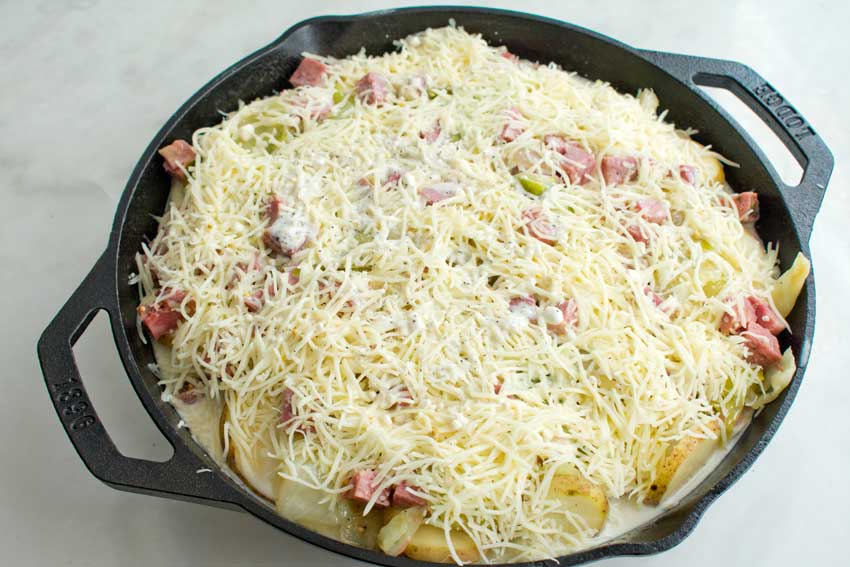
Ready to go into the oven

Korean Cucumber Salad (Oi Muchim 오이무침)

I needed a side dish to go along with the bulgogi I made earlier this week, and this cucumber salad recipe sounded so good! My husband and I both love cucumber and wanted to try this Korean version. Not only did it sound good, but it also sounded like it would be quick and easy to make with the bulgogi. I mean, no cooking involved, it’s full of cucumber, and it’s a little spicy? Sold!

A simple light Korean cucumber side dish that’s like a salad. Very light seasoning allows the cucumber flavor to stand out.

Recipe Author: JinJoo Lee at Kimchimari
Get the recipe

The Ingredients

There weren’t a lot of ingredients needed to make this cucumber salad. I even had a few in my pantry like soy sauce, sugar, and rice vinegar. That left a few items to buy, and I found all but the Korean red chili powder (gochugaru) at my regular grocery store. The gochugaru was easy to find online, though, and I excitedly placed an order for a new chili powder because I love spicy food!

Korean Cucumber Salad (Oi Muchim 오이무침) Ingredients
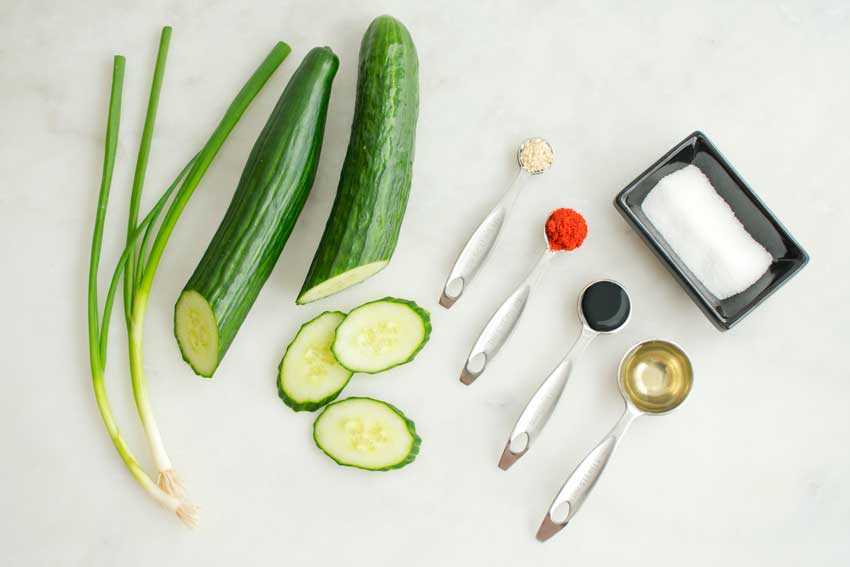
English cucumber, green onions, sesame seeds, Korean red chili powder (gochugaru), soy sauce, rice vinegar, and sugar

The Process

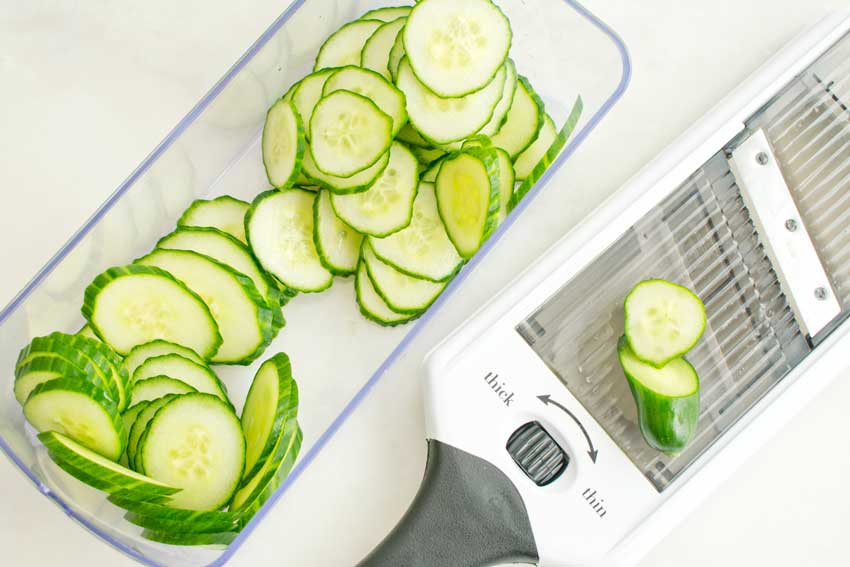
I made my Korean cucumber salad while the meat for my bulgogi was marinating. I expected it to be quick, but I was shocked when it took me all of six minutes from start to finish. No, that’s not a typo, the salad was done in six minutes. I think using my mandoline to slice the cucumber really sped things up (I used the thickest setting for the slices). The rest was mostly measuring ingredients and stirring the salad together.

I did double up on the chili powder. Like I mentioned, I love spicy food. The original amount didn’t seem spicy to me at all. I found double gave me a little pop of spice without overpowering the rest of the ingredients.

Once the salad was mixed up and the seasonings adjusted, I popped it into the refrigerator so the cucumber could absorb the dressing while I cooked the bulgogi to go with it. What a combination!

Cucumber sliced with a mandoline

Bulgogi – Authentic Korean Beef BBQ

I’m super excited about this week’s theme of Korean food. It’s something I’ve always wanted to try but somehow never have. Well, that’s going to change right now with this recipe for Bulgogi – Authentic Korean Beef BBQ. Even though I’ve never tried it, I have a feeling it’s something I’ll like. I have yet to find barbecue anything I don’t like, regardless of its origin. So let’s find out if Korean barbecue is as good as I think it’s going to be!

In this bulgogi recipe, I offer several substitutions and variations that you can try. They will all taste good but I think it is good to have options in case you don’t have all the ingredients or if you prefer one ingredient over another. I start with the most authentic Bulgogi – Korean Beef BBQ and then add options/variations.

Recipe Author: JinJoo Lee at Kimchimari
Get the recipe

The Ingredients

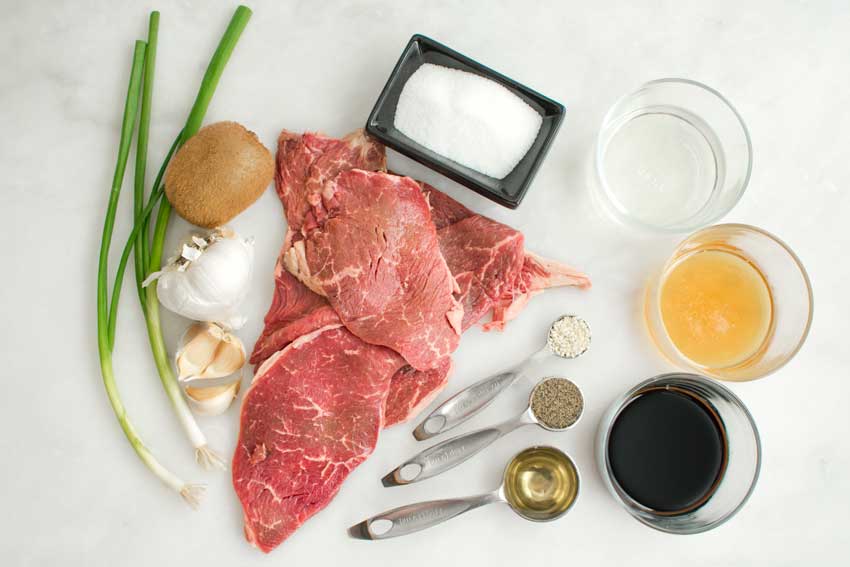
This is an authentic recipe with a few options in case you can’t find an ingredient. I either had or found all but two of the ingredients: rice cooking wine and Asian pear. Fortunately, I was able to find alternates for both. I used sake and kiwi, respectively, since my usual grocery store stocks both. It also lists some optional vegetables that can be included, but I skipped those.

I also got lucky and found thinly sliced beef for a little over $5 for a pound. It was labeled something like “sliced beef for palomilla” (I forgot to take a picture of the label, so I’m relying on memory). I was thrilled because the price was reasonable and it saved me the trouble of trying to thinly slice the beef.

Bulgogi - Authentic Korean Beef BBQ Ingredients
Thinly sliced sirloin, garlic, green onion, kiwi, sugar, sake, honey, soy sauce, sesame seeds, black pepper, sesame oil

The Process

Alright, let’s talk about the instructions. I had some confusion and had to thoroughly read the recipe to figure out that the resting time of 30 minutes was for the beef to marinate. The instructions say how to make the marinade but don’t explicitly say how long to let the meat marinate.

Making the bulgogi went smoothly once that was solved. The recipe notes listed some helpful tips, and I’m glad I took the time to read them. Step 3 of the instructions say to cook the meat until it’s slightly brown on both sides, but the notes say bulgogi is supposed to be well cooked. It also said it’s best if it’s slightly burnt, so I made sure the beef was well cooked and a little charred. It went against all my steak cooking instincts, but it caramelized the marinade a bit and just wow! This is one time steak is better well done.

The total time listed for this recipe was 40 minutes. However, the times given add up to 70 minutes. Regardless of the math, I expected this recipe to take about an hour, and I had it ready right on time. Here is how I spent my time:

  • 12 minutes to prep
  • 30 minutes to marinate (I prepared a side dish during this time)
  • 13 minutes to cook
  • 55 minutes total

I had to cook the meat two-three pieces at a time so I didn’t overcrowd the pan (another tip from the recipe notes). I’d say it took around two-four minutes per side. I didn’t time it—I kept checking to see if the meat looked well done and had a little bit of a char on it. My trusty twelve-inch cast-iron pan was big enough to prevent overcrowding and gave the beef a nice sear with a little char on the edges.

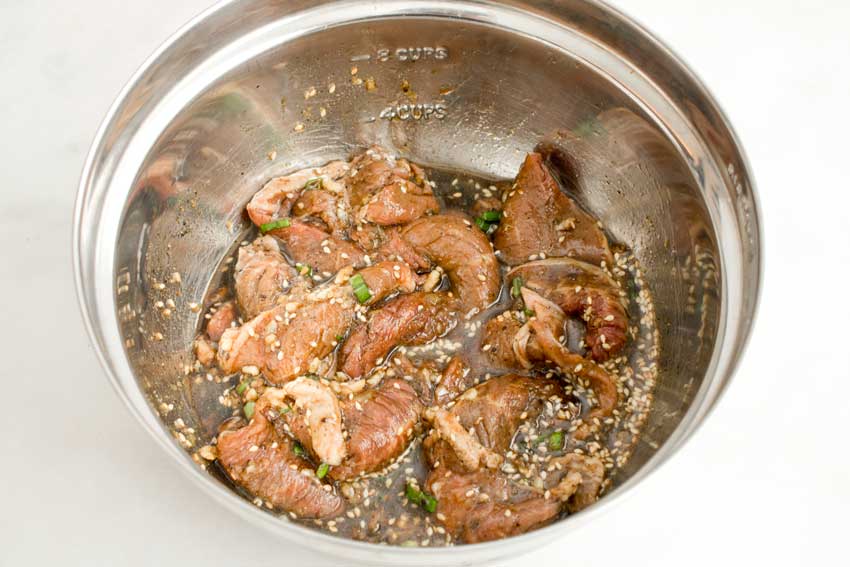
Marinating the beef
Marinating the beef

Ginger, Lime + Five-Spice Cocktail

My week of five-spice recipes is coming to an end, and I wanted to finish it with a beverage recipe. Yes, a drink made with Chinese five-spice powder. This Ginger, Lime + Five-Spice Cocktail recipe was so intriguing that I had to give it a try. I thought a dessert made with five spice powder would be interesting, but this cocktail recipe really got my attention. I must find out if it tastes as good as it sounds!

You guys…this may be one of my favorite cocktail recipes I’ve ever made (OK, I can’t take full credit – it was a joint family effort.) It starts with smooth, Hangar 1 Straight Vodka that has slight floral and tropical fruit notes. Muddled limes make it perfectly refreshing, and ginger and Chinese five-spice powder add a creative kick.

Recipe Author: Sarah J. Hauser
Get the recipe

The Ingredients

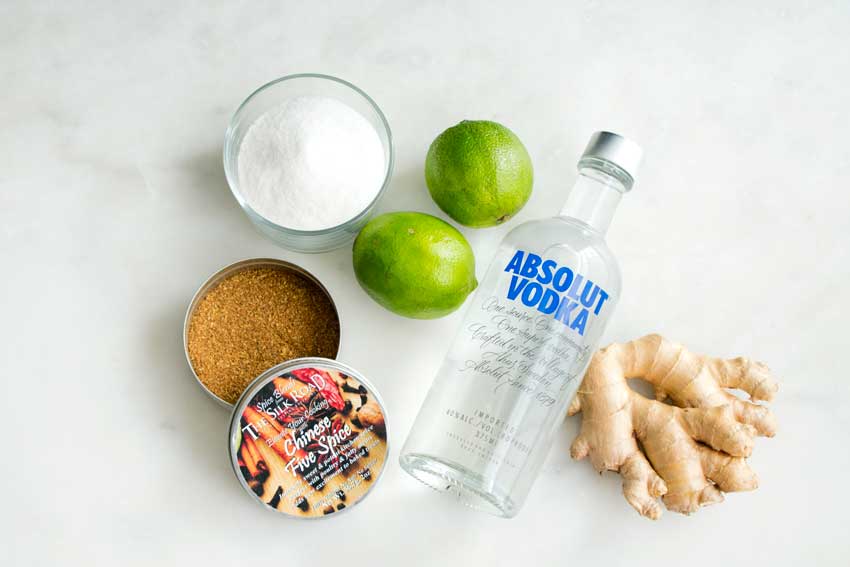
As you can see, there were only a few ingredients in this cocktail recipe. I was fortunate to have everything but the limes and ginger on hand. The sugar and Chinese five-spice powder were already in my pantry. I also had the vodka, which is why I used a different brand than the recipe author suggested.

Ginger, Lime + Five-Spice Cocktail Ingredients
Chinese five-spice powder, sugar, limes, vodka, and ginger

The Process

Making this cocktail was simple and had two major steps: Making the spiced simple syrup and making the actual cocktail. Here’s how the time broke down:

  • 13 minutes to make the simple syrup
  • 5 minutes to make the cocktail
  • 18 minutes total (time to chill the simple syrup not included)
The instructions for both parts of this recipe were clear and easy to follow, and I didn’t need to make any adjustments.

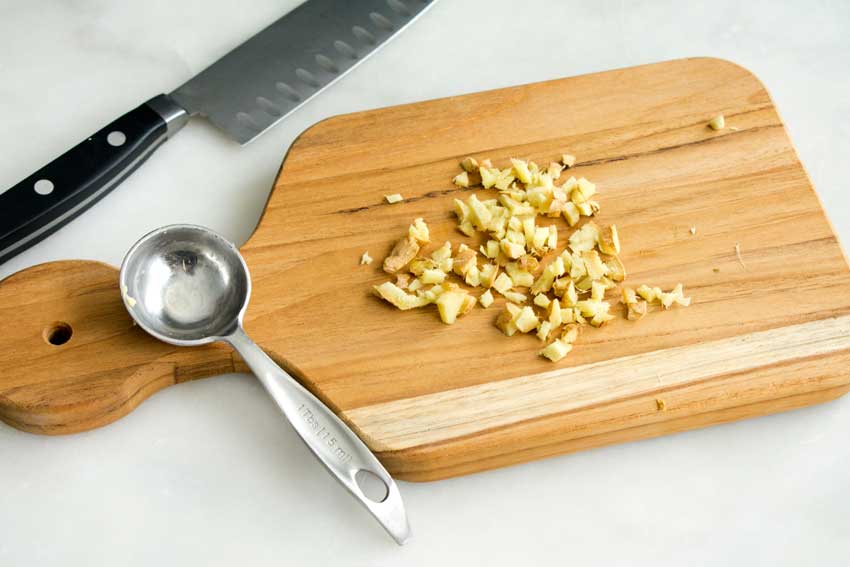
One thing I did to make things quicker was skipping peeling the ginger. It wasn’t specified in the recipe, and the ginger was strained out of the simple syrup and the cocktail itself. I did notice a few tiny pieces of peel in the cocktail, though. You may want to peel the ginger for that step if the bits of peel bother you.

Minced ginger
Minced ginger

Chinese Five Spice Chocolate Truffles

0

After making that delectable Chinese 5 Spice Roast Chicken I wanted to try something really different. I already knew five-spice powder was good with meat and seafood, but how about a chocolate dessert? And not just any chocolate confection, but what is probably my favorite: truffles. Good thing I stumbled upon this Chinese Five Spice Chocolate Truffles recipe. I was instantly intrigued and knew I had to try this recipe!

These Chinese Five Spice Chocolate Truffles are a unique and incredibly simple dessert. Just four ingredients create a delicious and decadent truffle.

Recipe Author: Tiffany La Forge at Parsnips and Pastries
Get the recipe

The Ingredients

One of the things I immediately noticed and loved about this recipe was that it has only four ingredients. That’s right, four ingredients. I even had two on hand, the Chinses five-spice powder and the unsweetened cocoa.

That left me needing to shop for the cream and the chocolate. A half-pint container of heavy cream and a bag of bittersweet chocolate chips for just under $10 and I had everything I needed for this recipe.

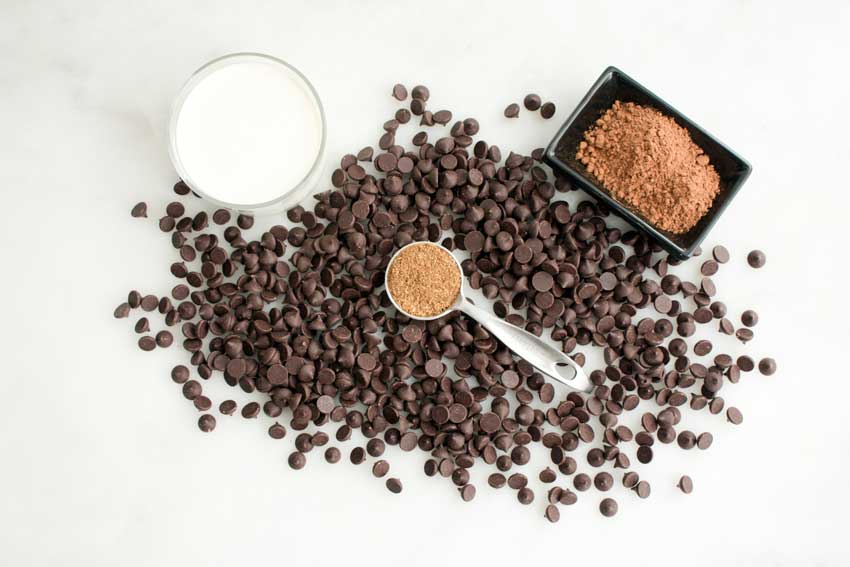
Chinese Five Spice Chocolate Truffles Ingredients
Chinese five-spice powder, bittersweet chocolate chips, heavy cream, and unsweetened cocoa powder

The Process

There weren’t a lot of steps to this recipe, but having to chill the chocolate mixture a couple of times did slow things down. It more or less divided the process into a few long steps:

  • 29 minutes to make the chocolate ganache
  • 2 hours to chill the chocolate ganache
  • 15 minutes to make the truffles*
  • 4 minutes to roll the truffles in cocoa powder
  • 2 hours 48 minutes (*overnight chilling of truffles not included)

Making the chocolate ganache didn’t go so smoothly for me. The first problem came up when I strained the cream and five-spice mixture using a mesh sieve. My sieve wasn’t fine enough, and it really didn’t strain out the spice powder. I had to strain it a second time with a piece of cheesecloth lining the sieve to get most of the five-spice powder out.

The next issue was trying to melt the chocolate. The cream mixture must have cooled too much since I had to strain it twice, and it barely melted the chocolate. I ended up having to add the cream and half-melted chocolate to a clean saucepan to fully melt it.

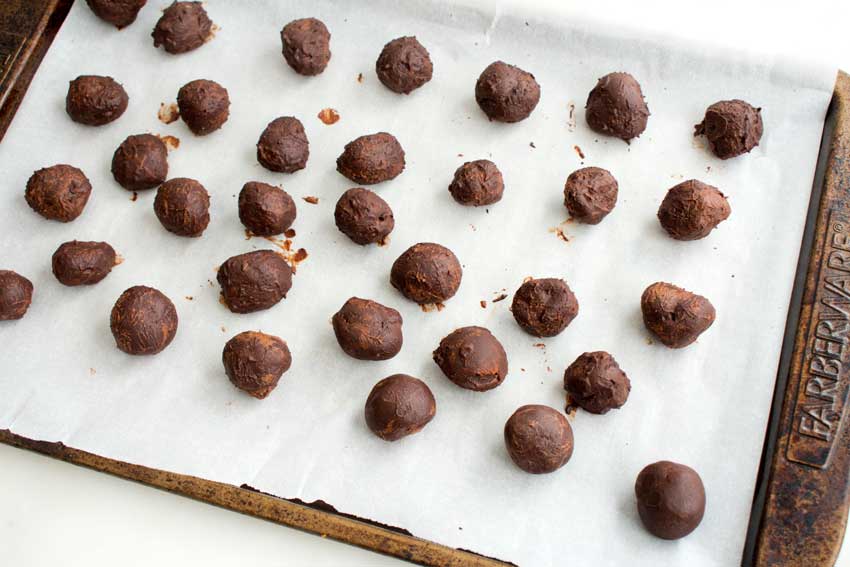
I used a measuring spoon (the teaspoon size) to scoop the chilled ganache into balls, and the first few came out nicely. As I went on, though, I found I needed to roll the balls in my hands to (try) and make them round. The recipe’s author was right about the heat from my hands melting them, and I made a big mess. And I worked so fast that I didn’t exactly make them all perfectly round. I managed to get a few ovals and miscellaneous lopsided shapes. Sigh. At least the shape didn’t affect the taste.

But, I’m happy to say, that after refrigerating the truffles overnight, rolling them in the cocoa powder was easy. I added about a tablespoon of cocoa to a small mixing bowl. Then I popped the truffles in 3-4 at a time and swirled the bowl until they were coated.

The chilled truffles before rolling in cocoa powder

Chinese 5 Spice Roast Chicken

When I was planning this week’s menu, I thought Chinese recipes would be a great way to continue my recent Asian theme. Well, it sort of worked out that way for this recipe, anyway. This week’s recipes have one of my favorite seasonings in common, Chinese five-spice powder. There are variations, the brand I’ve used for many years is made of star anise, fennel, Szechuan peppercorn, cinnamon, and clove. I’ve always loved it on meat and seafood, so this Chinese 5 Spice Roast Chicken seemed like the perfect way to kick off this week. Let’s find out if it’s a hit!

This Roast Chicken with Chinese 5 Spice is something so special. Temp your taste-buds with this delectable tasting chicken recipe.

Recipe Author: Regina at Pam’s Daily Dish
Get the recipe

The Ingredients

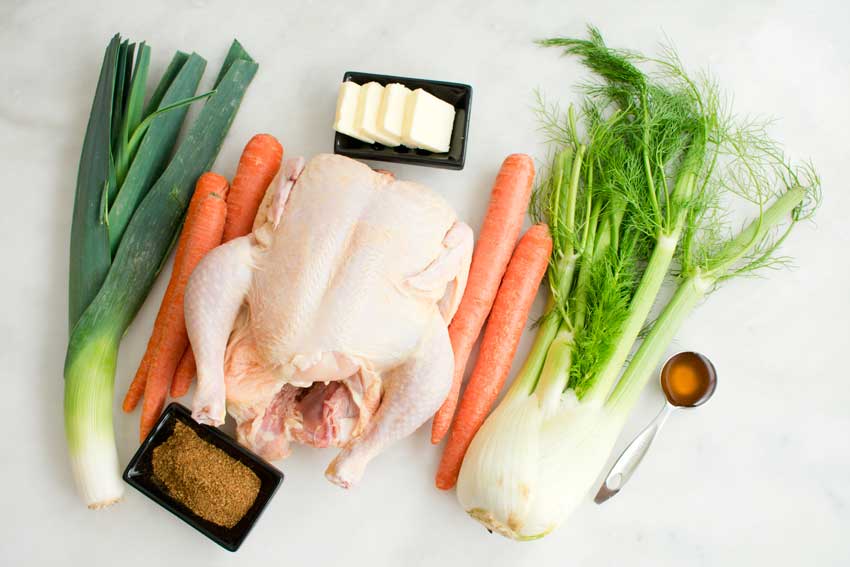
There were only seven ingredients in this recipe, and a short list of ingredients always makes me smile. I had the honey and five-spice powder on hand, but I had to shop for the vegetables and chicken.

Chinese 5 Spice Roast Chicken Ingredients
Whole chicken, Chinese five-spice powder, carrots, leek, butter, fennel, and honey

One thing to note about the leeks is they need to be cleaned thoroughly. Leeks trap dirt incredibly well, so be sure to thoroughly rinse it in a colander after you have cut it up. Washing before only cleans the outside, and you’ll find plenty of dirt inside, trust me.

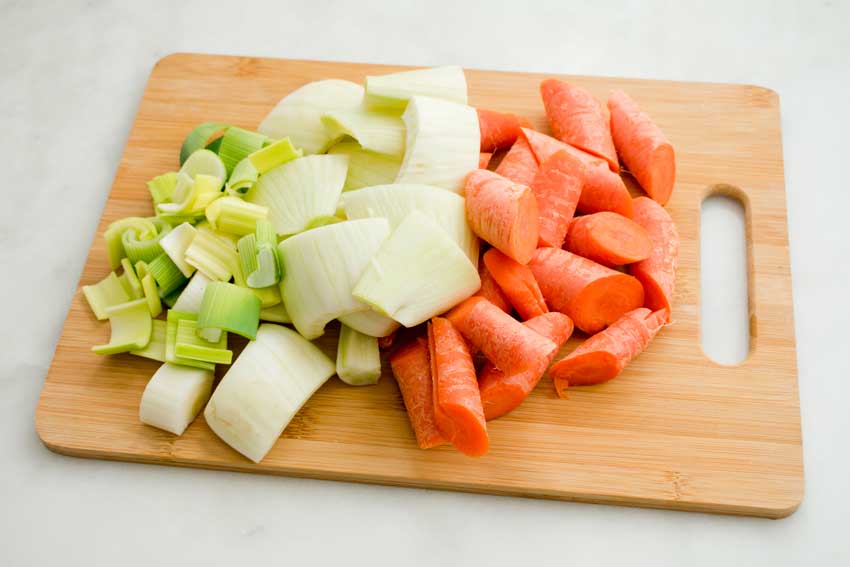
I trimmed the root and tough green leaves so only the white part remains. Then I halved it lengthwise before slicing it into smaller pieces. The leek pretty much fell apart, but that ensured the dirt was completely rinsed away.

Chopped leeks, fennel, and carrots
From left to right: Chopped leeks, fennel, and carrots

The Process

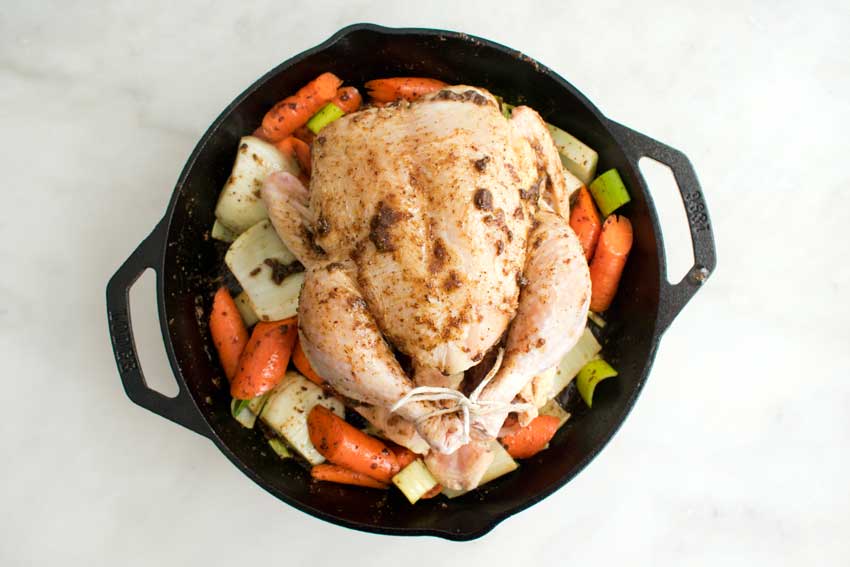
This roast chicken was so easy to make! My 12-inch cast-iron pan was ideal for this recipe. It had plenty of room for the whole chicken and vegetables. And about those vegetables–it’s not stated how anywhere in the recipe, but you’ll need to cut them up. I tried to keep them in large pieces since they would be roasting for a long time. They did end up being well done, but not overcooked. Next time I might try even larger pieces for the fennel and leek.

Besides the cast iron pan or something similar, you’ll need some twine to tie the legs and a basting brush to coat the chicken in a mixture of butter, honey, and five-spice powder.

And speaking of that mixture, it made the chicken skin turn black. I was very worried when I took it out of the oven because it was so charred! Thankfully, the meat was positively dripping with juices when I cut into it. I was amazed!

This recipe was quick and easy to prepare, but it did require a lot of time in the oven. Here is how my time was spent:

  • 12 minutes of prep work
  • 90 minutes to cook (my chicken was larger than the size listed)
  • 20 minutes to rest
  • 2 hours 2 minutes total
The chicken and vegetables ready to go into the oven

Vietnamese Spicy Squid Salad

The One–pot Vietnamese Beef Stew recipe I made earlier this week was so good, but I found my self craving something lighter once it was finished. This recipe for Vietnamese Spicy Squid Salad sounded like it would fit the bill nicely. Plus I haven’t made seafood in a while, so it was pretty easy to decide to give this salad a try. So let’s find out if this squid salad is a Pinterest success or a Pinterest fail.

This Vietnamese squid salad is laden with herbs and very fragrant. The dressing is tangy with lime juice and salted with fish sauce. In this way, it is quite similar to many Thai salads.

Recipe Author: Vi Vian at Vi Vian’s Food Blog
Get the recipe

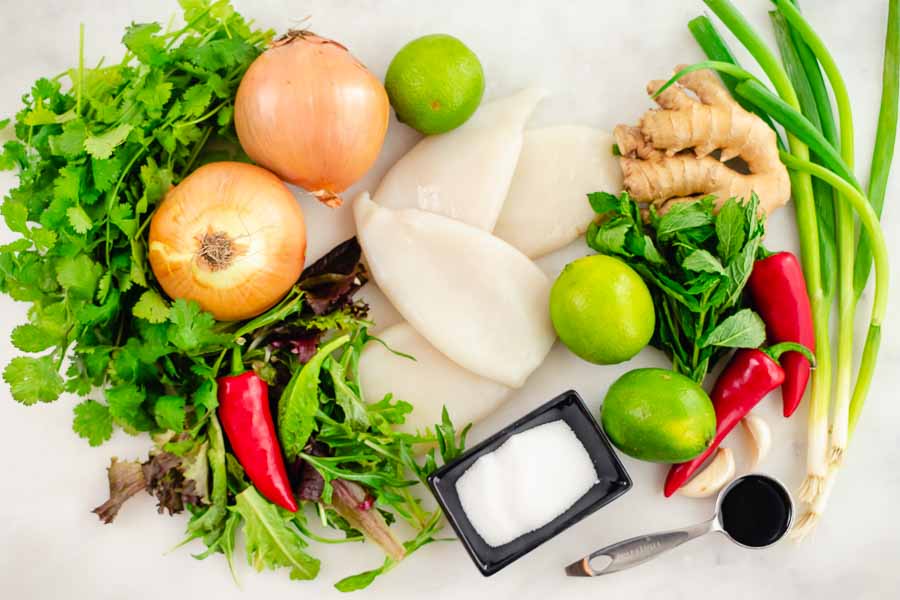
The Ingredients

There weren’t a whole lot of ingredients in this squid salad recipe, and none of them were very expensive, either. There was a little conversion necessary, though, as several items were listed in metric weights.

The squid needed the most math out of all the ingredients LOL. That’s because I had to convert it from 500 grams to 1.1 pounds. I also was only able to find cleaned squid tubes, so I had to account for the bits that would have been removed if I had cleaned the squid myself. That comes to 60% of the uncleaned amount of 1.1 pounds or 0.6 pounds of cleaned squid.

The other ingredients that needed to be converted from metric were the mint leaves, spring onions, and cilantro (50 grams each or 1.8 ounces). The mint I bought was packaged with the weight in grams listed, so it was easy to figure out how much I needed (three packs).

The spring onions and cilantro both had to be weighed with my kitchen scale. A bunch of cilantro and two spring onions ended up being the amount needed.

Vietnamese Spicy Squid Salad Ingredients
Cleaned squid tubes, salad greens, red chili pepper, cilantro, onions, lime, ginger, spring onions, mint, garlic, soy sauce, and sugar

The Process

This recipe is made in three parts: steaming the squid, preparing the dressing, and assembling the salad. The total time wasn’t listed with the recipe, but it took me 37 minutes from start to finish. The instructions broke down the steps, and they were pretty easy to follow.

Steaming the Squid

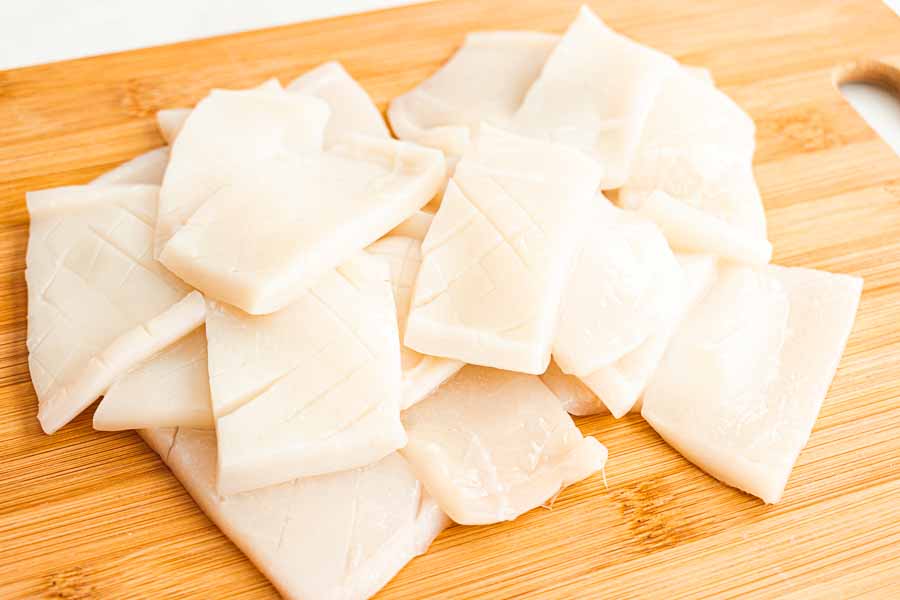
First up was steaming the squid. I was on board through the prep work as I’ve done this several times for other squid dishes. The squid tubes were very tender, and I had to be careful not to cut all the way through when I was scoring them. A gentle touch with a sharp paring knife was all that was needed.

The prepared squid
The prepared squid

I did get skeptical when I read that the squid would need to be steamed with a piece of ginger and no water. What? How can it steam without adding water? I’m guessing a combination of the moisture already on the squid and moisture from heating the ginger did it. I had to drain the excess liquid from the finished squid which, by the way, was nice and tender (I had to sample it immediately to make sure LOL).

Making the Dressing

Next up was the dressing, and I have to confess that I got a little frustrated with this process. It had nothing to do with the recipe, and everything to do with me just randomly getting impatient. My mortar and pestle are pretty small, so I thought I would crush the ginger, garlic, and chili in small batches. I gave it a try, but I just wasn’t getting the results I thought I should–the mixture was very chunky.

I eventually gave up on the too-small mortar and pestle and got out my mini-prep. It saved the day! It gave the spices the crushed texture I was expecting to get, and I was also able to thoroughly mix in the rest of the dressing’s ingredients.

Assembling the Salad

Finally, I got to assemble my salad after marinating the squid in my beautiful dressing for five minutes. This was by far the easiest part of the process. I bought two bags of spring mix salad although I think one would have been enough. Then all I had to do was toss it with the onions, mint, and cilantro, add the squid, then top it all off with the dressing. The struggle was real, but the results were worth it!

One–pot Vietnamese Beef Stew

My husband and I both love Vietnamese food, and the other day I realized it’s been a while since we’ve eaten it. And, much to my dismay, it’s been even longer since I’ve made it. Well, both of those things need to change, and quick! I’m not sure if this recipe for One-pot Vietnamese Beef Stew is authentic or simply Vietnamese-inspired, but it’s full of ingredients typically found in Vietnamese food, and it sounds like something we will both enjoy. Let’s find out!

This highly aromatic one-pot Vietnamese Beef stew will quickly become your favourite comfort food recipe!

Recipe Author: Lucy Parissi at Supergolden Bakes
Get the recipe

The Ingredients

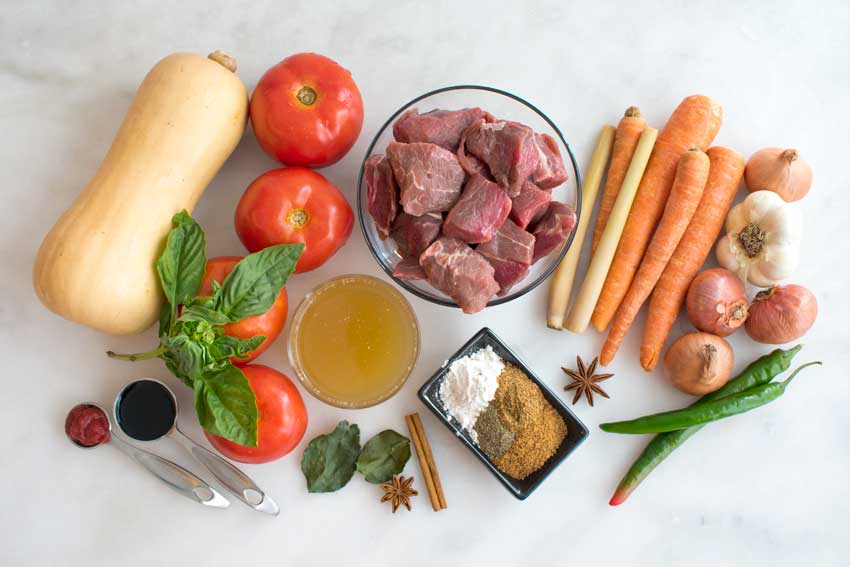
There are quite a few ingredients for this beef stew, but don’t panic! Most of them are fresh produce, spices, and other pantry staples that are easy to find if you don’t have them on hand. I found I had most of them and mostly had to buy the fresh items (meat and vegetables).

In fact, I was able to find all of the vegetables listed except the banana shallots. I simply bought regular shallots since they were all that was available.

I wasn’t sure if the beef stew meat I bought was beef shin. It was labeled something to the effect of ‘beef stew meat’, but it worked well in this recipe.

Finally, I did have to order the kaffir lime leaves. The recipe didn’t specify fresh or dried, so I went with dried as they can be stored in the pantry for use with other recipes.

One–pot Vietnamese Beef Stew Ingredients
Beef stew meat, beef stock, tomatoes, basil, soy sauce, tomato paste, butternut squash, lemongrass, carrots, shallots, garlic, green chilis, star anise, palm sugar, Chinese five-spice powder, black pepper, flour, cinnamon, and kaffir lime leaves

The Process

The instructions for this recipe were very easy to follow, and making my beef stew went very smoothly. Just be sure to start cooking a little early because you will need to marinate the beef for an hour. Here is how my time was spent:

  • 7 minutes to prep the marinade
  • 1 hour to marinate (remaining prep woke done at this time)
  • 2 hours 15 minutes to cook
  • 3 hours 32 minutes total

There is a good deal of peeling and chopping needed to prep the vegetables, but that didn’t take me too long. I did it all while the meat was marinating and hand it finished in 17 minutes.

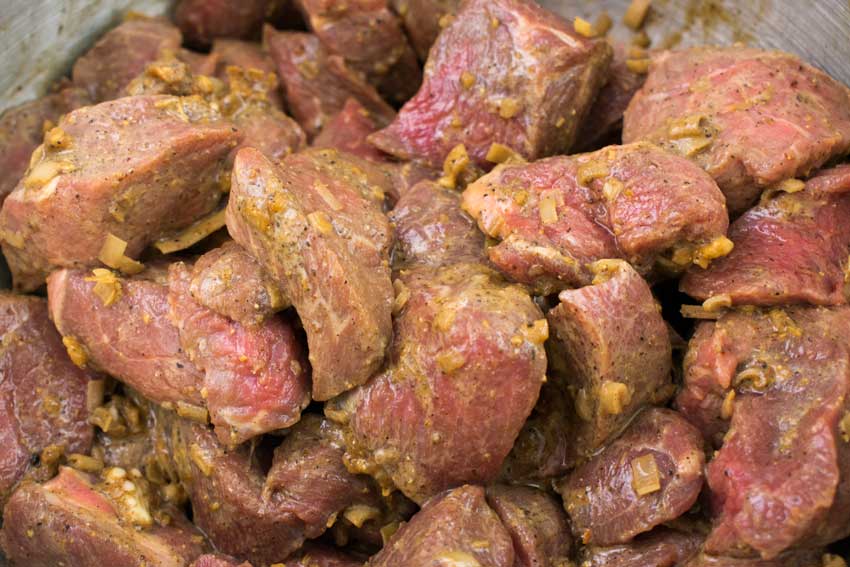
Marinating the beef
Marinating the beef

One thing to note is the tough outer layers of the lemongrass stalks needs to be peeled and discarded. I wasn’t very careful about this part, and I noticed some tough bits in the finished stew as I was eating. Next time I might try crushing the stalks them removing them after the beef stew is finished cooking.

And lastly, I didn’t have a casserole similar to the one pictured with this recipe. Instead, I used a 5.3-quart cast-iron Dutch oven, and it did the job very nicely.

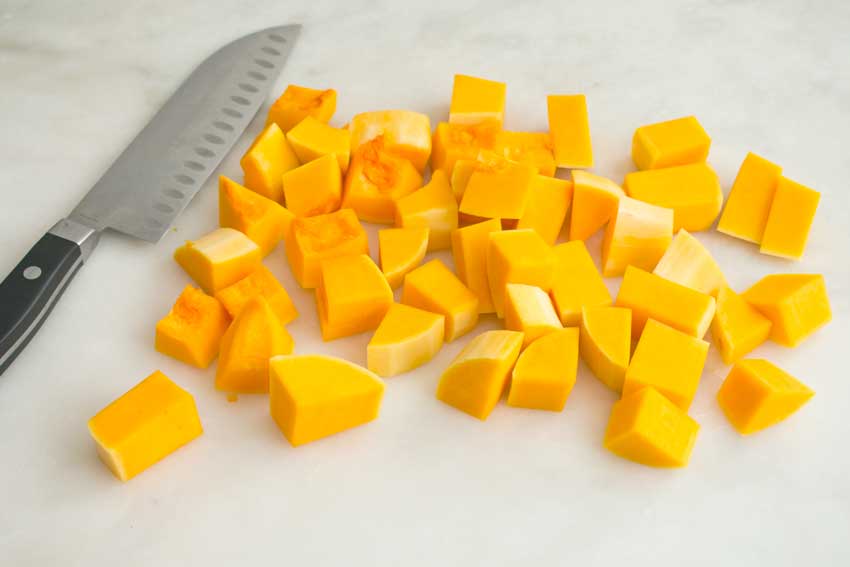
Chopping the butternut squash

Toto – Coconut Spice Cake

0

My week of Jamaican food is coming to an end, and what better way to finish than with a dessert? That’s exactly what popped into my head when I came across this toto recipe. I don’t have much of a sweet tooth, and this simple sheet cake sounded like my kind of dessert, especially since it’s made with coconut. I love coconut! There are a few other things I like in the recipe, but I was sold once I read “coconut”. Let’s find out if it’s as good as it sounds.

Toto is a coconut spice cake that is popular throughout the Caribbean. On some islands it is simply called Coconut Cake. Toto is a dense cake that is rather plain and not much to look at but the combination of coconut and spices makes for a delicious confection that is sure to delight any coconut lover.

Recipe Author: Sian at Sian’s Cooking
Get the recipe

The Ingredients

The list of ingredients for this recipe wasn’t too long, and I had most everything on hand. I love it when that happens! All I had to buy to make this recipe was the coconut milk and coconut flakes.

The coconut milk was easy, but I wasn’t sure if the coconut flakes needed to be sweetened or unsweetened. The recipe and the accompanying blog post didn’t say, so I googled other toto recipes to see if they specified the type of coconut. Unsweetened coconut flakes seemed to be the most popular, so that’s what I went with.

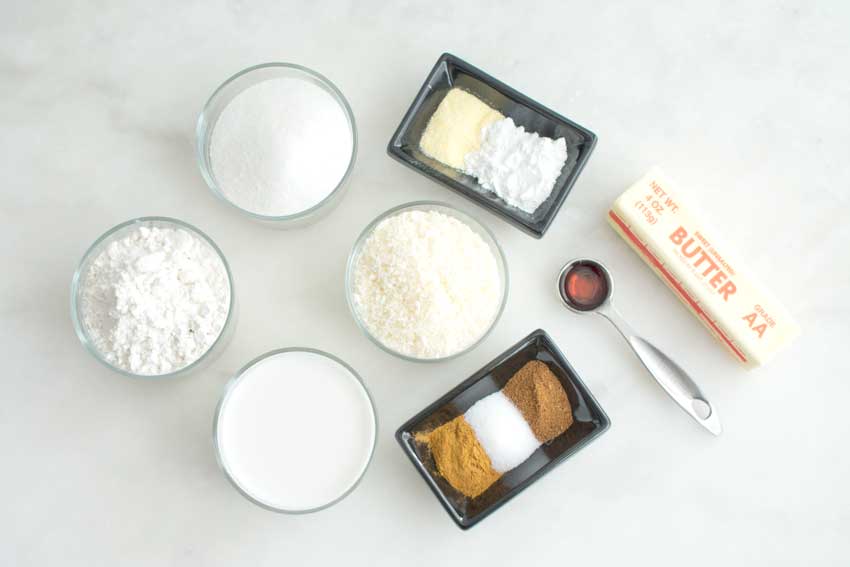
Toto – Coconut Spice Cake Ingredients
Grated coconut, coconut milk, flour, sugar, fine cornmeal, baking powder, butter, vanilla extract, nutmeg, salt, and cinnamon

The Process

Making my toto was a straightforward process, and the instructions were very easy to follow for the most part. One thing that I noticed after I started cooking was there are two different oven temperatures listed. I preheated the oven to 375 then noticed 400 was listed later. I increased my oven’s temperature to 400 as I put my cake in, and that cooked it perfectly in the 35 minutes specified.

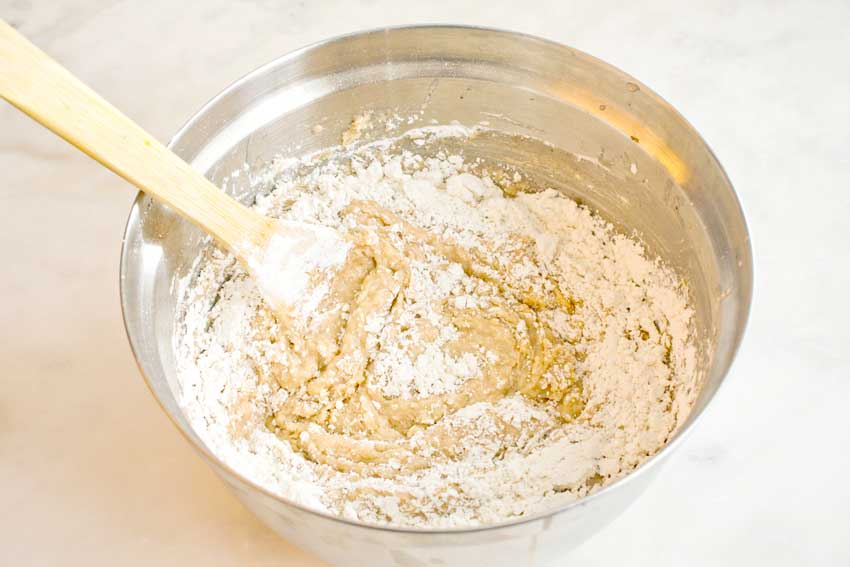
Another thing to be aware of is the batter will become very thick as you add the flour. A strong spoon will be needed, and stirring could be counted as your upper body workout for the day!

The thick batter also doesn’t self-level once you pour it into the baking dish. I tried smoothing it with the back of a wooden spoon, but it really didn’t work too well. The top of my toto was a bit bumpy, but a sprinkle of extra coconut flakes helped disguise it.

The entire process took less than an hour, not including time for the cake to cool. Here is how it broke down:

  • 11 minutes to prep
  • 35 minutes to cook
  • 46 minutes total
Mixing in the flour
Mixing in the flour