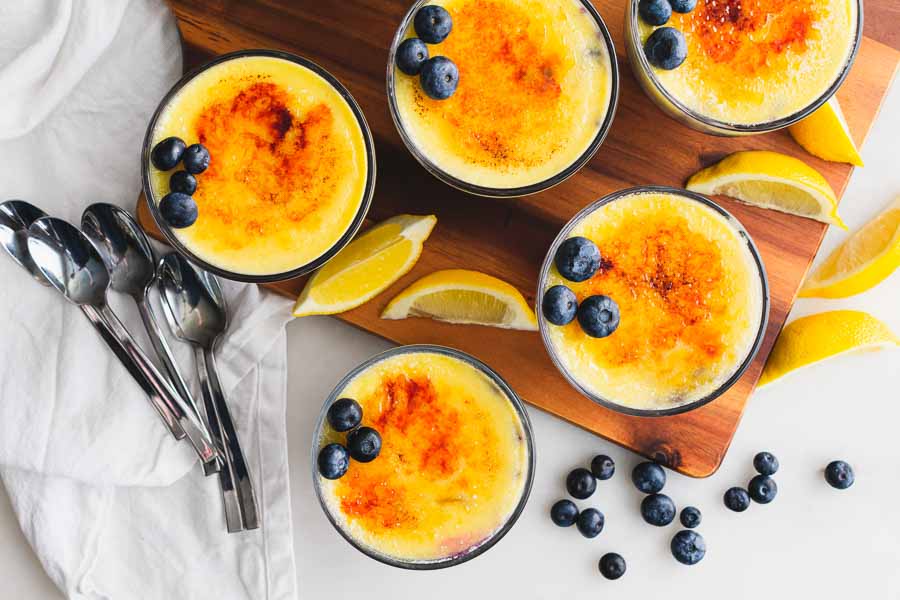
I have wanted a kitchen torch for years! Really! I have dreamed of making creme brulee and torching the sugar to a beautiful golden color. In December 2021 I actually bought a kitchen torch. I added butane, gleefully tested it out, and never used it. It’s been sitting on a shelf in its original box all this time. Well, folks my kitchen torch’s time has come because I’m trying out this No-Bake Blueberry Orange Creme Brulee recipe. I’m finally going to fulfill my crazy dream of making the dessert of my dreams. Fire is involved, so fingers crossed!
Easy, no-bake crème brulee recipe with blueberries and orange zest for even more flavor!
The Ingredients
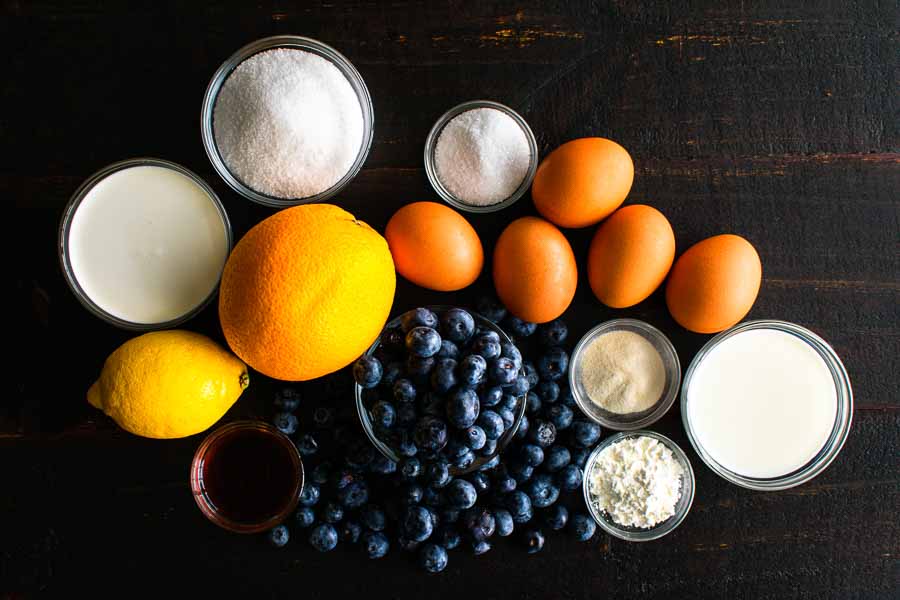
My pantry had a few things for this recipe like cornstarch, vanilla extract, sugar, and salt. I had to buy the rest, but it wasn’t hard to find anything at my usual grocery store.
The recipe does give the option of using agar instead of gelatin. My understanding is agar is plant-derived and gelatine is animal-derived. And by animal-derived I mean it’s plain old collagen that’s made from skin, connective tissue, and bone.
I’m an omnivore and like the idea of using all parts of the animals we eat, so I chose gelatin. It came in a box of 4 packets, and 1 packet was exactly 1 tablespoon. I did look for agar, too, out of curiosity, and wasn’t able to find it locally.
The Process
Although this Blueberry Orange Creme Brulee recipe was a huge Pinterest success, it did have a few hiccups. The order of the ingredients listed and lack of grouping was the cause. Let me explain.
I printed the instructions directly from Tatyana’s Everyday Food. It looks pretty standard—it’s a list of ingredients with the instructions below along with a few other details. It appears to be broken down into 2 parts (the garnishes have their own group). But once I got into the instructions, I noticed it really has 4 parts: the blueberry jam, custard, assembly, and garnish.
My issue was trying to sort through the list of ingredients because it wasn’t in the order of use. For example, you start by making the blueberry jam, but the ingredients for it are the last few in the ingredients list.
Additionally, there are a few duplicated ingredients like sugar, water, and orange zest. It’s not clear which amount belongs to which step. When I broke it down the ingredients are listed in this order: step 3, step 2, step 4, step 1, then step 6.
Blueberry Jam
I started out by measuring out all the ingredients, separating the egg yolks, and zesting an orange. The custard steps moved quickly, and I wanted to have everything ready and waiting.
First up was the blueberry jam, and it was very simple. Just add the ingredients to a saucepan, stir, and simmer for 8 minutes. I worked on the custard while it simmered and later cooled.
Custard
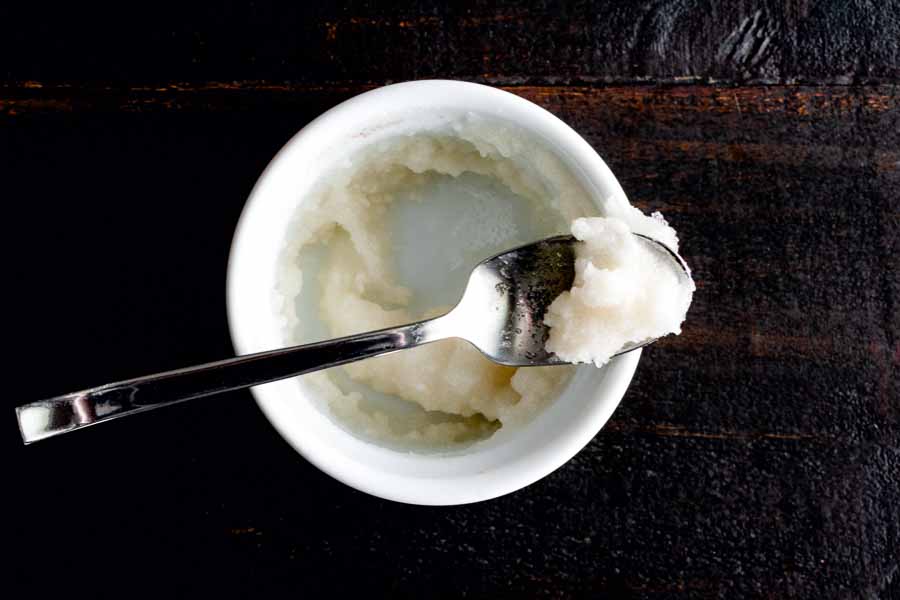
I mixed the 1 tablespoon of gelatin with 2 tablespoons of water since they are listed one after the other. Also, I had previously used 1/2 cup of water for the blueberry jam for the same reason. I expected it to form a loose gel, but it got very clumpy. I can’t remember the last time I worked with gelatin, so I wasn’t sure if this was correct.
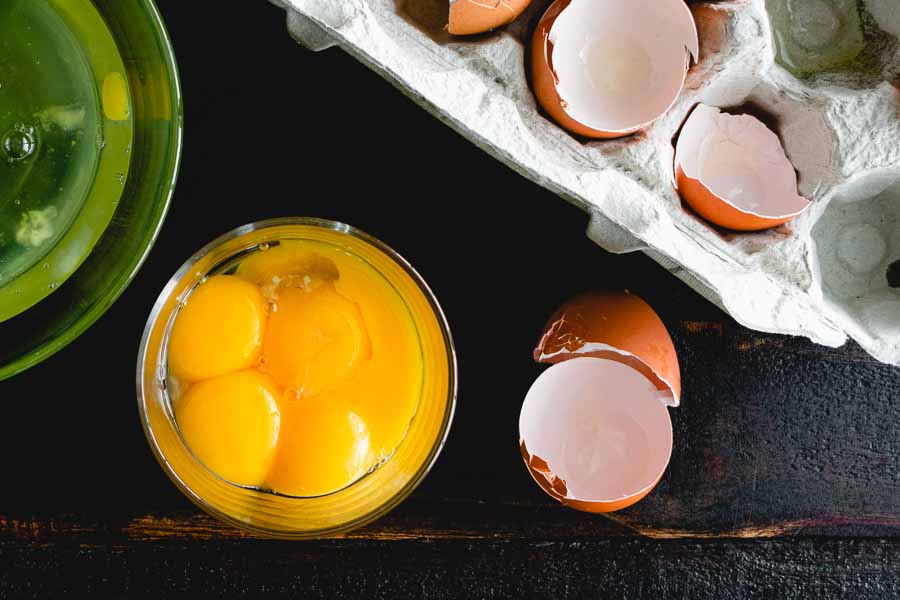
Next up was whisking together the egg yolks, sugar, and salt. The recipe doesn’t specify it, but I used my stand mixer to whisk the eggs and sugar together. I didn’t want to try to use a balloon whisk for 3-4 minutes. It doesn’t sound bad, but trust me, it tests your arm strength!
While the stand mixer got to work I added the milk and cream to a large saucepan. I did use a whisk to stir it constantly so it didn’t burn and stick to the pan. As I stirred, I pondered whether a double boiler would have been a help. I think it would have.
Once the milk was warmed, I turned the mixer back on to a low setting and slowly ladled in the egg mixture. I was so worried I would end up with scrambled eggs, but it worked a treat. I got smooth custard and was very relieved!
Then it was back into the large saucepan to finish up. I added the clumpy gelatin and it mixed in with a bit of stirring. I didn’t note the time, but I stirred constantly until the mixture thickened. Afterward, I removed it from the heat and mixed in the vanilla extract and remaining orange zest.
Making It All into a Blueberry Orange Creme Brulee
Putting these desserts together went very smoothly. I appreciated the author’s tip about placing the dessert dishes onto a sheet pan before beginning this part. I also placed a silpat mat on the sheet pan to prevent the dishes from sliding around. Paper towels would have worked too.
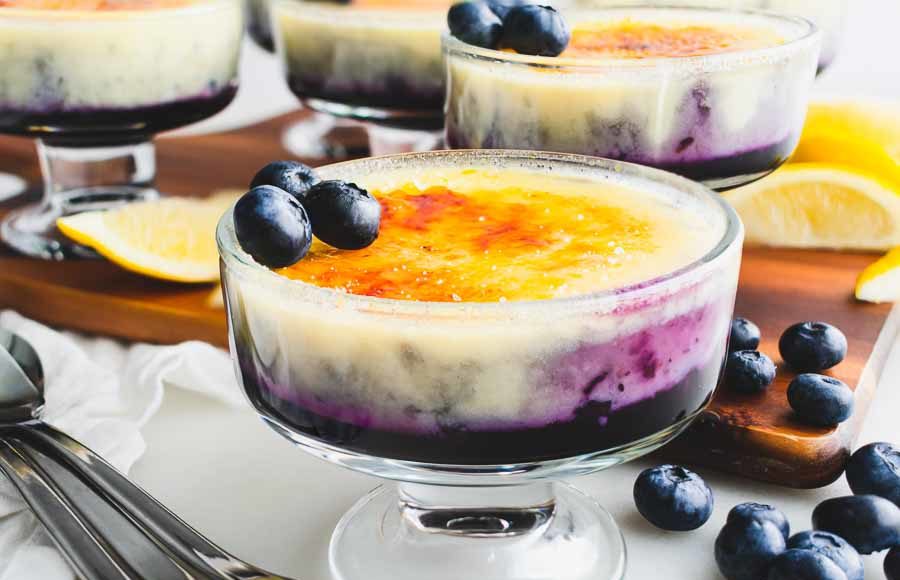
I simply divided the blueberry jam between the dessert dishes, then the custard. As I made the first one I noticed that ladling the custard caused the jam to swirl into it, so I used an old bartender’s trick to prevent that. I poured the custard over the back of a spoon to keep the two separated and give a more layered look.
The recipe gives the option to chill for 6 hours or overnight, and I chose the latter. I wanted to make sure the custard was set.
Garnishing My Blueberry Orange Creme Brulee
The next day was torching time! This is the whole reason I bought a kitchen torch, and this was the first time I have gotten to use it for creme brulee. This was the exciting part for me! I divided the sugar between the dessert dishes and grabbed my torch.
One thing I made sure to do was to keep the torch moving in small circles and never settling in one spot. I also made sure to aim it toward the center of the dish and not at the glass. Although the glass was thick, I was worried the extreme heat might shatter it. It did not, as you can see, and I succeeded at the brulee part of blueberry orange creme brulee!
After a few blueberries and lemon wedges, I was done. I had 6 lovely No-Bake Blueberry Orange Creme Brulees ready and waiting to be devoured.
Timing
- 10 minutes to prep
- 29 minutes to cook
- 8 minutes to assemble
- 6 hours to chill (minimum time listed, I chilled overnight)
- 7 minutes to torch
- 1 minute to garnish
- 6 hours 55 minutes total
The total time listed on the recipe is 6 hours 30 minutes, so I got close. I’m sure the slow-down was partly my confusion with the ingredients and just being overly careful. I did re-read the steps a few times as I cooked to make sure I was doing the right thing.
