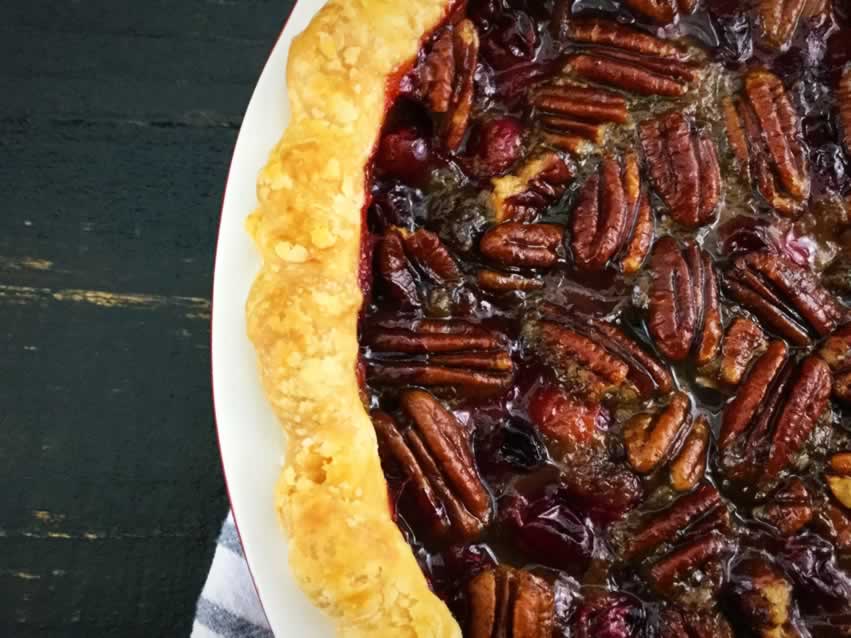
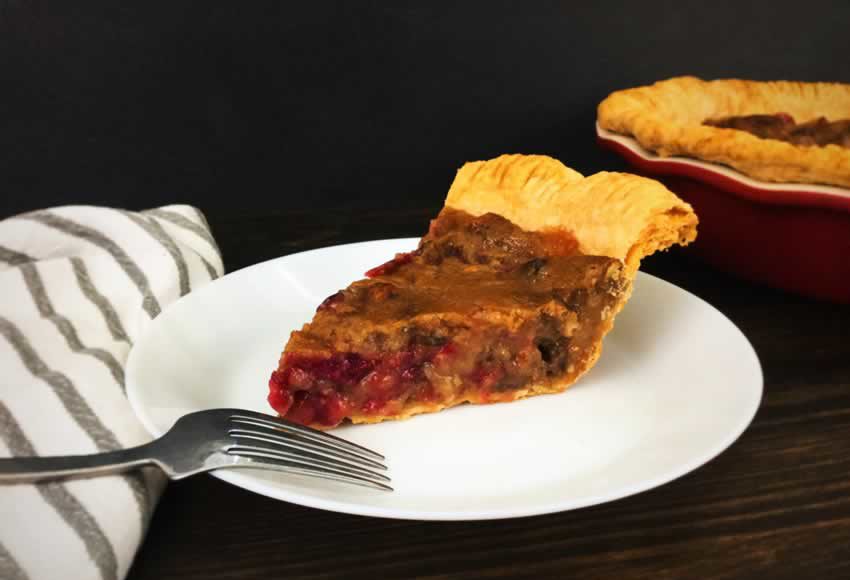
Since my Christmas menu is cranberry themed this year, I couldn’t pass up this recipe for Maple Cranberry Pecan Pie. It sounded so good, and it would be another first for me. I’ve made apple pies, but I’ve never made pecan pie before. I’ve been in the room while one was being made (I once had a roommate who was an awesome baker), and I know it can be difficult to get the filling to set. So not only do I get to try something new, but I also have a challenge on my hands. Wish me luck!
We’ve mashed up two of our favorite holiday dishes to come up with this Pecan Cranberry Pie. It’s sweetened mostly with maple syrup for the perfect sweet finish. Wonderful with vanilla bean ice cream!
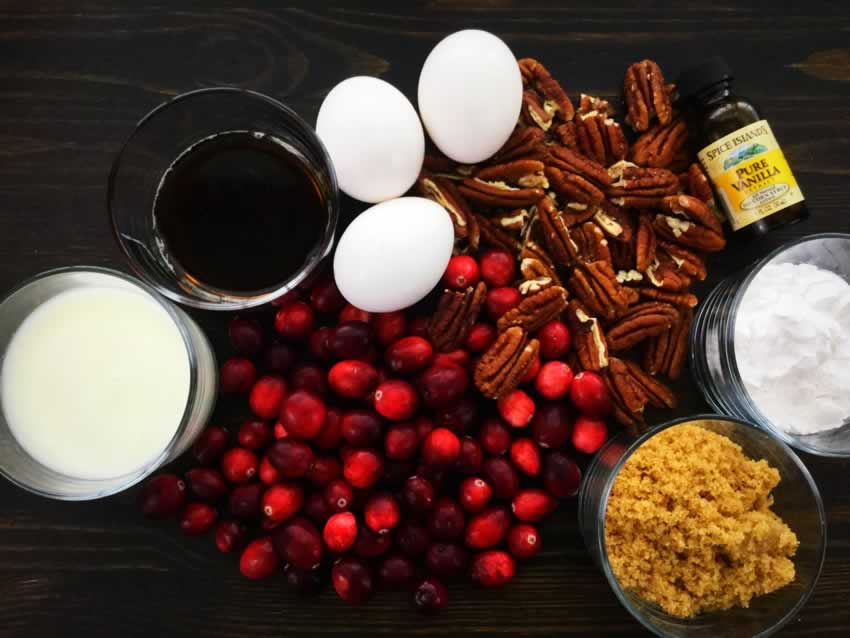
The Ingredients
Everything for the crust and filling was pretty standard, and I didn’t have trouble finding anything. Nor were any of the ingredients unusually expensive. It did take me a few minutes to find the tapioca on the shelf, but that’s just one of the perils of grocery shopping.
The Equipment
I’ve noticed desserts seem to need more specialized equipment than I’m used to. Here’s what you’ll need to make the crust and filling for your maple cranberry pecan pie:
- Measuring cups (I use this for liquids and these for dry ingredients)
- Measuring spoons
- Medium mixing bowl
- Mixing spoon
- Food processor
- Plastic wrap
- Rolling pin
- 9-inch deep-dish pie pan
- Medium saucepan
- First Slice Pie Spatula (optional, but very helpful)
The Process
This is really 2 recipes in one: The crust and the filling.
Making the Crust
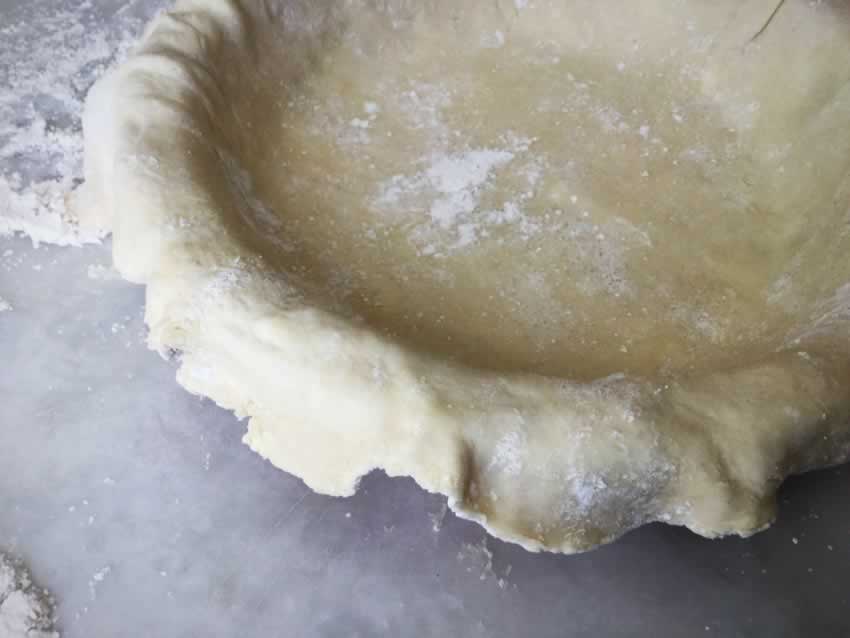
One thing I hate is making pie crust. It takes me at least 2 tries to get it into the pan, and it’s usually not very pretty. However, I have to say this was the easiest pie crust I have ever made. The instructions were so thorough and easy to follow. The crust was very easy to work with, and I had it rolled out and into the pie pan on the first try. I’m pretty sure that’s never happened before.
I was able to follow the instructions up until they said to roll out the dough on a flour sack (Step 7). I have no idea what that is or where to get one. Instead, I added a generous layer of flour to a marble bakers table (a gift from my lovely mother-in-law). Here’s how my time broke down for making the crust:
- 12 minutes to make the dough
- 30 minutes to refrigerate the dough
- 11 minutes to roll out and line the pie pan
- 15 minutes to refrigerate
- 68 minutes total (23 active, 45 inactive)
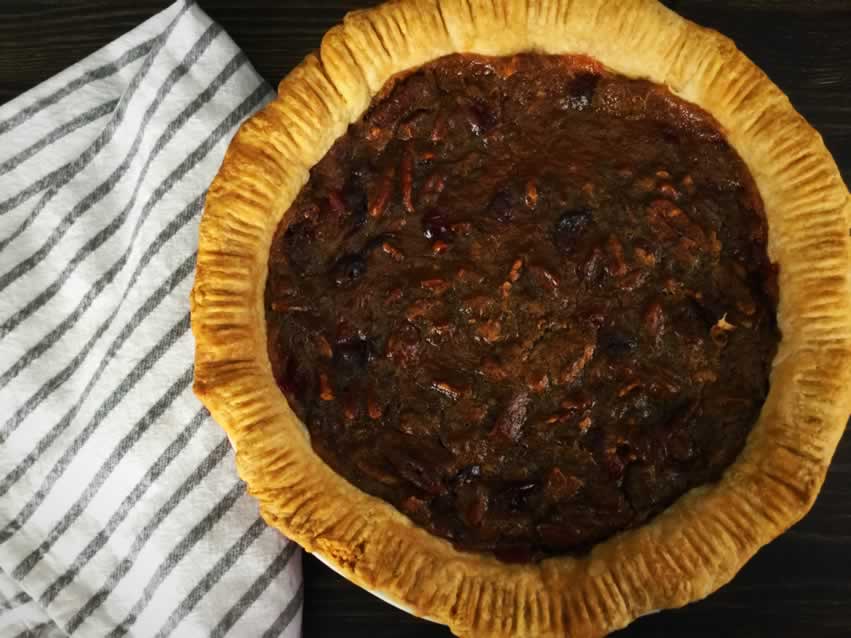
I got started on the filling while the crust was being refrigerated the 2nd time for 15 minutes. Things went very smoothly for the filling until I realized there is no mention of when or how to use the pecan halves. I’ve never made a pecan pie before, so I googled a couple of recipes. Based on what I found and the author’s photo, I decided to add them at the same time as the chopped pecans instead of using them as a topping.
Making the Filling
From there all I had to do was bake the pie. I started at 35 minutes, but that wasn’t enough. I added 10 minutes since the center was nowhere near firm and ended up baking it for the full 50 minutes listed. The filling wasn’t totally firm when I took it out and f the oven, but it firmed up nicely while the pie cooled.
Total time on this recipe (or recipes since there are 2) was 1 hour 58 minutes. That includes making the crust, time to refrigerate it, making the filling, and baking the pie. The recipe also called for a minimum of 5 hours to cool. I let the pie cool on the countertop for a good hour, then I covered it with aluminum foil and refrigerated it. I’d recommend making your maple cranberry pecan pie the day before you plan to serve it.
My Second Try
I really wanted to give this pie another shot since A) I had a second batch of crust in the freezer, B) I wanted mine to look as pretty as the author’s picture, and C) it was just that darn good! This time I didn’t mix the pecan halves into the filling. Instead, I placed them on top of the filling once I had poured it into the crust. Voila! I think my second pie is way closer to the author’s beautiful picture.
