Since I just made those Korean Gochujang Ribs, I thought I would follow it up with another Korean recipe. I found several on my Pinterest boards, but most were main courses and side dishes. There were plenty of delicious-looking sides and salads, but then I scrolled past this Hotteok (Sweet Korean Pancakes). Decision made! These small pancakes are a popular Korean street food that’s filled with nuts, spices, and brown sugar. They sound so good, and I need to give them a try!
Homemade dough stuffed with brown sugar, cinnamon, nutmeg and walnuts and cooked until warm and gooey on the inside.
The Ingredients
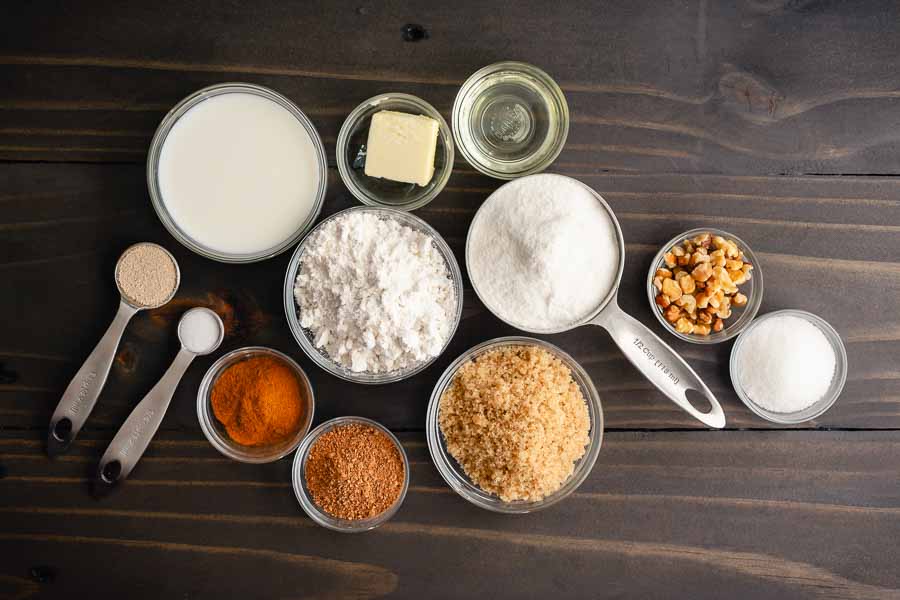
As usual, I started planning this recipe by rooting around in my kitchen for ingredients I already have. I had several things like flour, sugar, salt, butter, cooking oil, brown sugar, cinnamon, and nutmeg. In other words, most of the ingredients. Yay!
I had to buy the yeast, milk, walnuts, and rice flour. I knew my usual grocery store would have the first 3, including pre-chopped walnuts, and I was so pleasantly surprised to find they also stocked rice flour. A 24-ounce bag of Bob’s Red Mill was about $6. I have plenty left over, so I need to find a way to use up the rest. Not sure what that will be just yet, but I’m sure it will be posted here!
By the way, the type of yeast isn’t listed with the ingredients. It is specified as “instant dry yeast” in the notes section, so you might miss it. However, I loved the other tips in the notes, and I found them very helpful as I made my Hotteok.

The Process
Making hotteok has 4 main parts:
- Making the dough
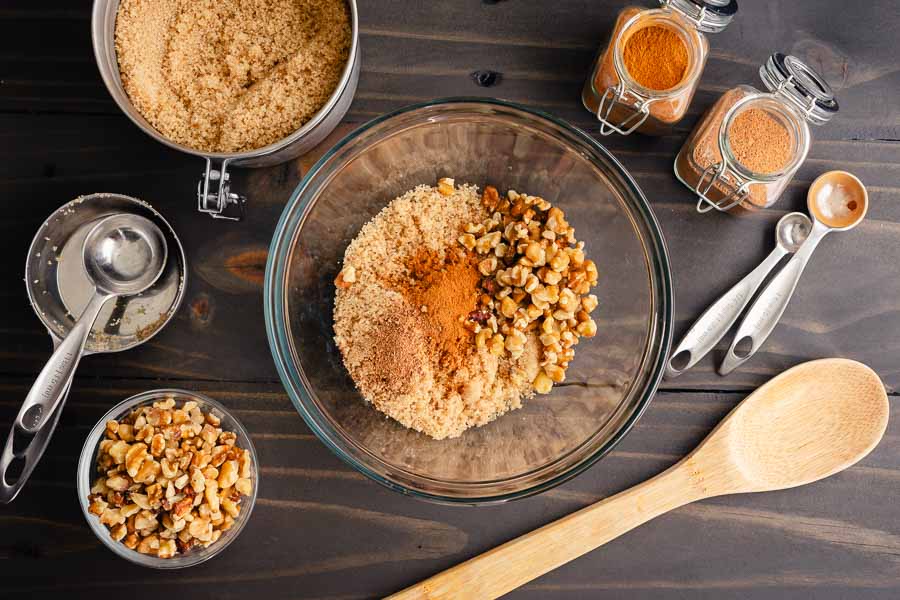
- Making the filling
- Assembly
- Cooking
Making the Hotteok Dough and Filling
This recipe takes a while to complete since the dough needs time to rise. It’s mostly inactive time, so you aren’t standing in the kitchen for all that time. The dough was super easy to make, and I did it by hand. I’m sure it could have been mixed and kneaded in a stand mixer, but I wanted to stick to the instructions.
Once the dough was mixed and kneaded, I covered it with a tea towel and put it into my microwave to rise. And no, I didn’t microwave my dough LOL! I keep my house on the cool side, and the dough needs a warm space to rise.
A warm spot by a window is ideal, but I don’t have that. Instead, my go-to trick is to warm a ceramic mug of water in the microwave. Then I move it into the corner, add the covered bowl of dough, and close the door to create a warm space for the dough to rise. Problem solved!
The dough takes 1-2 hours to rise, so I had more than enough time to mix up the filling while I waited. And do the dishes. And read a little! I checked on it after an hour, and it had doubled in size by then.

Assembling my Hotteok
Ok, the easy part is done, and now the work begins! I’m not the greatest baker, and I equate anything involving dough with baking. It gives me some anxiety, to say the least…
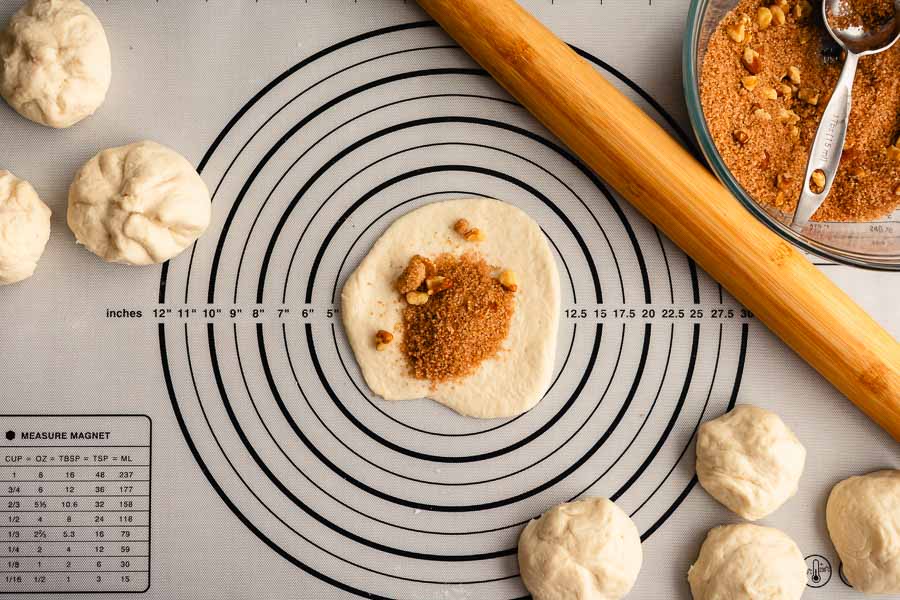
Dividing the dough wasn’t too difficult, but I did give it a couple of tries to get it into 8 even-ish pieces. Rolling out, filling, and pinching the dough went pretty smoothly. At least after the first one. My new silicone baking mat gave me the perfect non-stick surface for this step.
The recipe says to add 1 tablespoon of the brown sugar-walnut filling to each piece of dough. That’s what I did, and it seemed like just the right amount. I was just able to pinch the dough closed without breaking it most of the time.
I did roll the first ball of dough too thin, though, and the walnuts made holes when I flattened it into a pancake. And those holes resisted all attempts to pinch them closed! Every. Single. One.
I spent 5 minutes—almost half the entire assembly time—trying to fix that one pancake and finally gave up. It ended up ok, though you could tell it was the throwaway of the bunch. In the end, I’m wondering if I should have kneaded the dough more when I first made it. This dough was very slack/soft and overall delicate.

Cooking my Hotteok
So, the time to cook came around. I added 4 tablespoons of vegetable oil to my 12-inch non-stick skillet and let it preheat. I was only able to get 4 of the Hotteok into the pan at once, and the 1st batch seemed to take longer to cook/brown than the time listed despite preheating it well.
The problem, I think, was they soaked up most of the oil. The 2nd batch seemed to cook up nicely about 45 seconds per side and looked much less oily. Next time I will try adding half the oil per batch so the first ones don’t soak it all up.
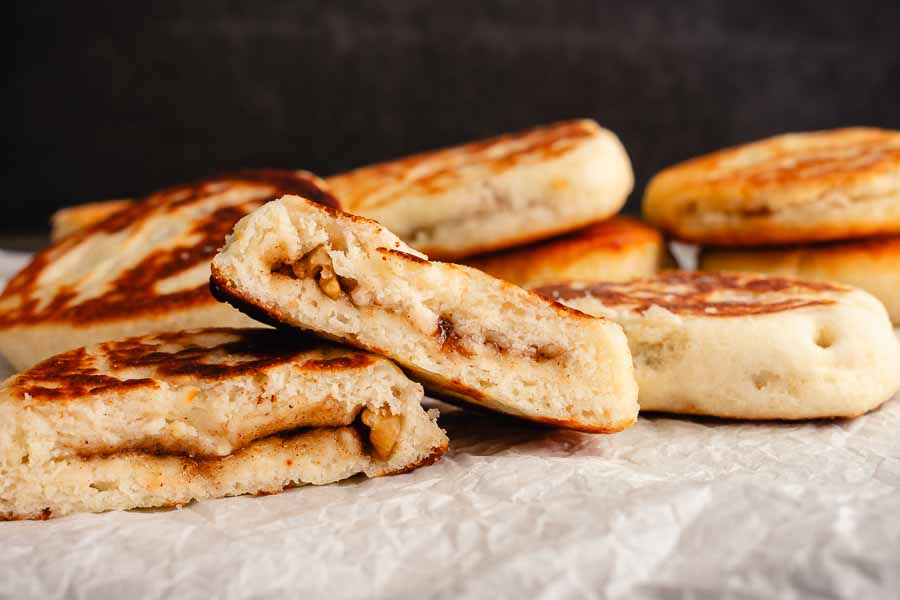
I added 1 tablespoon of water at the end of each batch and let the hotteok steam with the lid on. As you can see from the main photo, I didn’t get that gooey filling like there recipe’s photo, but assure you I did get all the taste!
Timing
This recipe lists 5 minutes to prep, 10 minutes to cook, 1 hour of dough rising time, and 1 hour 15 minutes total. Here’s how my time was spent:
- 8 minutes to make the dough
- 1 hour to rise
- 2 minutes to make the filling (done during rising time)
- 11 minutes to assemble
- 8 minutes to cook
- 1 hour 27 minutes total
I’m not surprised I went over the time listed since I’m not used to the techniques in this recipe. About 5 minutes of that was me trying to fix the holes in my first hotteok, so I think I did pretty well as far as the time.
