I don’t make appetizers very often because… Well, they aren’t something we really ever need, and I tend to buy pre-made if we do. It’s just a time-saver if I’m cooking dinner and dessert. However, when I came across this Herbed Olive Tapenade With Goat Cheese Bruschetta, it triggered some nice memories. Let me explain.
When I lived in Orlando, a close friend would throw a big Halloween party every year. She would cook (pretty much the only time she ever cooked), set out quite the spread, and invite what seemed like half of Orlando. It was always marvelous, and I miss those parties. But anyway, one year I helped with cooking and my job was the appetizers. One of the dishes I made was a delicious olive tapenade. It was a hit, but I’ve since lost the recipe. This Herbed Olive Tapenade With Goat Cheese Bruschetta sounds somewhat similar (If my memory is correct), so I’m hoping I have found a replacement. Let’s find out!
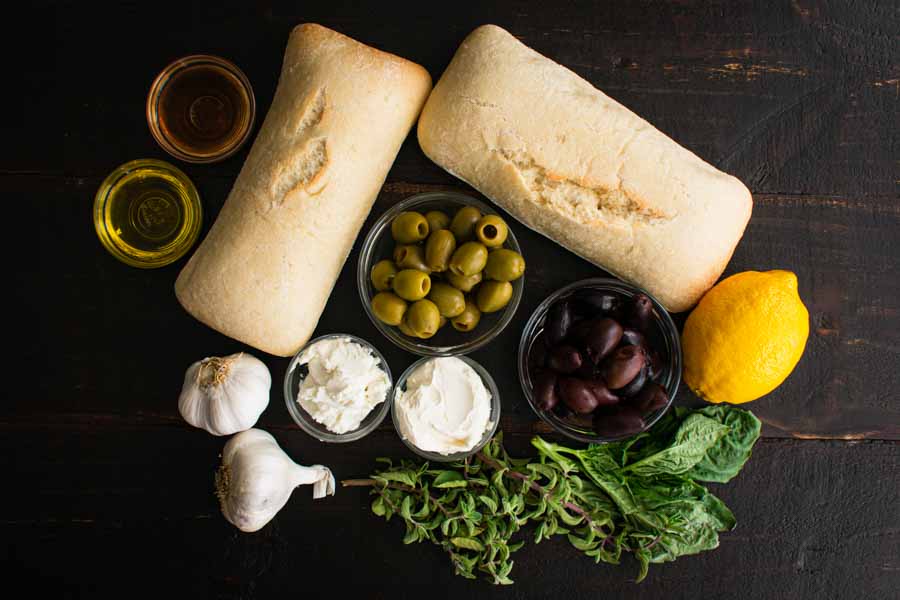
I put all of my favorite ingredients together for this fresh & tasty starter.
The Ingredients
This recipe was written into a blog post, and there wasn’t a downloadable/printable version of it. Instead, I had to read over the post a couple of times and type it into my recipe software then print it out for reference. I’m hoping I got everything correct!
I found most everything I needed with a couple of exceptions. First, the green olives I found aren’t labeled manzanilla or stuffed with pimento. They were what came up when I searched the Whole Foods site for “manzanilla olives”, so I’m hoping that’s what they are.
My next, um, glitch was with the bread. I ordered a baguette, but they were out. I ended up with par-baked ciabatta bread. From what I’ve found online, this will be fine.
By the way, have you ever heard of par-baked bread? Me neither, but it’s my new favorite thing. It’s partially baked bread that’s sold in airtight bags. You have to bake it for 10-15 minutes to finish baking it before serving. Yes, it’s more work, but what I love is that the bread doesn’t go stale while it sits on my counter, waiting to be eaten. No more baguettes hard enough to be used as bats! No more un-sliceable ciabatta! I can have fresh bread and still only order groceries once a week.

The Process
The instructions for this recipe were a little general in areas, but I think I figured it out. First off, let me start with the times, then I’ll get into the details of the how-to.
- 17 minutes to prep and cook
- 5 minutes to assemble
- 22 minutes total
That first 17 minutes includes 15 minutes to bake the bread. I made the tapenade and cheese spread while it was in the oven.
The Bread
I kicked off my Herbed Olive Tapenade With Goat Cheese Bruschetta with the bread since it would take the longest time. It was quite simple, though. First up was preheating the oven to 350℉.
I started slicing the bread along the shortest side and immediately realized the pieces were tiny. All wasn’t lost, though, and I was able to switch to slicing on the diagonal to make the pieces larger.
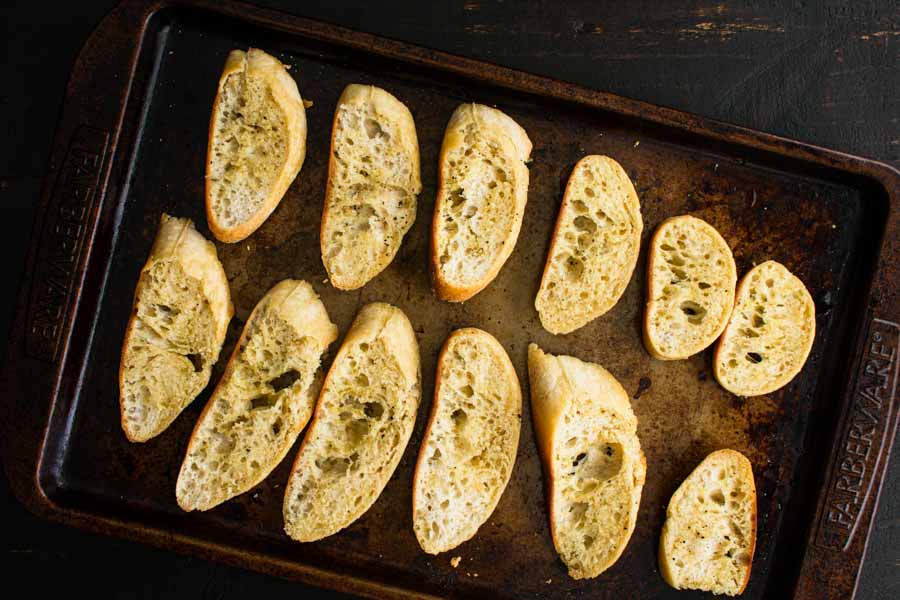
Then I added some extra virgin olive oil, salt, and pepper to a shallow soup bowl. Next, I dipped one side of each piece of bread into the mixture and placed them oil side up on a sheet pan. I popped that into the oven for 10 minutes and moved onto the tapenade while the bread toasted.

The Tapenade & Cheese Spread
This was the real “work” of this recipe, but it only took a few minutes. It’s mostly chopping and dicing the ingredients, then mixing them up in a bowl. There’s not much more to say—it was truly that easy.
The cheese spread was even easier. I put both the chevre and cream cheese into a shallow bowl and folded them together.
The oven timer went off as I was finishing up the tapenade and cheese spread, and I noticed the bread hadn’t browned. I left it in the oven for another five minutes while I finished up, and everything was ready at the same time.
Assembling the Bruschetta
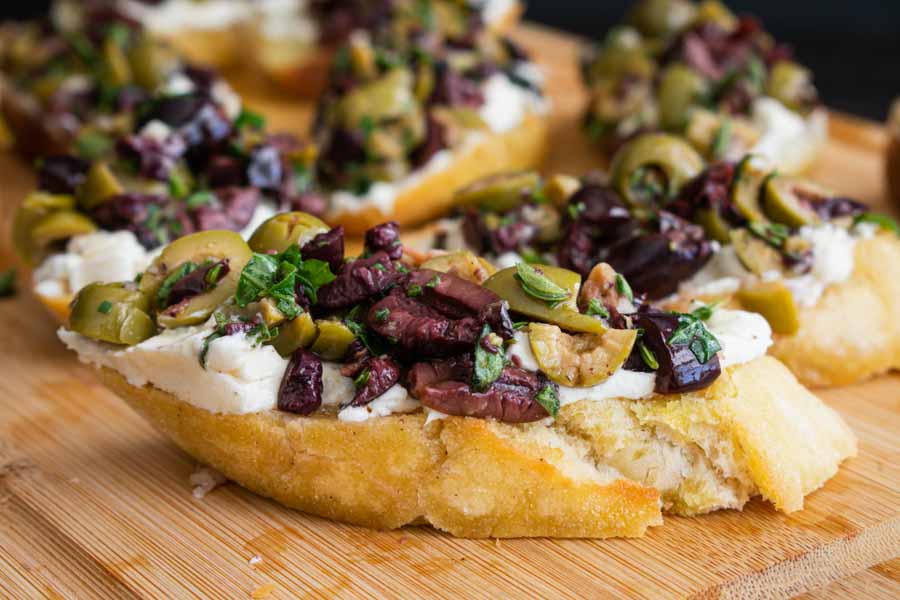
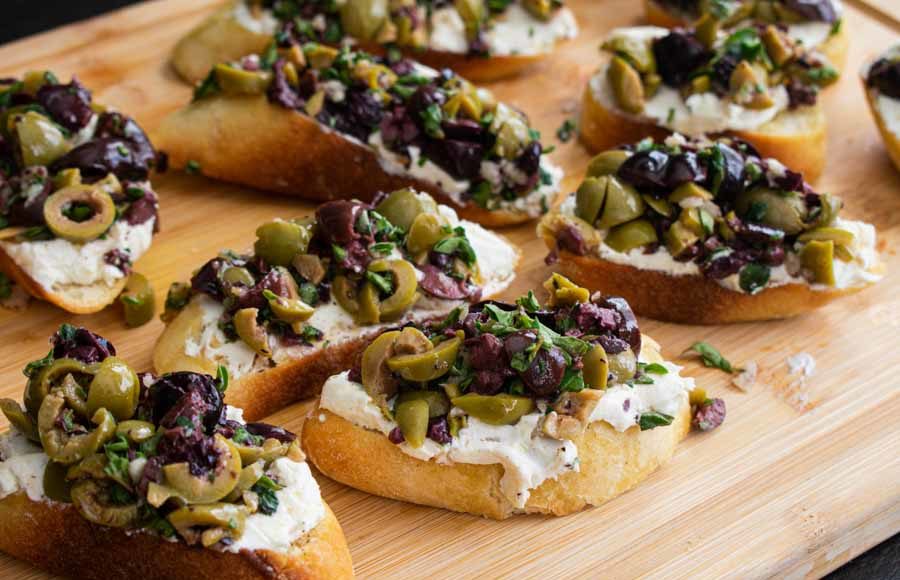
This part was a little messy, but the results looked good. I started by spreading the cheese onto the bread. There was a good amount of it, so I was able to be generous with it.
Once the cheese was used up, I started spooning on the tapenade. I quickly realized I didn’t want to scoop liquid in the bottom of the bowl with the tapenade, so I switched to a slotted spoon. I was able to pick up a little tapenade and let the liquid drain before I added it to the bread.
Of course, bits and pieces of olives and herbs fell off, but I found a simple and easy solution to that problem. Tip: Use your hands to lightly press the tapenade into the cheese. It will help hold everything together.

