If it has the word “cheesecake” in the title, chances are I’m going to give that recipe a try. that’s why I couldn’t resist this Healthy Chocolate Peanut Butter Breakfast Cheesecake. Well, that and I also wanted to change things up and try a breakfast recipe. I’ve reviewed over 500 recipes for The Hungry Pinner, and not a lot of those are breakfast recipes for a very good reason: I’m a morning zombie. Not drinking coffee much anymore doesn’t help matters, so I need very simple breakfasts when I don’t have leftovers to scavenge. This recipe sounds perfect for me, so I’m going to give it a shot.
Enjoy a smooth, creamy and easy chocolate peanut butter cheesecake for breakfast! Inspired by Reese’s Peanut Butter Cups, this no bake cheesecake is high protein and low in fat, and completely vegan, gluten free, dairy free and sugar free!
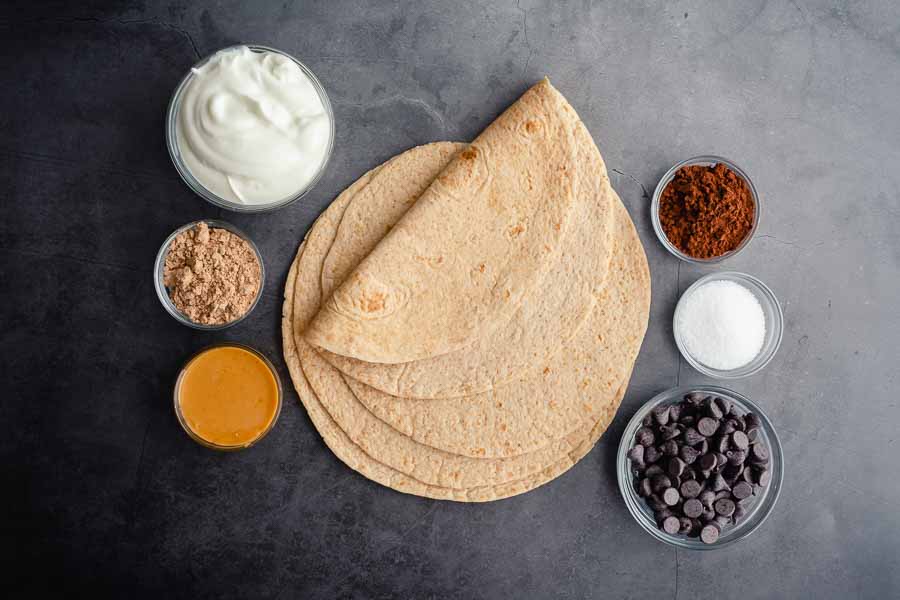
The Ingredients
I actually made this recipe twice because my first attempt didn’t turn out (I misread the instructions, more on that later). My first attempt used Flatout Whole Grain flatbreads, but I couldn’t find them for the second attempt. I subbed Mission Carb Balance Whole Wheat Tortillas, and I liked them just as much. (Link just to show packaging—they’re $3-$4 a pack at my local grocery store).
I also bought the plain fat-free Greek yogurt and some sugar-free dark chocolate chips. The rest was in my pantry, although I only had PBfit Chocolate Peanut Butter Powder. Hey, I’m all for more chocolate!
You’ll also need some oil to spray onto the flatbread, but it’s not listed in the ingredients. I always keep some on hand, so it wasn’t an issue.

The Process
So I mentioned that I made these twice, and now I’ll explain. You may or may not know that I select my recipes in advance, and I tend to forget the blog posts I find them on. I read constantly, and things slip.
Well, that’s exactly what happened here. I read the post, loved the idea, added it to my calendar, and read a ton more posts in the meantime (and novels, news articles, and all sorts of things). When the day came to make my Healthy Chocolate Peanut Butter Breakfast Cheesecake, all I had was the recipe printout with no photo and my shoddy memory.
My First Attempt (What was I thinking?!)
No problem, I can follow instructions, right? Eh, sort of. I decided to make this recipe for lunch since the light is better for photos in the afternoon. It was after lunch, so I was completely awake. Here’s how my time was spent:
- 10 minutes to prep
- 10 minutes to cook
- 5 minutes to finish
- 25 minutes total
I followed the recipe as it was written and made the cheesecake part first. Then I cut the flatbreads into squares and toasted them up. While the chips cooked, I made the chocolate-peanut topping for them.
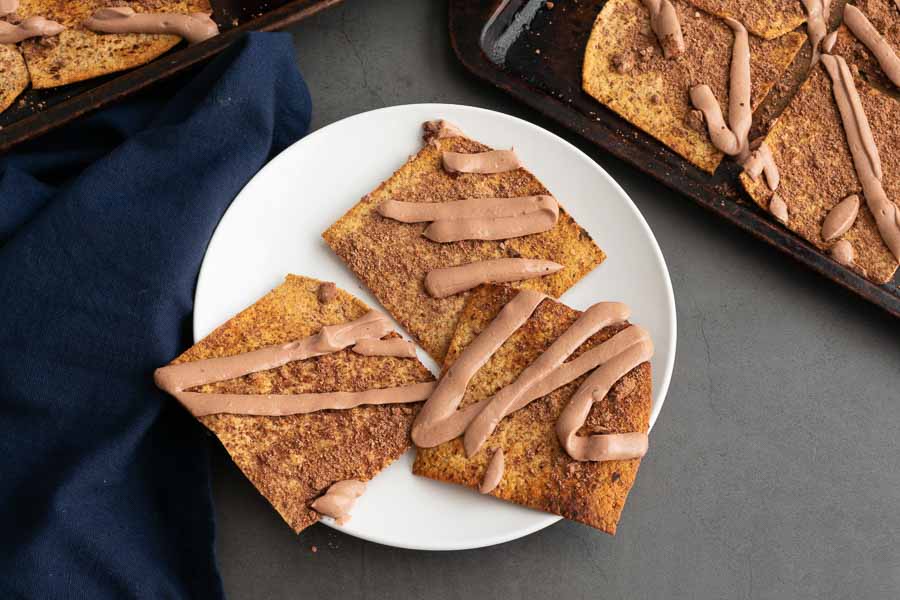
Things seemed to go well until the end. I don’t know how my brain determined this, but I swear the recipe said to drizzle the chocolate-peanut butter topping and the cheesecake mix onto the flatbread. So I added it to a ziplock bag, trimmed off a corner, and drizzled the squares of flatbread a la a piping bag.
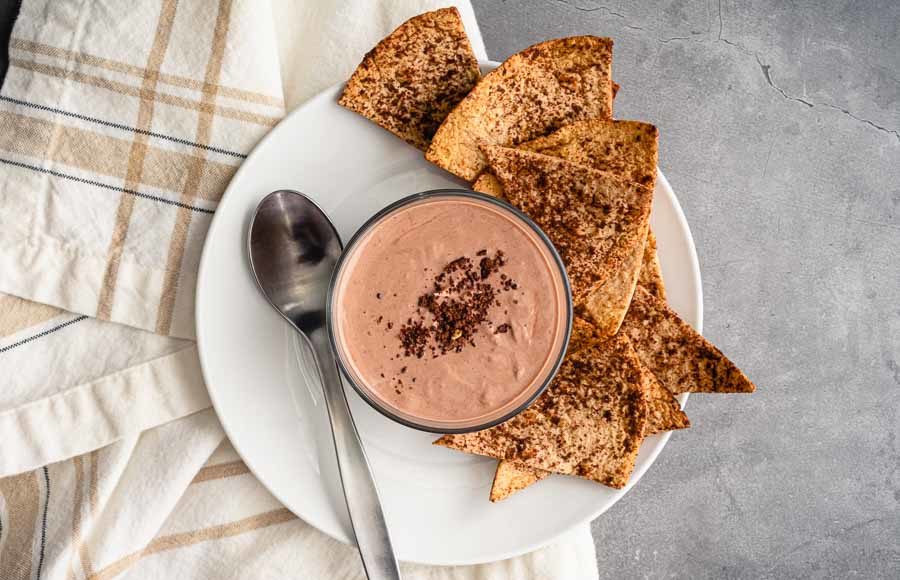
It wasn’t until I went to write this post that I realized my mistake. The cheesecake is supposed to be served in a dish with the flatbread on the side to dip. Did I feel stupid!

My Second Attempt (I got it right!)
I had to give this recipe another try! I wanted to do it right, and I knew I could do it faster. How? I decided to make the chips first and the cheesecake and topping while the chips baked.
This time I had round tortillas, and I noticed that Step 2 said to cut the flatbread into squares and triangles. Huh? It reads, “Cut the Flatout wrap into squares and lay it out evenly. Spray the triangles lightly…” It was a typo, but triangles were easier with round tortillas and probably easier to dip into a small serving bowl.
I have 2 sheet pans, and 4 tortillas cut into eighths filled them up. I also decided to line the trays with parchment paper to make cleanup easier.
Then I started mixing up the cheesecake and chocolate-peanut topping for the chips. I mixed up the cheesecake and set it aside. Then I mixed up the dry chip toppings, melted the chocolate chips in the microwave, and mixed everything together. Both were ready and waiting when the chips came out of the oven.
Oh, and about those chips. My oven’s heat source is on the bottom, so I used my lowest 2 racks. I placed one tray on the upper and one on the lower rack to allow the air to circulate. I let them bake for 5 minutes then switched the pans. The chips baked up nice and crisp with no turning and no burning.
When they came out of the oven, I added a few to my biggest mixing bowl, sprinkled on half the topping, and repeated with the rest. The large bowl allowed me to toss the chips in the topping and get them well coated. I used the extra topping to garnish the cheesecake.
A Note About Timing
As I mentioned, things went quicker this time. Making the chips first saved me 7 minutes. Here’s how it worked out:
- 5 minutes to prep
- 10 minutes to cook
- 3 minutes to finish
- 18 minutes total
This was a little closer to the 10-minute total time listed than my 25-minute previous attempt. However, I think that total is an error since the recipe says 5 minutes to cook at the top and 8-10 minutes in the instructions. Allowing for that, the total would be 15 minutes, and my second try’s time aligns with that.
