I live in South Florida, where there is Cuban food a-plenty. It’s wonderful! In fact, one of our favorite places to get Cuban food is about a mile up the street. We both have foods we love on the menu, but I think my husband and I can agree that our favorite dish is pollo a la plancha. It’s a marinated chicken breast that’s grilled and served over onions, and it’s the best chicken dish ever. Evah! So when I was reading this Cuban Chicken with Onions (Pechuga a La Plancha) recipe, I thought it sounded a lot like our beloved pollo a la plancha. There were a few differences, but I love the idea of being able to make our beloved Cuban dish at home. Let’s find out how the two compared.
By the way, pechuga a la plancha means “grilled breast” and pollo a la plancha means “grilled chicken”. The two are used interchangeably to refer to the same recipe, and it is also sometimes (though less often) called pechuga de pollo a la plancha or “grilled chicken breast”. Pollo a la plancha seems to be the most often used, but now you know in case you encounter the alternate names.
A homemade Cuban Chicken that tastes like your favorite restaurant’s Pechuga a la plancha! Pan-fried chicken with lime & sautéed onions never tasted better!
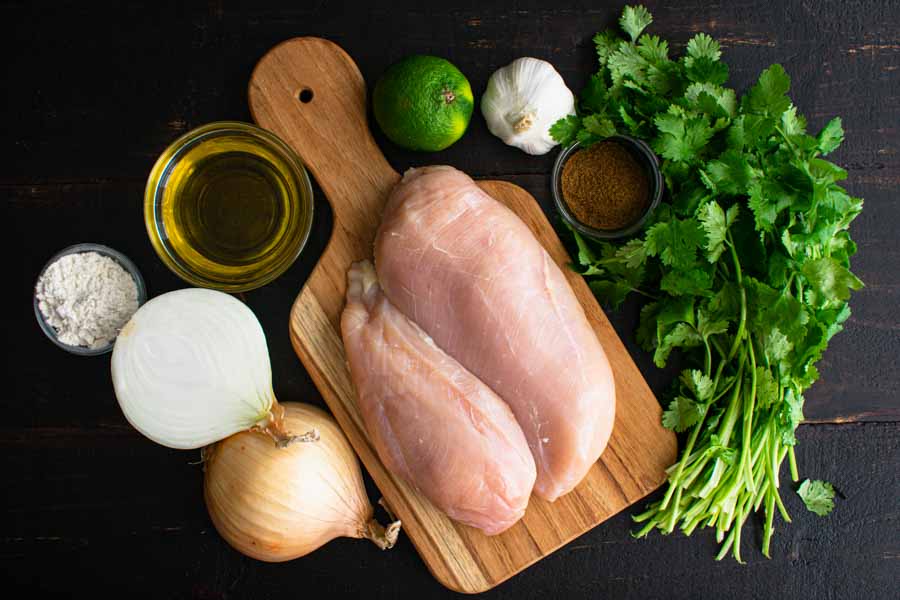
The Ingredients
Cuban food might sound exotic to some, but the ingredients for this recipe were so easy to find. Boneless, skinless chicken breasts, olive oil, onion, and all the rest are easily found at most grocery stores. I had to shop for most everything, but this was a budget-friendly meal for sure.

The Process
The total time for this recipe was listed at 35 minutes, and my experience was right in line with that. Here’s how my time was spent:
- 18 minutes to prep
- 20 minutes to cook
- 38 minutes total
Prepping the Chicken
The first steps in this recipe involve the chicken. I had two chicken breasts and needed to cut them in half per the ingredients list. My instinct told me to cut them horizontally to make cutlets, despite the instructions saying to cut them in half lengthwise. It took me a moment to figure it out, but it makes sense since the next step is to pound the chicken thin. Cutlets might let you skip that step, though.
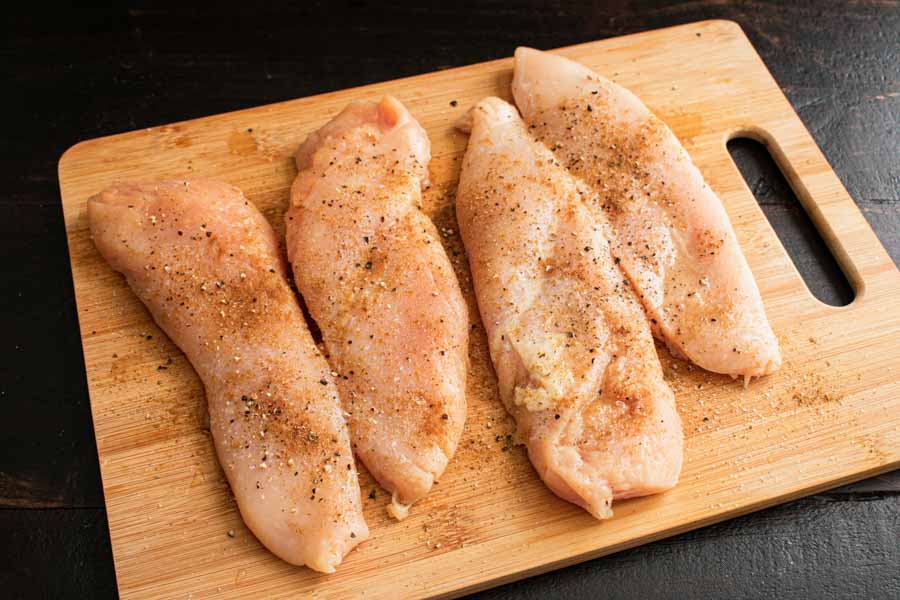
After I had them cut and pounded, I added the seasonings. Lime juice was first so the dry spices would stick better. Doing it the opposite way essentially washes off the spices. This recipe doesn’t give exact amounts for the spices, so the photo below was my best guess. I think the salt and pepper were fine, but I could’ve gone a little heavier on the cumin. Next time.
Once the chicken was seasoned, I dredged the chicken in flour and set it aside so I could start on the onions.

Finishing Up
Most of the work was done at this point, and all that was left was the cooking. I followed the instructions and cooked the onions and garlic first. My 5-quart saute pan allowed plenty of room to stir without spills.
After removing them from the pan with a slotted spoon, it was time to grill up the chicken. I opted to cook it for the full eight minutes, four minutes per side. It worked perfectly, and I had four juicy, fully cooked through chicken breasts in short order.
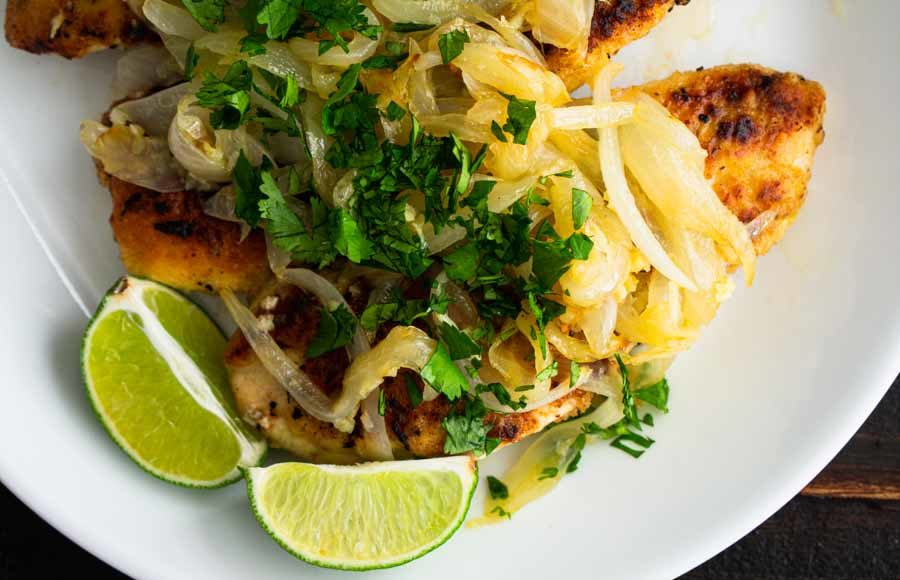
Then it was onto a serving platter (because I’m fancy), topping with the onions, and finally a garnish of chopped cilantro and lime wedges. Chef’s kiss!
