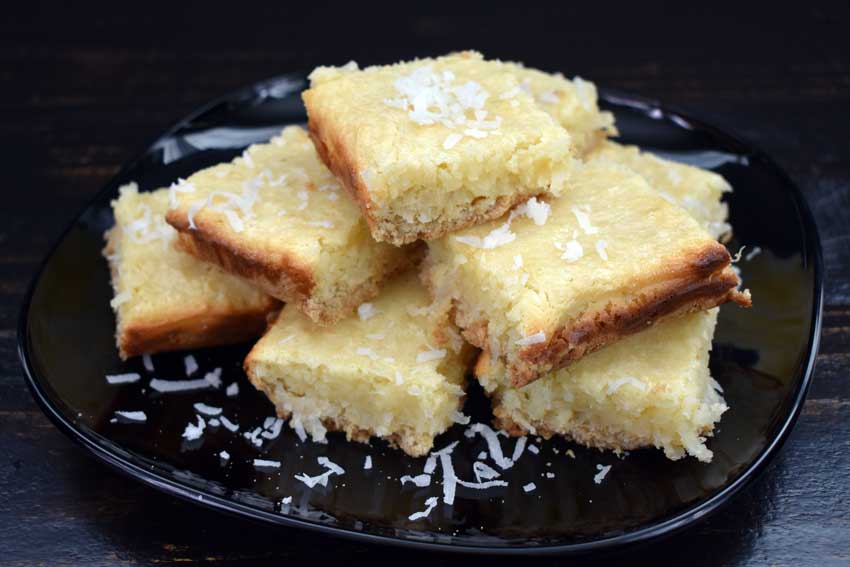
Since I started the week with a coconut milk based seafood chowder, I thought I would continue the theme with a dessert. No, not a seafood dessert! Coconut has always been a favorite, and adding it to cheesecake is irresistible for me. But the only thing I don’t like about cheesecake is the work involved. Coconut Cheesecake Bars to the rescue. This recipe promised to give me the coconut cheesecake I love with far less work. Let’s see if it delivers.
Coconut Cheesecake Bars recipe – the best coconut cheesecake bars I have ever had! They are sweet, creamy, coconut-y. The no graham cracker crust is a must try.
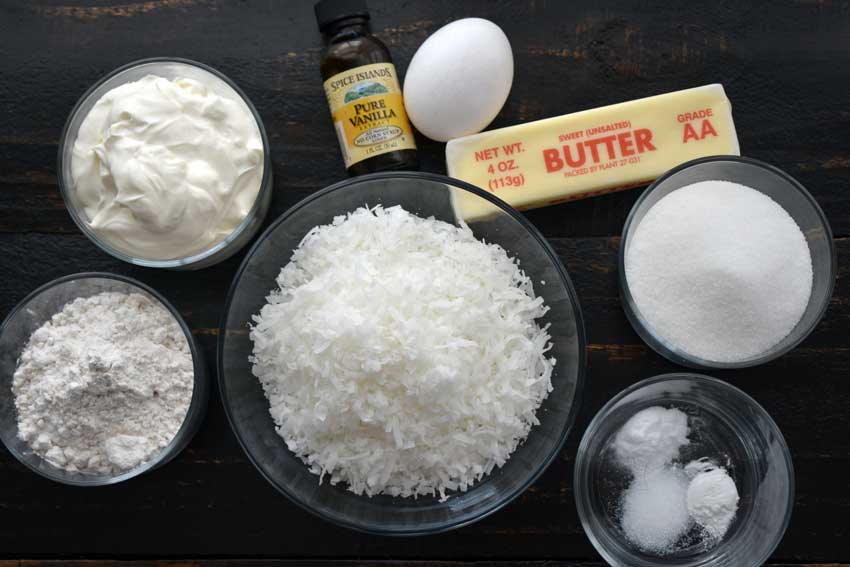
The Ingredients
There are a few ingredients for this recipe, but the majority are pantry/kitchen staples. In fact, all I needed to purchase was the shredded coconut and the cream cheese. Two items! I had leftover coconut, but the package of cream cheese was exactly the amount need for this recipe.

The Process
This recipe took slightly longer than the 45 minutes listed. The slowdown was with the prep work, though I’m not sure why. Here’s how the time broke down:
- Prep: 15 minutes (this was everything up to Step 7)
- Cook: 36 minutes
- Total: 51 minutes (not including time to cool)
The prep work for this recipe involves some advance planning. The butter needs to be melted then cooled, and the cream cheese needs to be softened. Fortunately, I found ways around that…
If you’re like me, you melt butter in the microwave. The secret here is to use the shortest amount of time possible. I used half a stick of butter cut into small cubes and microwaved it for 15 seconds. Then I stirred it well, microwaved it for another 15 seconds, and stirred it again. The butter was warm with small solid pieces floating in it, so I set it aside so it could finish melting while I did the rest of my prep work. The butter was cool by the time I was ready to make the crust (more on that later).
Did you know you can buy softened cream cheese? My husband made this discovery a short time ago when he came home with a container of cream cheese spread. It’s not as light as whipped cream cheese since whipping adds air, but it’s much creamier than the old-fashioned block of cream cheese. I was able to use the spread right out of the refrigerator without waiting for it to soften.
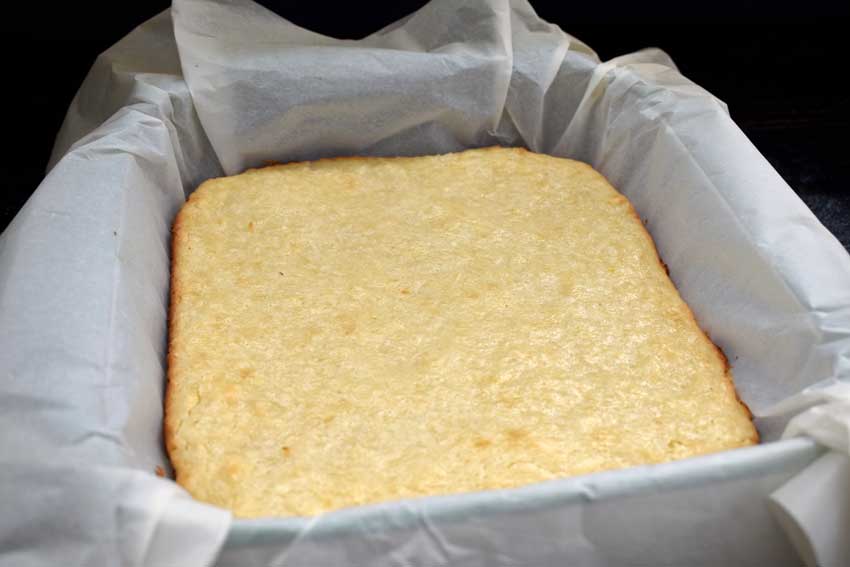
I recommend lining the baking pan with parchment instead of aluminum foil. Why? In my experience, foil is more likely to tear when you remove it from the pan. Yes, foil is easier to line the pan with since it holds its shape right away. Parchment isn’t quite as easy at first, but it holds its shape nearly as well once you press the crust into the pan.
I also prefer parchment because it’s so easy to lift the dessert bars out of the pan once they have cooled. Then it’s just a matter of placing the whole thing on a cutting board and cutting it into 9 pieces. I was even able to lift the parchment and cut bars and place them back into the baking pan for storage (my pan has a lid just for that).

