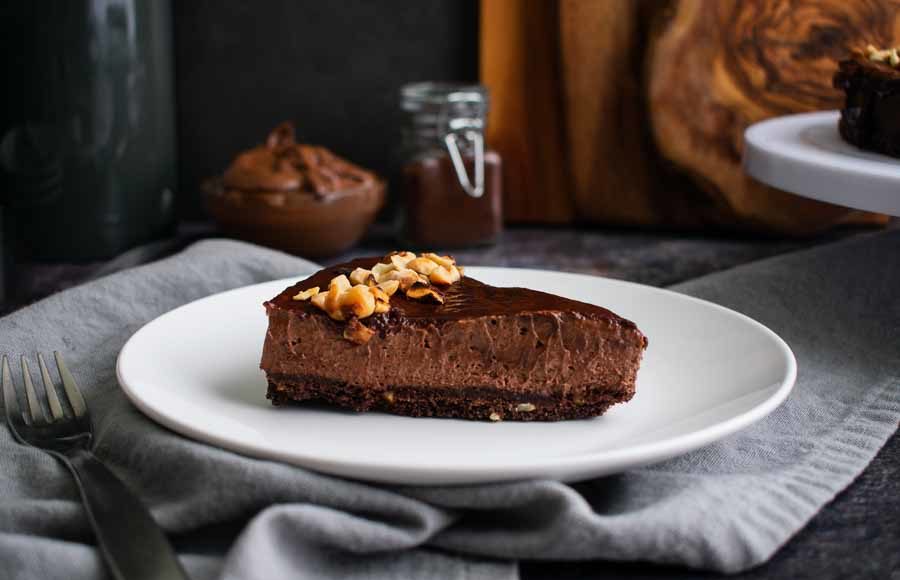
Once I finished the tagliatelle pasta dish I just reviewed I really wasn’t sure how I could top it. It was so savory-delicious! But then I read the name of the recipe I’m reviewing today: Chocolate Hazelnut Mousse Cake. Yeah, that sounds like it could top that pasta. It’s a chocolate-hazelnut crust with a chocolate-Nutella mousse filling and it’s topped with dark chocolate ganache sprinkled with toasted hazelnuts. Once I read the recipe it was like What pasta? This is one I have to try!
A light, fluffy chocolate mousse is spread on a chocolate hazelnut shortbread crust, and topped with a simple bittersweet chocolate ganache.
The Ingredients
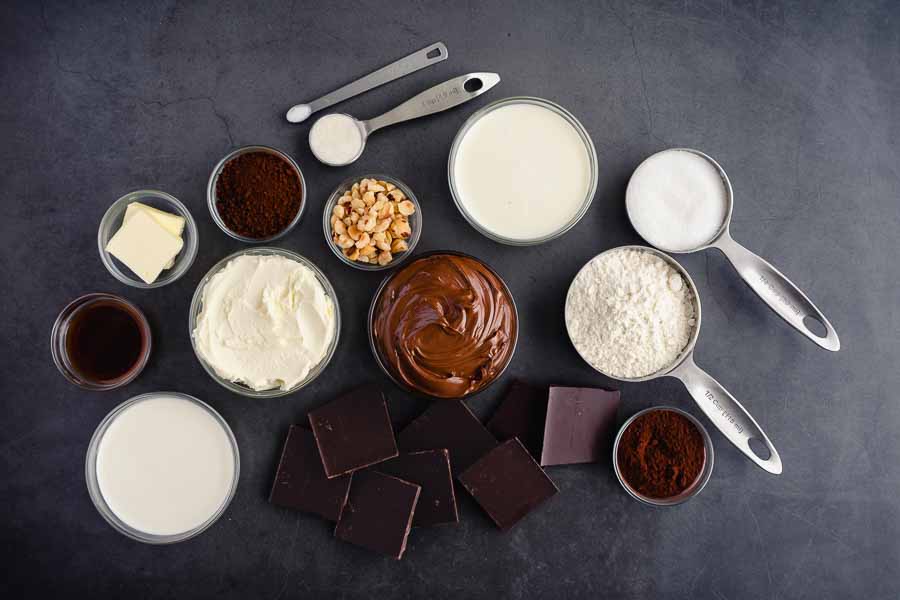
So mouse cake has a lot of ingredients, but the good news is they are all likely to be in stock at a large grocery store. I had butter and chopped hazelnuts left over from the pasta I just reviewed. The rest of my pre-shopping check revealed granulated sugar, all-purpose flour, salt, unflavored gelatine, espresso powder, vanilla extract, and Dutch-process cocoa powder.
That left me to shop for several items, but nothing was difficult to find. The only thing I had trouble figuring out was what heavy cream was. I found heavy whipping cream, but nothing was labeled “heavy cream”. It turns out the store labeled it “regular whipping cream”.
I took a guess at how much to buy/use for several ingredients, but I ended up with plenty for this recipe with some leftovers. This is what I bought/used:
- Bittersweet Chocolate – I used all of a 4-ounce bar
- Gelatine – 1 teaspoon is less than 1 packet (out of a 1-ounce box of 4 packets)
- Heavy Whipping Cream – 1 quart had leftovers
- Heavy Cream/Regular Whipping Cream – 1 pint had leftovers
- Mascarpone Cheese – I used almost all of an 8-ounce container
- Nutella Hazelnut Spread – I used almost all of a 13-ounce container
The Process
This Chocolate Hazelnut Mousse Cake is a long recipe, but it’s broken down into 3 sections to make it manageable:
- Shortbread crust
- Mousse filling
- Ganache topping
Making the Shortbread Crust
There wasn’t anything unusual about the crust itself, but the recipe had a great tip about the springform pan. The bottom of a springform pan has a lip on it that can make removing things tricky. This recipe had me turn the bottom upside down so the flat bottom was on the inside of the pan. It made it possible to slide the cake off after removing the sides. Genius!
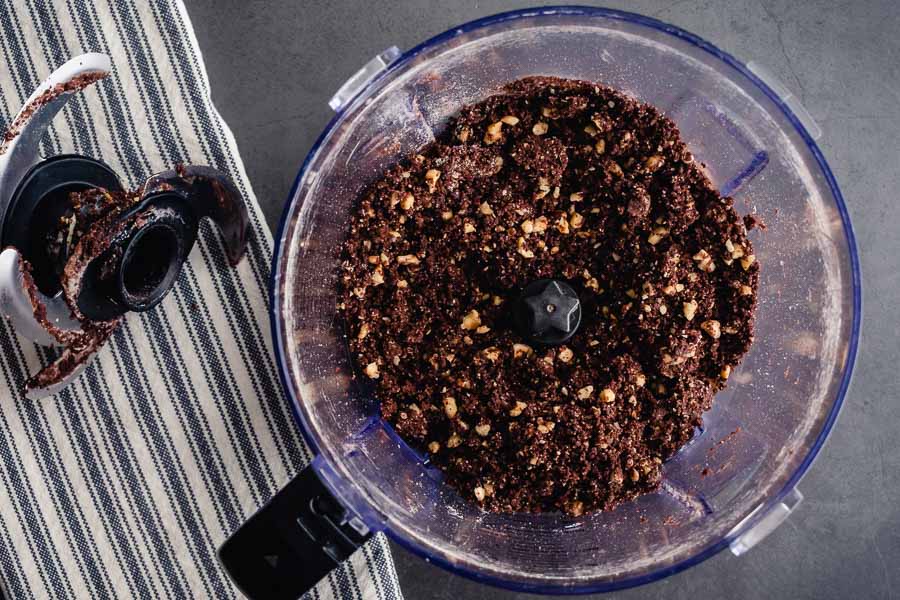
The crust itself was blended in a food processor, so making it was extremely easy. Then I used my fingers to press the coarse crumbs into the bottom of the pan, pricked it with a fork, and let it bake for 18 minutes.
Once it was cooled I removed the sides of the pan so I could remove the parchment paper. That did result in some of the edges breaking, but just a little. Once I removed the paper and put the pan pack together I was able to press them back in.
Making the Mousse
While the crust was baking (and later cooling) I made the chocolate-Nutella mousse. I began by soaking the gelatine in a saucepan for 5 minutes. The rest of the ingredients were easy to prep while the gelatine was soaking.
Then I turned the stove on to the lowest setting and melted the gelatine. It only took a minute or two, so be sure to watch it carefully. From there I whisked in the Nutella and espresso powder, poured the mixture into a mixing bowl, and whisked in the mascarpone cheese.
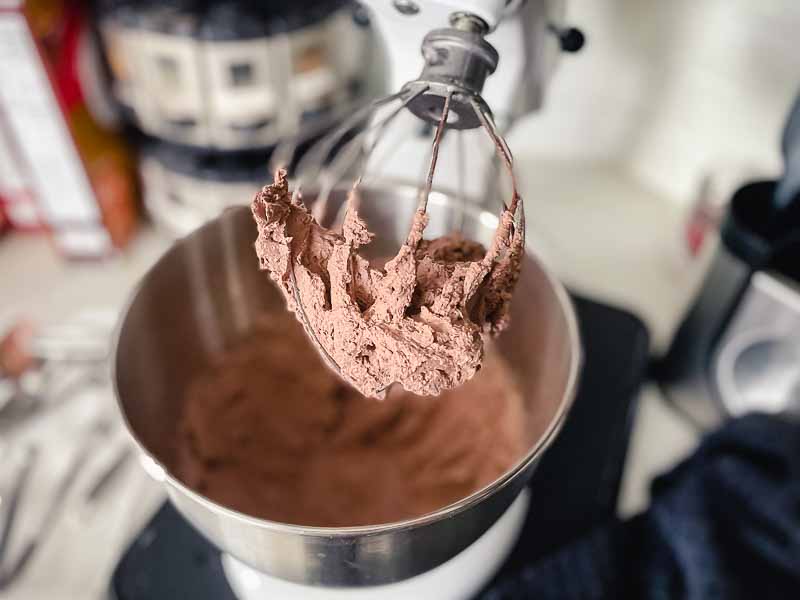
I set that aside and whisked the whipping cream, cocoa powder, and sugar in my stand mixer. It took about 2 minutes on high for it to form peaks. From there I folded it into the gelatine mixture until they were combined.
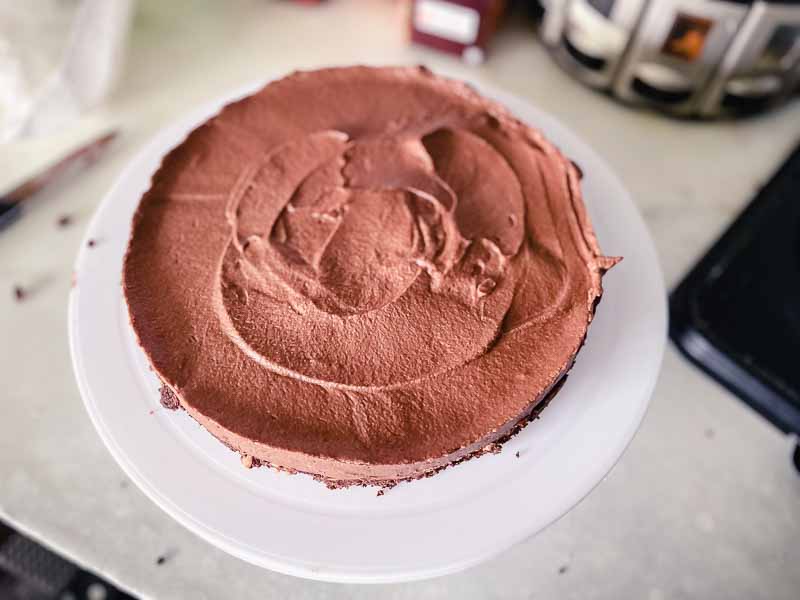
The final step in this part of the recipe was spooning the mousse into the cooled springform pan. I took a few minutes to smooth out the top, then I wrapped it up and put it into the refrigerator to chill. The recipe says to chill for at least 3 hours, but I let it chill overnight.
Making the Ganache and Assembling the Cake
The ganache was simple to make and apply. I simply chopped up the chocolate and then simmered it in a small saucepan with the heavy cream while stirring. Once it was smooth and creamy I set the pan to the side for 2 minutes while I toasted the hazelnuts in a small skillet.
To finish up the cake I slid a sharp knife around the edges of the pan before relating it. It slipped off without any issues. The cake slid off the bottom easily, and I put it onto a turntable to decorate.
The ganache was simply poured on and then smoothed with an offset spatula. I’m not sure how decorative my drips were, but I was happy with the result. The last touch was sprinkling on the toasted chopped hazelnuts, and voila! One Chocolate Hazelnut Mousse Cake, ready for the night’s dessert.
Timing
This recipe lists 30 minutes to prep, 20 minutes to cook, and 50 minutes total. The instructions also mention 3 hours to chill, but that was obviously not included in the times listed. This is how my time broke down:
- 10 minutes to prep the shortbread crust
- 18 minutes to cool the crust
- 5 minutes to prep the mousse
- 17 minutes to make the mousse, add to the pan, and cover
- 10 minutes to make the ganache and toast the hazelnuts
- 4 minutes to remove from pan and decorate the cake
- 64 minutes total
That was a bit over the recipe’s total, but I’m not sure where the slowdown happened. It could just be because I’m not the best baker. However, I think the 50-minute total is possible with a little practice.
