Have you ever started a project with an idea of where you wanted it to go and had it end up somewhere entirely different? This week’s theme is a great example of that. I wanted to continue with summer-themed recipes since the weather has been in the 90s lately. You know, something on the light side or maybe grilled. Then I came across this Chicken Fried Steak recipe and all that went out the window. This is good old fashioned southern comfort food that I don’t associate with summer at all. And I’m totally fine with that.
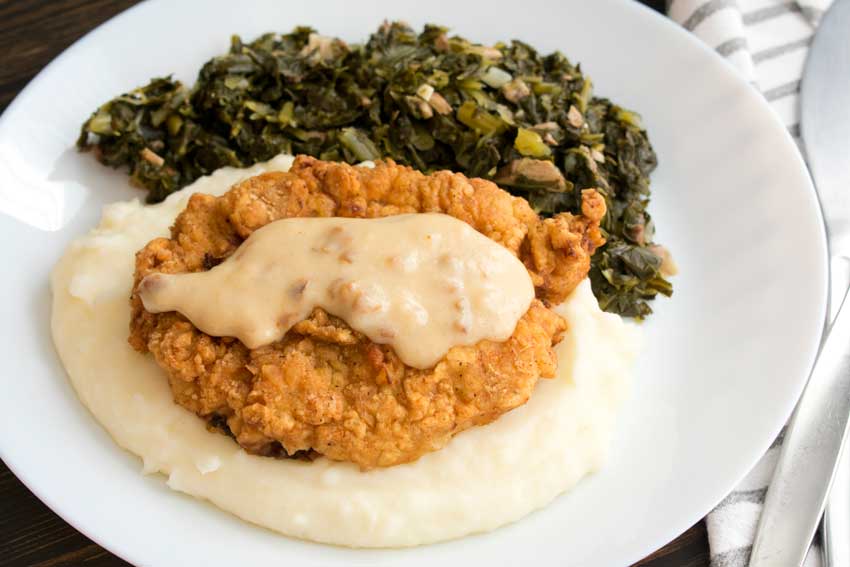
Chicken Fried Steak Recipe (Country Fried Steak) – Cube steak recipes are taken to a new level with this crunchy, crispy, flavorful and tender chicken fried steak recipe. It’s the best country fried steak on the web!
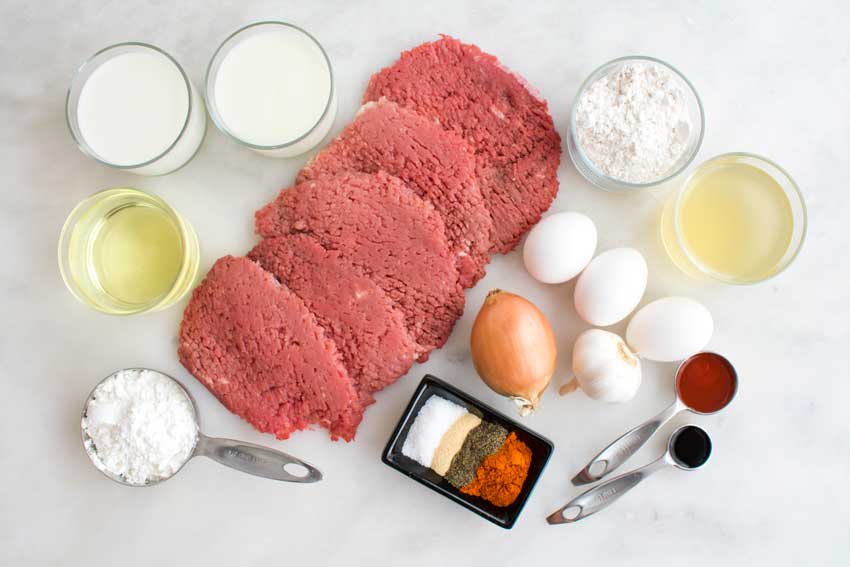
The Ingredients
One thing I really liked about this recipe was it’s filled with basics. I had quite a few items on hand (flour, cornstarch, spices, etc.), so I only had to buy a few things. Mainly extra vegetable oil for frying, the cube steak, produce, and milks. My local grocery store had them all, and they weren’t pricey.
I have to point out that I will usually use lemon juice and regular milk as a substitute for buttermilk when I bake. Don’t do that here! There is something about soaking meat in real buttermilk that tenderizes it and adds a nice flavor to the breading. It’s worth buying for this type of recipe even if you don’t use it all.

The Process
Although I love chicken fried steak, I’ve never made it until now. It’s one of those dishes that’s not exactly healthy, so I don’t have it very often. Instead, it’s a rare treat, and those treats include food being brought to my table. Sometimes even I don’t want to cook.
Anyway, back to making the chicken fried steak. This recipe had a good amount of ingredients and steps, but it wasn’t difficult to make at all. The instructions broke the steps down into two main parts: making the steaks and making the gravy. It took about half an hour longer than the 2 hours 10 minutes listed. Here’s how the steps broke down for me:
- 3 minutes to make the buttermilk marinade
- 2 hours to marinate and prep
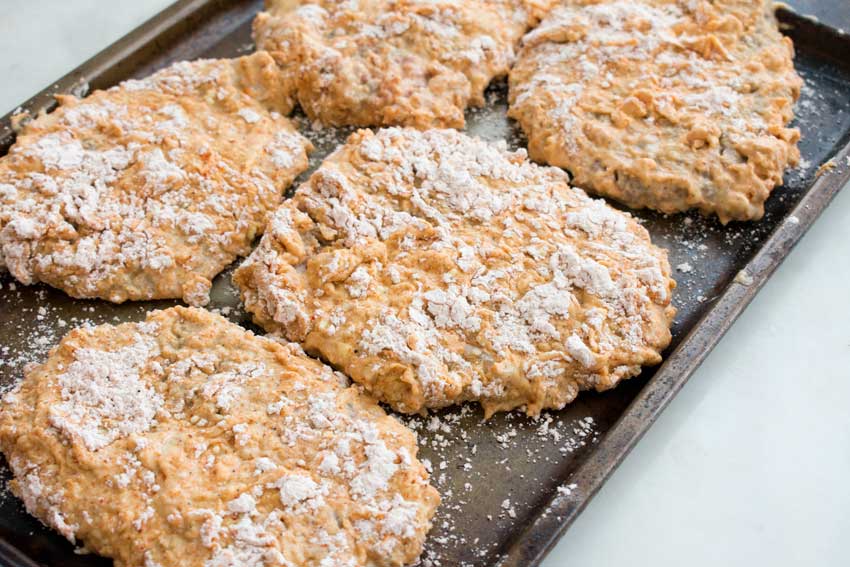
- 5 minutes to bread the steaks
- 15 minutes to refrigerate the breaded steaks
- 10 minutes to fry the steaks (4 @ 2 minutes per side)
- 10 minutes to make the gravy
- 2 hours 43 minutes total
Making the Steaks
First up was the steaks. This started with making a buttermilk marinade and leaving the steaks to tenderize in it for two hours. I used my largest mixing bowl for this step, but a small baking dish would work too. The important thing is to make sure the steaks are completely submerged.
I made the breading and prepped the gravy ingredients while the steaks marinated. I also cleared out a shelf in my refrigerator so I could fit a baking sheet inside. The breaded steaks need to be refrigerated for 15 minutes, and I don’t normally have that much room in my refrigerator.
One thing not listed in this recipe was how long to fry the steaks. I bought a package of five, so I used the extra as a test (it’s not included in my time breakdown). I found 2 minutes per side to be perfect. It crisped the breading nicely and cooked the steaks thoroughly.
Also, I used a 12-inch cast iron pan to fry the steaks, and I used about 4 1/2 cups of oil. It didn’t completely submerge the steaks, but I had to flip them anyway, so I didn’t worry about it. It did let them float enough so they didn’t rest on the bottom of the pan. That let the breading on the bottom fry up nicely.
Another thing to mention is it’s easy to splash the hot oil when you are putting the steaks into the pan and flipping them. I avoided this by using a large spatula to lower the steaks into the pan and tongs to flip them. Using the spatula to add the raw steak also kept it from falling apart. The raw cube steak tore when I tried using the tongs to add it to the pan.
Making the Gravy
While I let the steaks rest on wire cooling racks covered with paper towels, I got started on the gravy. After all the work of making the steak, this part was pretty quick and easy. The only thing that went wrong was I overcooked the garlic. I could tell by how brown it turned in the pan and later when I tasted the gravy. You might want to add it later than the shallot/onion so it only cooks for one minute or a little less.
Despite the mishap with the garlic, I had a nice, if garlicky, gravy in just 10 minutes. It was nice and thick–just the way I like it.

