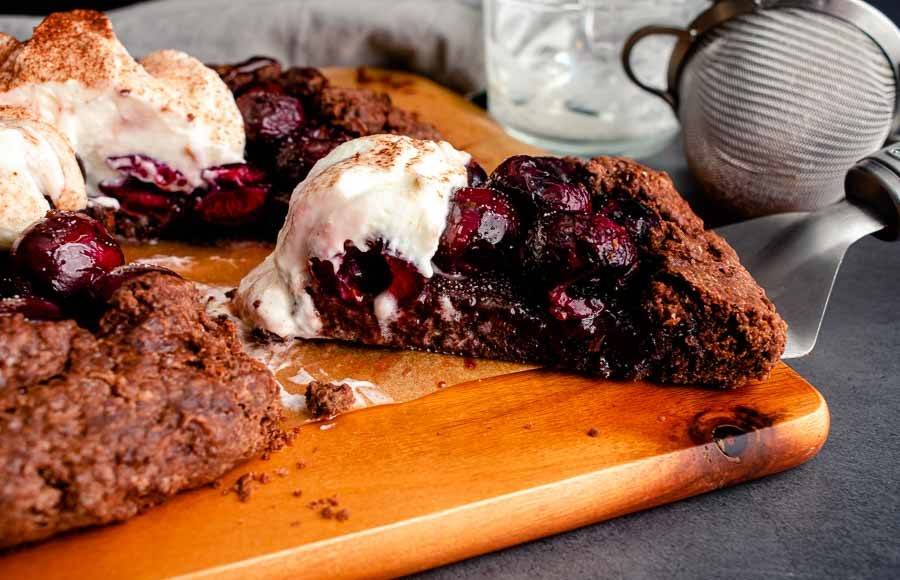
I love that I have so many new recipes on Pinterest! It’s responsible for me cooking more, starting this blog, and learning food photography. Those new recipes have let me discover new cuisines, ingredients, and cooking methods. This Bourbon Cherry Chocolate Galette recipe is a good example of that last one. Before Pinterest, I had never heard of a galette. If you haven’t either, it’s a deconstructed pie (or tart, I suppose). The filling is placed on top of rolled-out pastry dough, topped with a sweet filling, then the ends are folded up to contain it. Sounds simple enough, even for a baking-impaired person like myself. Let’s give it a try!
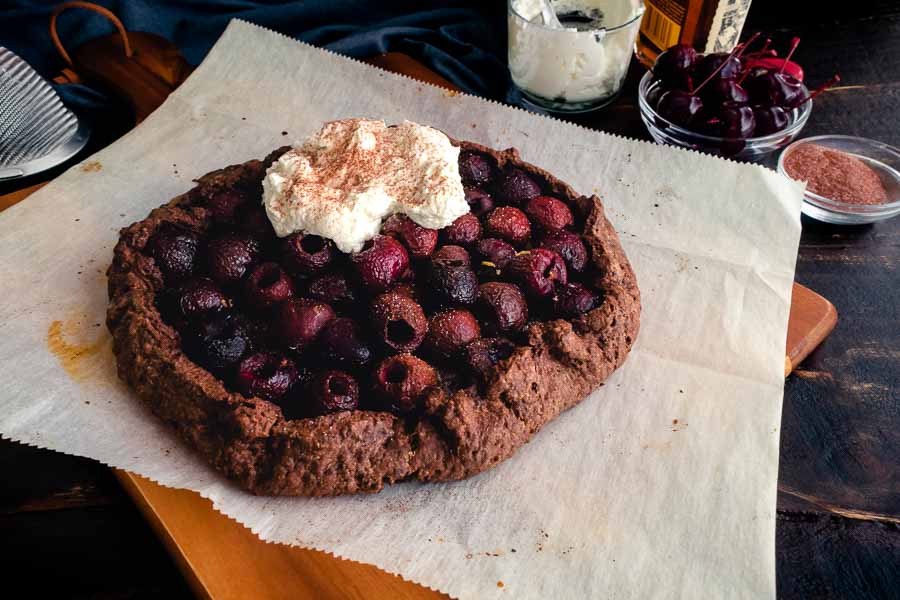
Pucker up and indulge in this chocolate galette of fresh tart cherries with an added splash of bourbon and a heaping scoop of bourbon whipped cream!
The Ingredients
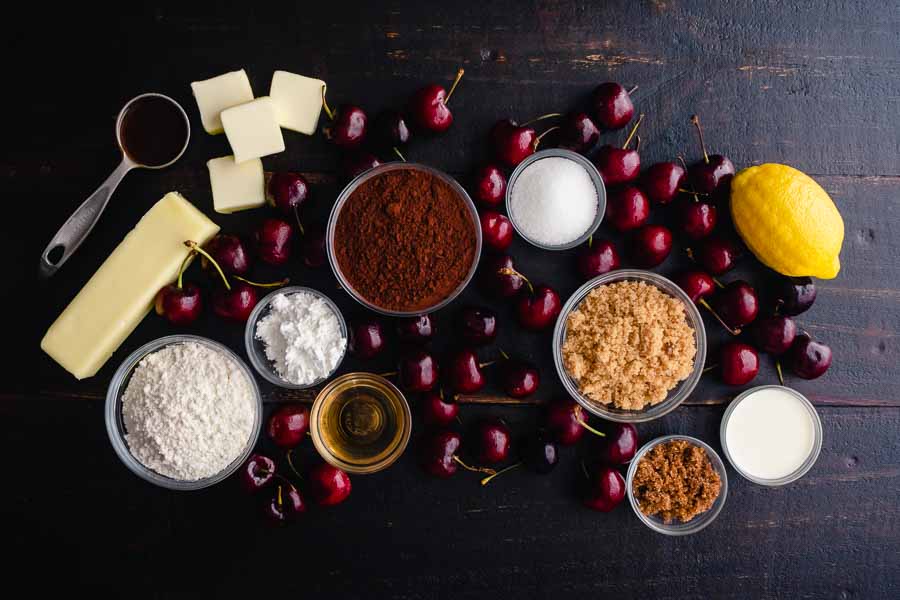
The first page of this 2-page recipe is a list of ingredients. I know, it sounds like a lot, and these long lists used to intimidate me big-time. But the more I cook, the less it bothers me. The key is to have everything set out in the order needed. Extra points if you actually measure it out before you start cooking. I tend to measure as I cook, but do what’s comfortable for you!
But back to the Bourbon Cherry Chocolate Galette. I had nearly all of the ingredients on hand. Surprisingly, bourbon was not one of them, so I sent my husband to the liquor store for that (he has excellent taste in bourbon).
The rest was found by yours truly at my regular grocery store. I had to buy the fresh cherries, of course, and some whipping cream. That’s it. I had the flour, sugars, and everything else in my kitchen. I even broke out the really nice Dutch cocoa powder that I save for special recipes.
One thing that did confuse me a little was the way brown sugar was listed. The Crust section specified dark brown sugar, but the Filling section just said brown sugar. I took that to mean light brown sugar for the filling. I’m sure either one would work, though.
The Process
This Bourbon Cherry Chocolate Galette has several parts: making the crust, making the filling, assembly and baking, and whipping up the topping. Some of these steps overlap a little, like making the filling while the crust dough chills. I’ll break that down next. For now, here’s how my time was spent:
- 15 minutes to make the crust
- 30 minutes to chill the dough (filling & topping were made at this time, 13 minutes)
- 7 minutes to roll out the dough and assemble
- 40 minutes to bake
- 10 minutes to cool
- 1 hour 37 minutes total
The total time listed is 1 hour 30 minutes. I got pretty close to that.
Making the Crust
The first part of this recipe is making and chilling the crust. Flaky pie crusts involve cutting cold butter into a flour base, and it can take some elbow grease to do that. I love that the recipe gives the option of using a pastry blender or a fork, but I think a pastry blender (a.k.a. dough blender) is so much easier to use.
The first time I made this recipe (more on that at the end) it took me 15 minutes and all 6 tablespoons of ice water to get the crust to come together. I was worried it was too grainy for a while and thought about adding extra water. But I kept cutting the butter with my pastry blender, and it finally formed an actual dough.
From there the dough needed to be formed into a flat disc wrapped tightly in plastic wrap and chilled for 30 minutes.
Making the Filling
I made the cherry-bourbon filling while the chocolate dough chilled. I don’t have a cherry pitter, so I used a straw and a bottle to pit the cherries. It’s a simple process! Place a cherry on the bottle opening stem side down. Place the straw over the dot on the bottom of the cherry and press down. The pit and stem should be pushed out into the bottle.
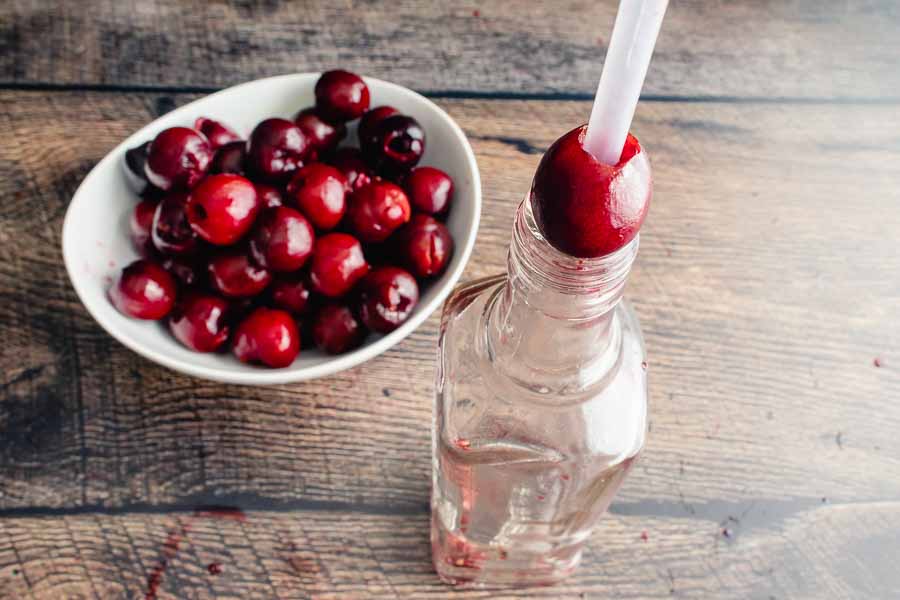
I say should because the pits kept getting stuck in my straw. I guess the diameter was too big, but I was able to pull them out by their stems. No stem? Just squeeze the straw until the pit pops out. Either way, this can be a messy process with juicy red cherries, so be warned.
That was the hard part of this section. The filling took me a total of 13 minutes, and 9 minutes of that was pitting the cherries. The rest was simply measuring the rest of the ingredients and stirring them all together.
Assembly & Baking
After half an hour it was time to roll out the dough and assemble the galette. My plastic wrap was stuck together, so I put a fresh sheet down onto my largest cutting board and got rolling.
My old-fashioned wooden rolling pin got the job done, and I had a large, if somewhat rough-looking, disc of dough in no time. I used the author’s tip about using a large plate to cut out a neat circle to pretty things up. It worked beautifully! Tip: Use the dull side of a table knife to cut out the dough so you don’t tear the plastic wrap.
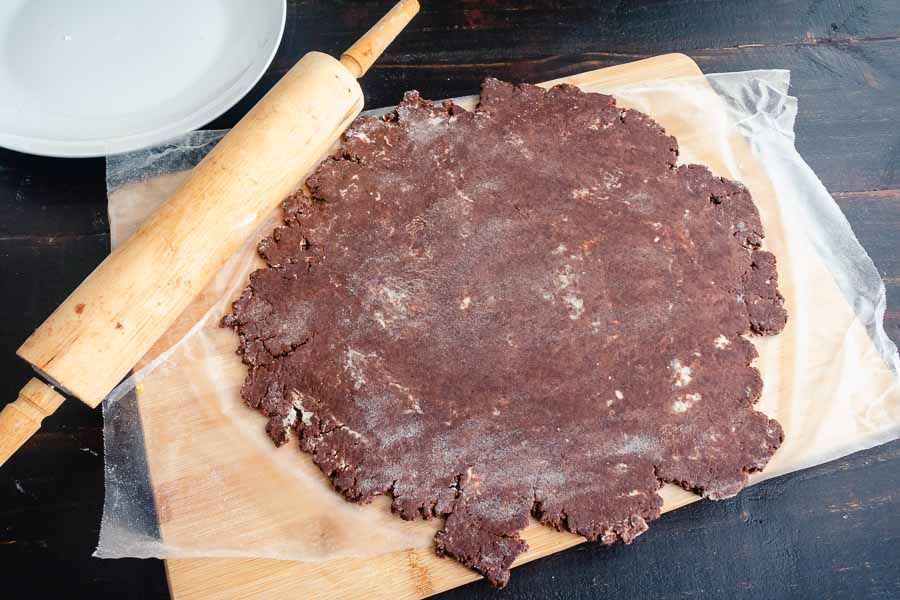
The dough held together with I turned it onto a parchment-lined sheet pan. Then I spooned the filling into the center and turned up the edges of the dough to contain it. A pinch every so often helped keep the shape.
My Bourbon Cherry Chocolate Galette’s diameter seemed small before I baked it, but it spread out as it cooked (like cookies do). I ended up with a much larger galette, so make sure you have some extra room on your sheet pan.
Making the Toppings
I made the whipped cream and sweetened cocoa toppings while the galette baked. My stand mixer came to the rescue again and allowed me to multi-task. I placed the whipped topping ingredients into the bowl, added the wire whisk attachment, turned the mixer on medium-high, and walked away.
I didn’t go far, though, since I had to make the sweetened cocoa powder. Tip: Instructions for that aren’t included in this recipe, but a quick search gave me the recipe: 1 part unsweetened cocoa powder to 2-3 parts sugar, depending on the sweetness you prefer.
I like sweet, so I went with the 1 to 3 ratio. You don’t need much, so I used a 1/2 teaspoon of cocoa powder to 1 1/2 teaspoons of sugar and still had some leftovers. I used the extra in my coffee over the next few days. It made a nice cafe mocha!
Once the galette was done, I let it cool on a wire rack for 10 minutes. Then I spooned on the bourbon whipped topping, sifted on some of the sweetened cocoa, and served it up fresh and warm. Mmm, mmm, mmm!!
So Nice I had to Try it Twice
I ended up making this Bourbon Cherry Chocolate Galette recipe twice because I wasn’t sure about Step 6. Specifically, there was some liquid left after I scooped the cherry filling into the dough, and I wasn’t sure if I should add it or leave it out. I tried it both ways to see if there was a difference, and there was.
The First Try
There were no real problems, with the recipe, but I did have a question at Step 6. I wasn’t sure if I should add the liquid part of the filling with the cherries. Based on previous experience with apple pie, I decided to skip it. Instead, I used a slotted spoon to scoop the cherries, leaving the excess liquid in the bowl.
The resulting galette was good but a bit dry, especially the crust. It was okay, but it didn’t really do it for me. I was shocked since I love chocolate, cherries, bourbon, and whipped cream!
The Second Try
I couldn’t shake the feeling that the extra liquid would have made a difference, so I made this recipe again a couple of weeks later. I used the exact same technique, but I admit that I lost patience with the dough.
The dough just wasn’t coming together, no matter how I worked it. I ended up adding an extra tablespoon of water, and it seemed fine. I rolled it out, added the cherries, pinched up the edges, and poured the remaining liquid over the cherries before putting the galette into the oven.
Baking didn’t go as smoothly this time. I have a few ideas why. I think it may have been one or all of the following:
- Adding the extra filling liquid
- Adding extra water to the dough
- Letting the dough warm up too much (I stopped to take photos)
About 10 minutes into baking I noticed the liquid filling broke through the crust and flooded the sheet pan. I took the pan out and used a spatula to fold the dough back up. That solved the problem, and I ended up liking this version much more than my first because the crust and center were much moister. The extra brown sugar and bourbon probably helped too. This was the galette I was expecting!
