St. Patrick’s Day is almost here, and I have one final sort of Irish recipe to share. Sort of because it has a couple of Irish ingredients. Did you read the title? Of course you did, but it’s worth repeating. Say it with me, “Boozy Irish Coffee Milkshake with Bailey’s Caramel Drizzle.” Coffee with Irish whiskey made into a milkshake and topped with Irish cream infused salted caramel. Swoon! I’d be happy with any one of those ingredients, but all together? It sounded so good that I could not pass it up!
This Boozy Irish Coffee Milkshake with Bailey’s Caramel Drizzle is a milkshake based off an Irish Coffee. Vanilla ice cream, espresso, and Jameson Irish Whiskey creates that Irish Coffee taste while Bailey’s caramel sauce and whipped cream enhance the flavor and increase the wow factor.
The Ingredients
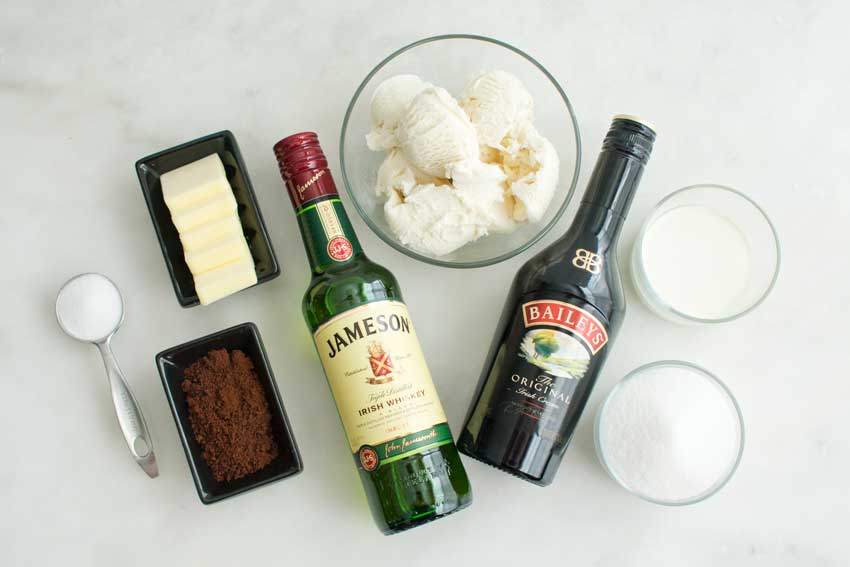
The list of ingredients for this milkshake is almost shorter than the name. I a few things on hand like the sugar, Bailey’s, butter, sea salt, and espresso powder. Actually, that was more than half the ingredients. Yes!
That left me with a few things to buy, but not many. So it was off to the grocery and liquor stores to pick up the Jameson Irish Whiskey, whipping cream, and vanilla ice cream.
Speaking of ice cream, the blog post with this recipe gave me a tip on how to make a thicker milkshake. Very simply, avoid ice cream made with corn syrup. That turned out to be more difficult than I thought it would be as even reputable name brands have it. I ended up with Publix’s organic vanilla ice cream. It was a bit pricey, but this milkshake was a splurge after all.

The Process
The Boozy Irish Coffee Milkshake with Bailey’s Caramel Drizzle recipe is divided into three sections: the caramel sauce, the whipped cream, and the actual milkshake, in that order. I changed it up and made the whipped cream first because it sounded like it would be easier that way. Looking back, though, I’m not sure it mattered. Anyway, here’s how each step went.
Bailey’s Irish Cream Whipped Cream
Since this recipe is for one milkshake, you don’t need much whipping cream at all. Just a quarter cup. That sounded like too little for my mixer, so I made it in my mini-prep. First, I mixed the Bailey’s with the whipping cream in a measuring cup. Then I poured it into the lid of my mini-prep (there are small holes in the lid just for this) as I ran it on high. That let the mixture slowly drain onto the spinning blades and whipped it up pretty quickly.
The mixture wasn’t as stiff as whipped cream I’ve made in the past, and I’m not sure why that was. It may have been the small amount of whipping cream, the addition of the Bailey’s, or that I made it in my mini-prep. I’ve had good results with the mini-prep in the past, though.
Bailey’s Caramel Sauce
This was the part of the recipe I was nervous about. I kept picturing a pan full of melted, burnt sugar that had to be chipped out with a hammer and chisel. I’m happy to say the results were the complete opposite.
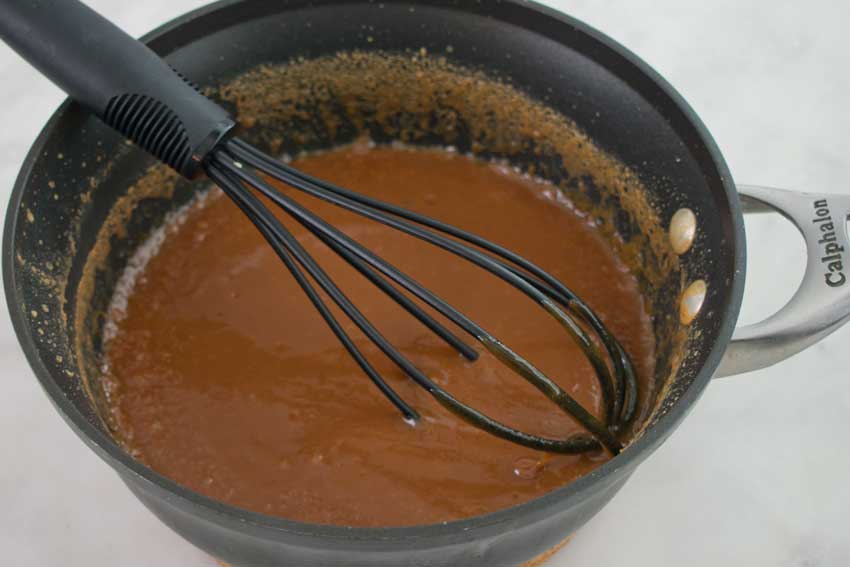
It took a while for the sugar to start melting, but it went pretty fast once it got started. The sugar first started to clump, and I could see some moisture burning in the bottom of the pan. It dissolved and turned to an amber color within minutes, then I was ready to start adding the rest of the ingredients.
The remaining steps go quickly, so be sure to have your ingredients measured out and ready to go. Also, the caramel will bubble up a lot when you add the other ingredients. This was especially true for the Irish cream, so don’t use a really shallow pan.
My 2.5-quart saucepan worked nicely for the caramel sauce. It’s nonstick, so the sauce poured out with very little left in the pan. It was deep enough to prevent any spills when the sauce bubbled up as I added the ingredients. And it was wide enough to allow the mixture to be thoroughly and easily mixed.

Boozy Irish Coffee Milkshake with Bailey’s Caramel Drizzle
Making and assembling the milkshake was easy. First up was using my blender to make the milkshake. I ended up using all three cups of the vanilla ice cream to get it nice and thick. I’m not a fan of thin milkshakes.
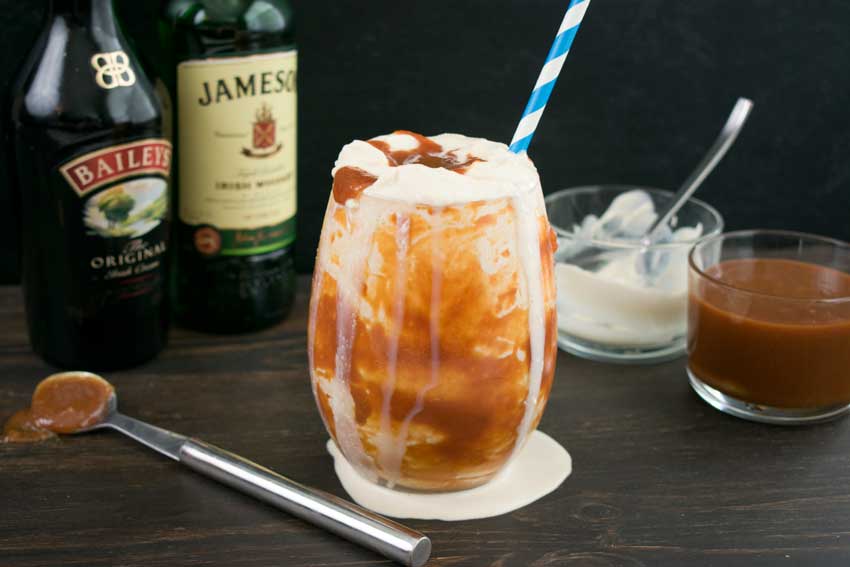
Then I used a bar spoon to smooth the caramel sauce over the inside of a stemless wine glass. It worked well because the handle was long enough to get to the bottom of the glass, and the small spoon fit better than a larger tablespoon.
My stemless wine glasses hold a lot when they are filled to the top, and I was able to get nearly all of the milkshake into it. (It was really too much for one person, but I gave it my best try!) From there, all I had to do was spoon in the whipped cream and drizzle the caramel sauce over it. It was a lot more work than I normally put into a milkshake, but I think it turned out beautifully in just 22 minutes!
