The Ferrero Rocher Nutella Tart recipe I made this past July was my first tart ever. Well, first time making one. It came out pretty well, so I thought I would give another tart recipe a try so I could perfect my technique. But what could possibly top a chocolate-hazelnut tart? That was a tough question, and I finally settled on this layered Blueberry–Lemon Curd Tart. I loved the look of separate lemon and blueberry layers! Plus lemon and blueberry go so well together—something I have found again and again in many recipes I have tried. Let’s add this one to that list ‘o tried recipes!
This layered, summery blueberry-lemon tart is as stunning as it is delicious. Naturally sweetened, this tart recipe features a vibrant lemon curd layer followed by a perfectly-sweetened blueberry filling.
The Ingredients
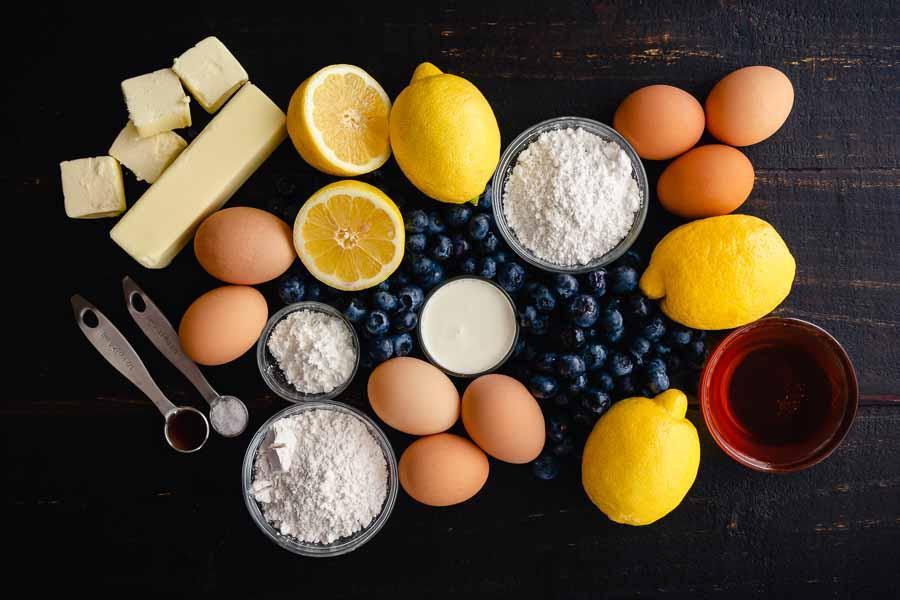
I’m happy to say that I had a few Blueberry–Lemon Curd Tart ingredients on hand, and the ones I needed to buy were easily found at my regular grocery store. A 10-ounce container of blueberries gave me exactly enough for this recipe. I also bought 4 lemons per the recipe and didn’t use them all. But better safe than sorry, and I can always use an extra lemon somehow.
It took 2 lemons for 1/4 cup of zest and 3 for for 1/2 cup of juice. I also bought eggs, unsalted butter, and heavy cream. I love those short shopping lists! The rest of the ingredients were waiting in my pantry.
Among those ingredients waiting was confectioner’s sugar. I chose to use that instead of the Sucanat. I wanted to make it, but my spice grinder has been used for spices so much that my Sucanat would have tasted like curry.

The Process
All right, it’s time to bake! I gathered my ingredients and equipment, put on some music, and got to it. This recipe has a lot going on, and I felt like I was making two tarts. Fortunately, this recipe has great instructions, and I made it through just fine. Here’s how my time broke down:
- 10 minutes to prep the crust
- 30 minutes minimum to chill the dough (I chilled mine overnight)
- 10 minutes to warm the dough
- 12 minutes to prep the crust
- 30 minutes to bake the crust
- 28 minutes to prep the lemon curd (done while crust baked)
- 10 minutes to bake the lemon curd-filled crust
- 16 minutes to prep the blueberry filling
- 2 hours to chill the finished tart (I chilled mine overnight)
- 3 hours 58 minutes total
The total time listed on the recipe is 5 hours, so I feel great about this time. I have a feeling I saved half an hour by preparing the lemon curd while the crust baked. I can’t account for the rest, but I’m not complaining!
Making the Crust
First up was the crust. Mixing up the dough was easy thanks to the instructions and my food processor, and I had it done in 10 minutes. I intended to let it chill for 1 hour but ended up chilling it overnight. The notes say it can chill up to 2 days, and I was grateful for the option.
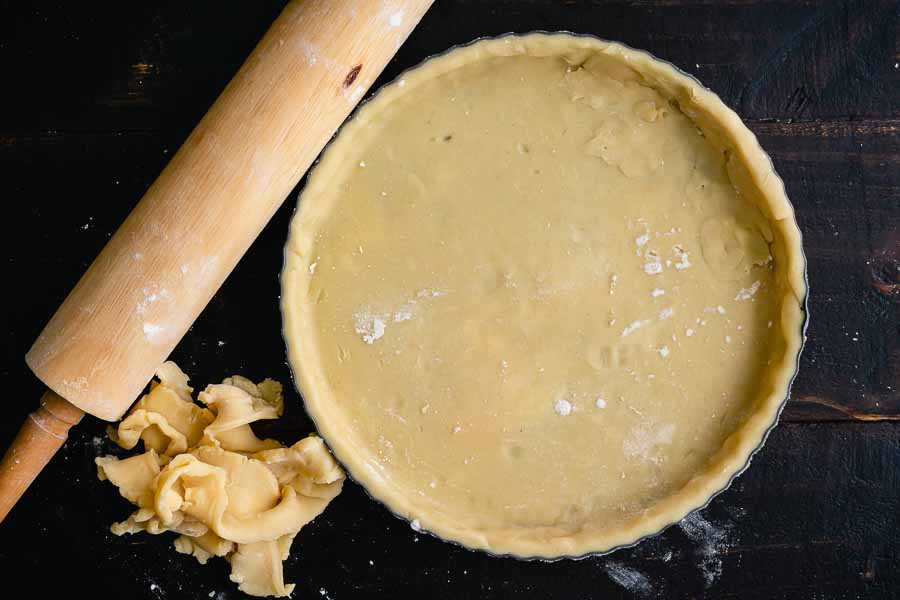
The next day I let the dough sit on the counter for 10 minutes to warm up. Then I broke out my rolling pin and slowly rolled it out into a thin disk that was slightly bigger than my tart pan. Tip: the instructions don’t mention it, but I greased my tart pan with vegetable shortening. Butter would have also worked.
Next up was rolling out the dough and getting it into the tart pan. This recipe’s blog post has some great photos that show this process, and I was so glad I reviewed them before I began! I’m not the best baker, so it took me 12 minutes to roll out the dough, mess it up, re-roll it, and get it ready to bake.
Tip: I used the trimmed pieces to fill thin spots. Just cut the extra to the size needed, wet with cold water, and press over any gaps and/or thin spots.

I was so relieved when that was done! All I had to do was place the tart pan onto a sheet pan, cover with 2 layers of foil, add pie weights, and bake for 30 minutes. Tip: I set the timer for 15 minutes so I would remember to rotate the crust halfway through baking.
Making the Filling (Or should I say fillings?)
The lemon curd goes on the bottom, so it’s the first filling that needs to be made. It’s the more complex of the two fillings, but it wasn’t terribly difficult. Once I got the ingredients into a saucepan over medium heat, I just stirred and stirred until the thermometer read 165°F. The recipe says 5 minutes, but it took 11.5 for me. Perhaps I had the heat too low, but I didn’t want to risk ruining my lemon curd. Safety first LOL!
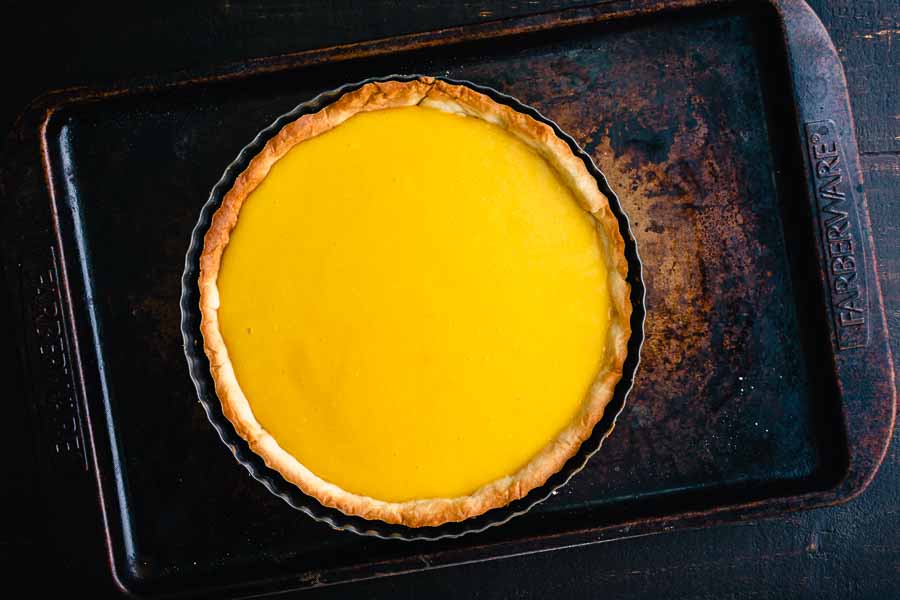
Once the lemon curd came to temperature, I removed it from the heat, added the butter, strained it through a mesh sieve, and mixed in the cream. The crust had finished while I was making the lemon curd, so it was ready for me to pour the lemon curd right on in. Once spread evenly, I baked the filled tart for 10 minutes.
The blueberry filling was less complicated, but I did have to wash out the food processor, saucepan, and mesh strainer before I could make it. I didn’t include that time above, BTW.
Making the blueberry filling was a similar process to the lemon curd. I strained the processed blueberries into the saucepan, pressing the juice out with the back of a wooden spoon. Then I added a few other ingredients and stirred until the mixture came to 170°F.
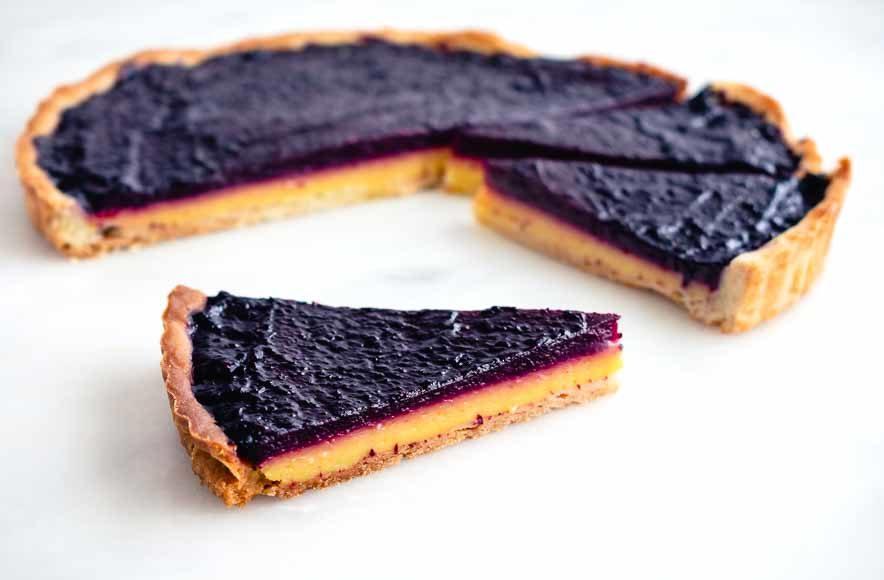
The final steps were to remove the pan from the heat, stir in the lemon juice, and pour the blueberry mixture over the cooled lemon curd. The blueberry filling was quite thick, so I had to carefully spread it to the edges with a spatula.

Finishing Up
While the lemon curd had to be baked, the blueberry filling didn’t. All that was left to do was gently tap the tart pan on the counter to remove air bubbles and chill for at least 2 hours. I ended up chilling mine overnight.
This was a learning lesson for me: be gentle when tapping. I tapped a little too hard and broke the crust in one place. I blame the blueberry filling—it was very thick. In a way it was a relief because jiggling the pan easily dislodged the crust from the tart pan.
But on the plus side, removing the chilled Blueberry–Lemon Curd Tart from the pan was easy since the crust didn’t stick at all. And I was able to cut along the break, so you can’t tell it ever happened. Nice!
