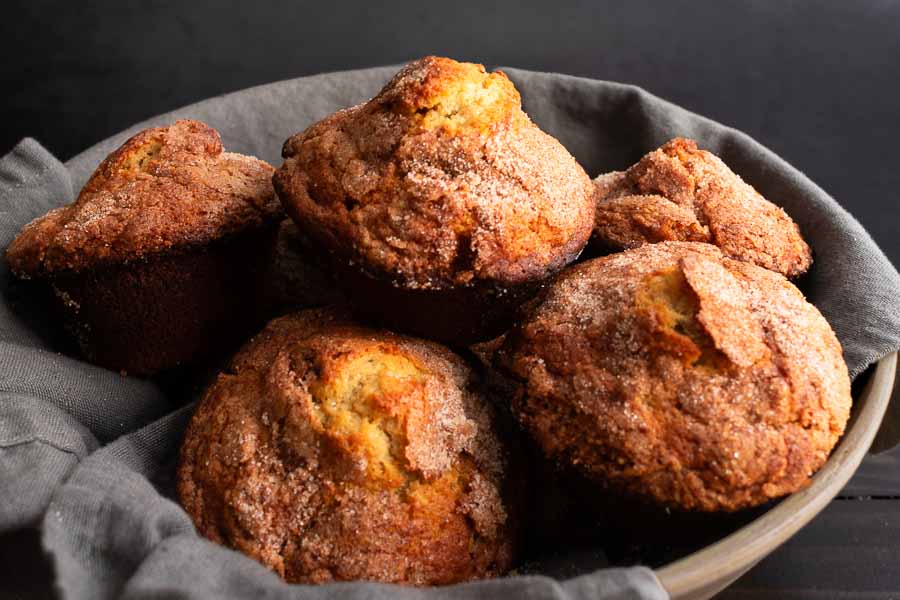
Okay, storytime! Bear with me because it will sound odd at first, but I promise you that today’s Banana Cinnamon Muffins will fit in by the end. My family is me, my hubby, and one adorable rabbit named Louie a.k.a. King Louis Giuseppe Rabbitini, III (pronounced “the turd” because he fills his litterbox with them). And let me tell you, the title of king is more than a funny honorary. Our four-pound Dutch rabbit runs the house, and he has a strict schedule.
Louie gets a bunny salad between 9 and 10 a.m. every morning, a small amount of pellets with that as well as in the evening, and treats begin promptly at 5 p.m. Every day at 5 Louie will head over to the table with his jar of treats and the begging commences. From then on he will beg every time we walk by it. Try resisting that cute face and twitchy nose. It can’t be done!
Louie’s treats are mostly healthy hay-based cookies made for rabbits, but we also give him a bit of banana a few times a week. Our king has levied a fruit tax, and it’s due every time we peel a banana. That means we always have bananas on hand, but sometimes I over-buy and we don’t eat them all.
Banana bread usually happens when I notice brown bananas, but I wanted to try something different this time. That something different is this recipe for Banana Cinnamon Muffins. And yes, I paid King Louie his fruit tax when I made them.
These banana cinnamon muffins have a soft and moist crumb, complete with an incredible banana flavor. But their distinctive quality is definitely their crunchy muffin top—each has a super tall and wide dome, all thanks to a generous sprinkling of cinnamon sugar on every muffin.
The Ingredients
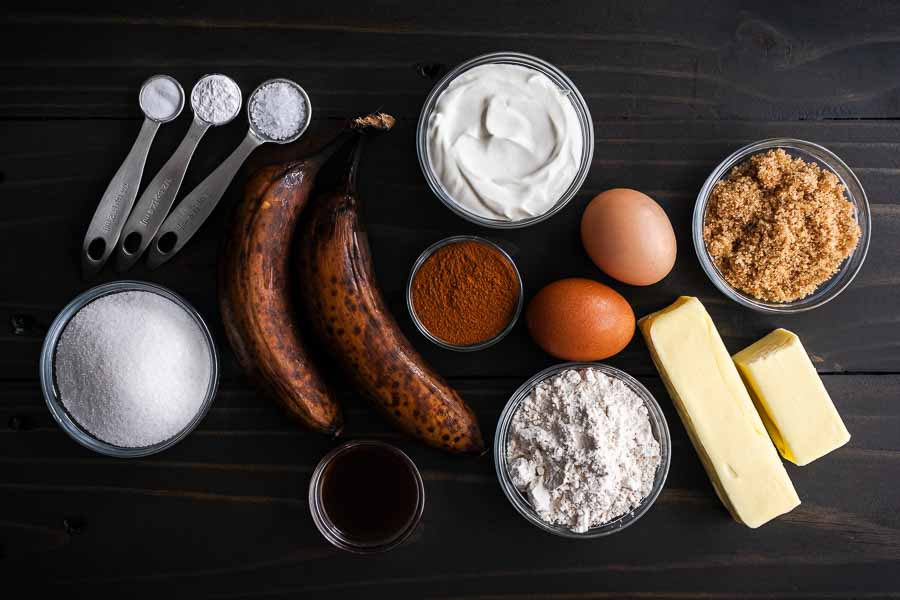
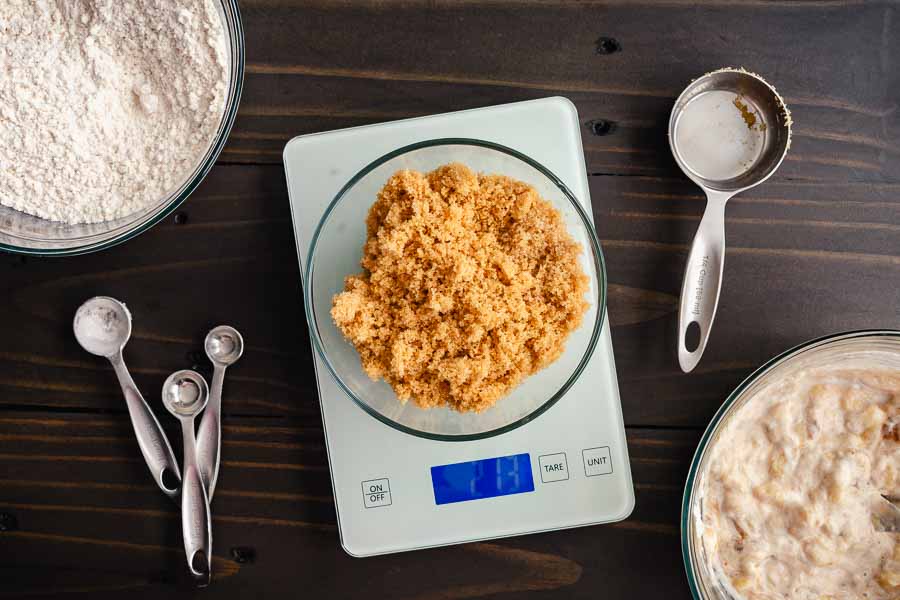
I had plenty of over-ripe bananas, so the first ingredient was taken care of. By the way, the recipe’s tips were spot-on and 2 1/2 peeled bananas weighed 283 grams. And speaking of weight, I weighed all the ingredients that had weights listed.
My next step was to check my pantry and refrigerator to see what else I had. I headed over to my pantry and began checking off dry goods. I had them all! Things were looking good when I moved on to the refrigerator. I needed eggs, butter, and sour cream, and I found them all. That’s right, a no-shopping recipe that would help use up things I already had. I love these types of recipes!
The Process
This recipe is a long one (three printed pages), but it’s broken down pretty well. I loved the checkboxes for each ingredient. It really helped me keep my place. The only thing I wished it also had was the notes/tips included in the blog post.
Tip: Weighing the ingredients is quick and helps with accuracy. It has become my favorite method since I’m not the greatest baker, and I keep my digital kitchen scale handy.
Making the Batter
Making these Banana Cinnamon Muffins was similar to the Brown Butter Banana Bread recipe that’s become my go-to. I had to mash the bananas and mix in a couple of other liquids. Then I had to whisk the dry ingredients together.
But before I could mix the liquid and dry ingredients, there was an extra step that reminded me of baking a full-on cake. This muffin recipe had me cream the butter and sugar. I used my stand mixer with a whisk attachment for this step so I could do a little tidying up as it mixed.
Why cream the butter and sugar, you might ask? It does a few things, the most obvious being that it distributes the sugar more evenly. But more importantly, screaming the butter and sugar adds air bubbles that expand during baking and increase the volume of the baked goods. In this case, it helps the muffins expand and form large domed tops.
Once the recipe’s three components were ready, I mixed them to create the batter and let it rest in a covered bowl for an hour.
Filling the Muffin Pans
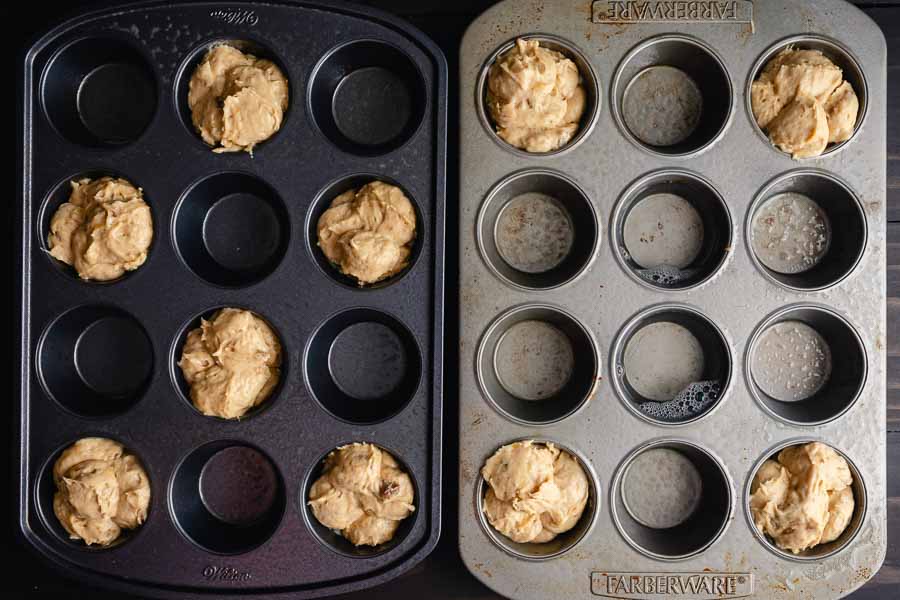
It was time to add the batter once I sprayed the muffin pans with tons of cooking spray, and I used a 1-tablespoon cookie scoop for this step. To keep it as accurate as possible, I leveled each scoop by using a knife to scrape away any excess. For some reason, I had enough batter for an extra muffin. I’m not one to turn down an extra muffin!
I do think I should have placed them like the first pan, but at the moment placing them in the corners felt right. My thinking was it would allow the tops to spread out freely. However, putting the batter in the corners made it impossible to fill every other cavity with water, and I was only able to fill the center two.
The cinnamon-sugar topping needed to go on before baking, so mixing that up was my next step. It was simple to do, but I was a little worried I wouldn’t have enough for the extra muffin. It turns out I had enough to generously top all ten muffins.
Baking the Muffins
Once it was time to bake, I was not sure if I would bake the muffins one pan at a time or together. I chose together, but that meant I had to use two racks in the oven. I placed one in the middle and one just below it.
At the halfway point (10 minutes), I rotated each pan 180 degrees and switched racks. The muffins passed the toothpick test at 20 minutes, but they burned a little. You can see it on the edges of the muffin tops and the bottom portions that toughed the pans.
I immediately looked for a reason this happened and the solution. Baking the muffins too close to the heat source (on a rack lower than the middle position) sounded like the reason. The solution would be placing the muffin pans on a sheet pan and baking on the middle rack.
I would like to try baking both pans at the same time, but I would place the second rack just above the middle instead of just below. And I would still rotate the pans and switch racks at the halfway point. Of course, I will update this post with the results.
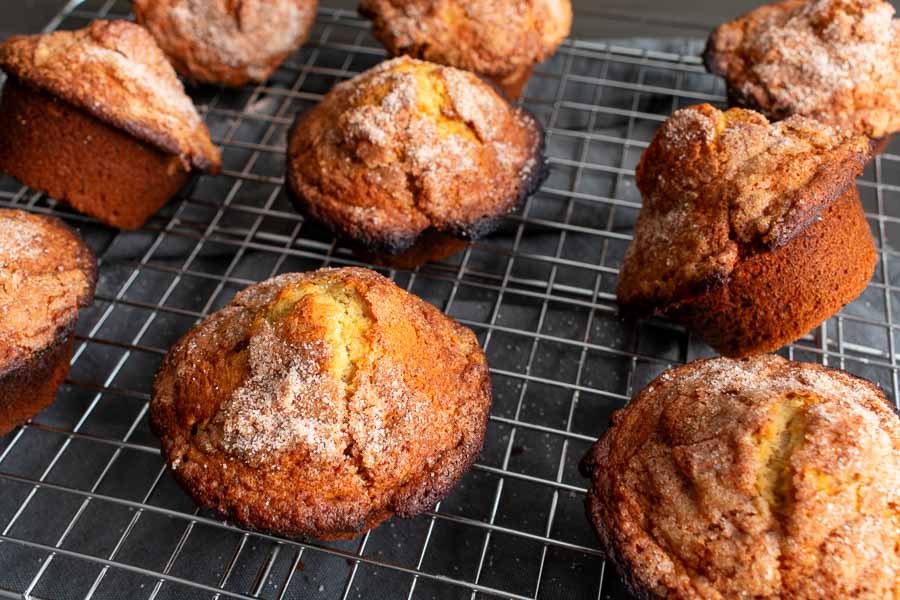
All that was left was to cool the muffins. I followed this step carefully, and the muffins came out fairly easily. The sugar topping caramelized around the edges of the tops, but an offset spatula helped me loosen them while keeping them intact. Once that was done, I let the muffins finish cooling in the pan, and the muffins popped right out when it was time to serve.
Timing
This recipe lists the following times:
- 10 minutes to prep
- 10 minutes to cook
- 20 minutes bake time
- 40 minutes total
The cooking time puzzles me because none of the ingredients needed cooking before being added to the batter. Time for the batter to rest and the muffins to cool were also not included, but that isn’t too unusual. I find a lot of recipes don’t include in the times listed.
Here’s how my time was spent:
- 16 minutes to make the batter
- 1 hour to rest the batter
- 9 minutes to fill the muffin pans
- 3 minutes to make and apply the cinnamon-sugar topping
- 20 minutes to bake
- 15 minutes to cool in the pan
- 4 minutes to loosen tops and remove muffins from the pans
- 20 additional minutes to finish cooling in the pan
- 2 hours 7 minutes total
If I adjust the time listed to include 1 hour for the batter to rest and 35 minutes to cool, that would bring the total time up from 40 minutes to 2 hours 15 minutes. That’s right in line with my total time.
